Hello crafty friends!
I hope our American friends have a fun and safe holiday tomorrow as we celebrate our country's Independence Day 🎆 We don't have our adult kids home but the hubby will BBQ something and I'll make some easy picnic foods. We live up on the plains so we can see the fireworks from our driveway.
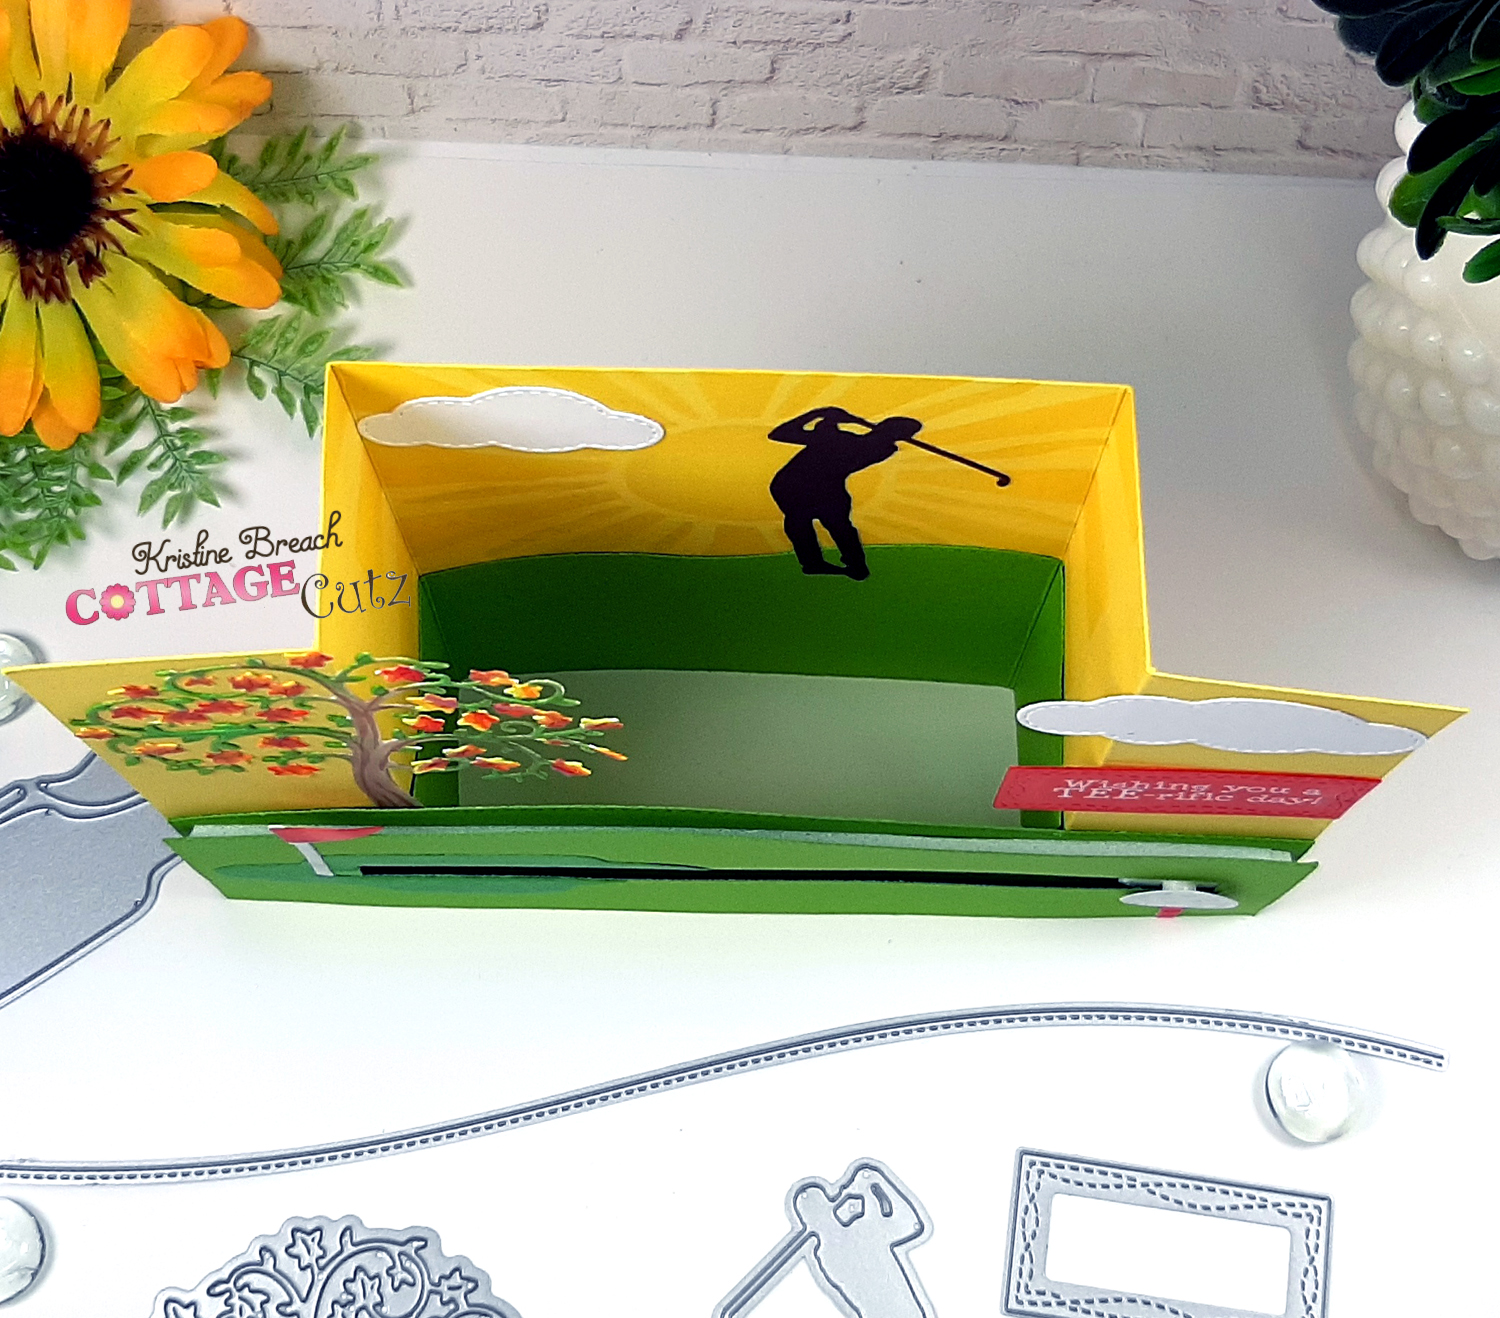
It's Kris sharing with you today. Summer is great camping weather, so I created a cute camping-themed interactive slimline card that is both a spinner and a pull tab slider!

I followed a video tutorial for this Interactive Cartwheel card by Laura Dovalo, so instead of doing a full written tutorial, I will simply link you to her video and then I'll share with you some of my process photos (and the adjustments I made to fit this to a slimline size) using the following CottageCutz dies...
Campin Out Moose & Reindeer (just lantern)
Campin Out Sun & Moon (just stars)
OTHER SUPPLIES
Foam Tape
Spinner Disc
Fishing Line
Glue

I then die cut the top part using one of the dies from the Slimline Hills set. To the top piece, I ink blended some Uncharted Mariner D.O. ink and then I spattered white acrylic paint and some white die cut stars from the Campin Out Sun & Moon die.
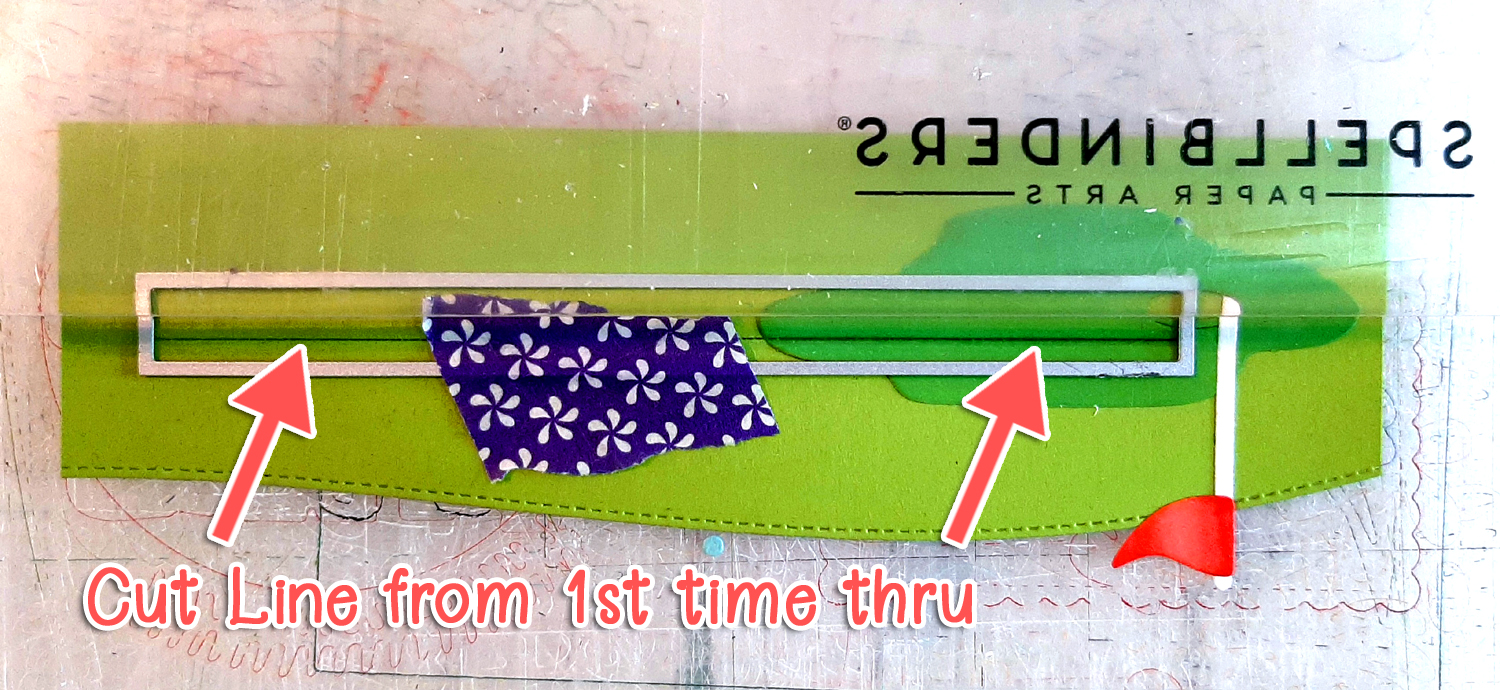
For the lower section, I die cut the smallest of the Rounded Rectangles Slimline, leaving space on the right for my campfire and pull tab cout-out. *Requires thinking ahead on image placement.
***OPTIONAL: On the righthand side, I used the end of the 3rd smallest Rounded Rectangles Slimline -- just enough to get your fingers on the tab to pull it out. (this step was NOT in the video tutorial, but I did not want my tab to stick out as I wanted it to fit into my slimline envelope.)
I then ink blended some Tea Dye and Vintage Photo Distress Oxide Ink onto the bottom half of my card front and the pull tab, then spattered some alcohol ink.

I went ahead and die cut all my Campin Out elements and glued to card front so I could determine positions for my spinning hedgie.
I die cut 2 of the smallest Stiched Circles dies for my spinner and also showing above is my plastic spinner disc. I also cut my card base at 7-1/2" x 8-3/4" and scored in half at 3-3/4" - I then taped off the edges and added some of the same Tea Dye and Vintage Photo D.O. ink as it will show thru then the slider is pulled out.
I followed the video to add the stablilizer piece, wrapping the fishing line (clear plastic string) and foam strips on the back and to add the hedgie to the front.


I hope I provided enough info for you to re-create a fun interactive slimline card using your favorite CottageCutz dies?!! Be sure to watch the video tutorial for more details on this mechanism.
Have a CRAFT-astic day!!
~Kristine