Showing posts with label Snowmen Friends. Show all posts

Tuesday, January 24, 2023

Hot Cocoa Box

Hello Cottage Cutz Friends!
Melinda here with you, and today I am sharing a fun Hot cocoa box I made. I decorated it with some of the fun dies from the Christmas release. I love that you can invest in these seasonal dies, but use them well past their intended season. It is great to get a lot of mileage out of them!
Here's a look at my fun box. I used white cardstock for the base of the box. I then used some blue cardstock for the mats. From there I did all the fun stuff of decorating my box. 

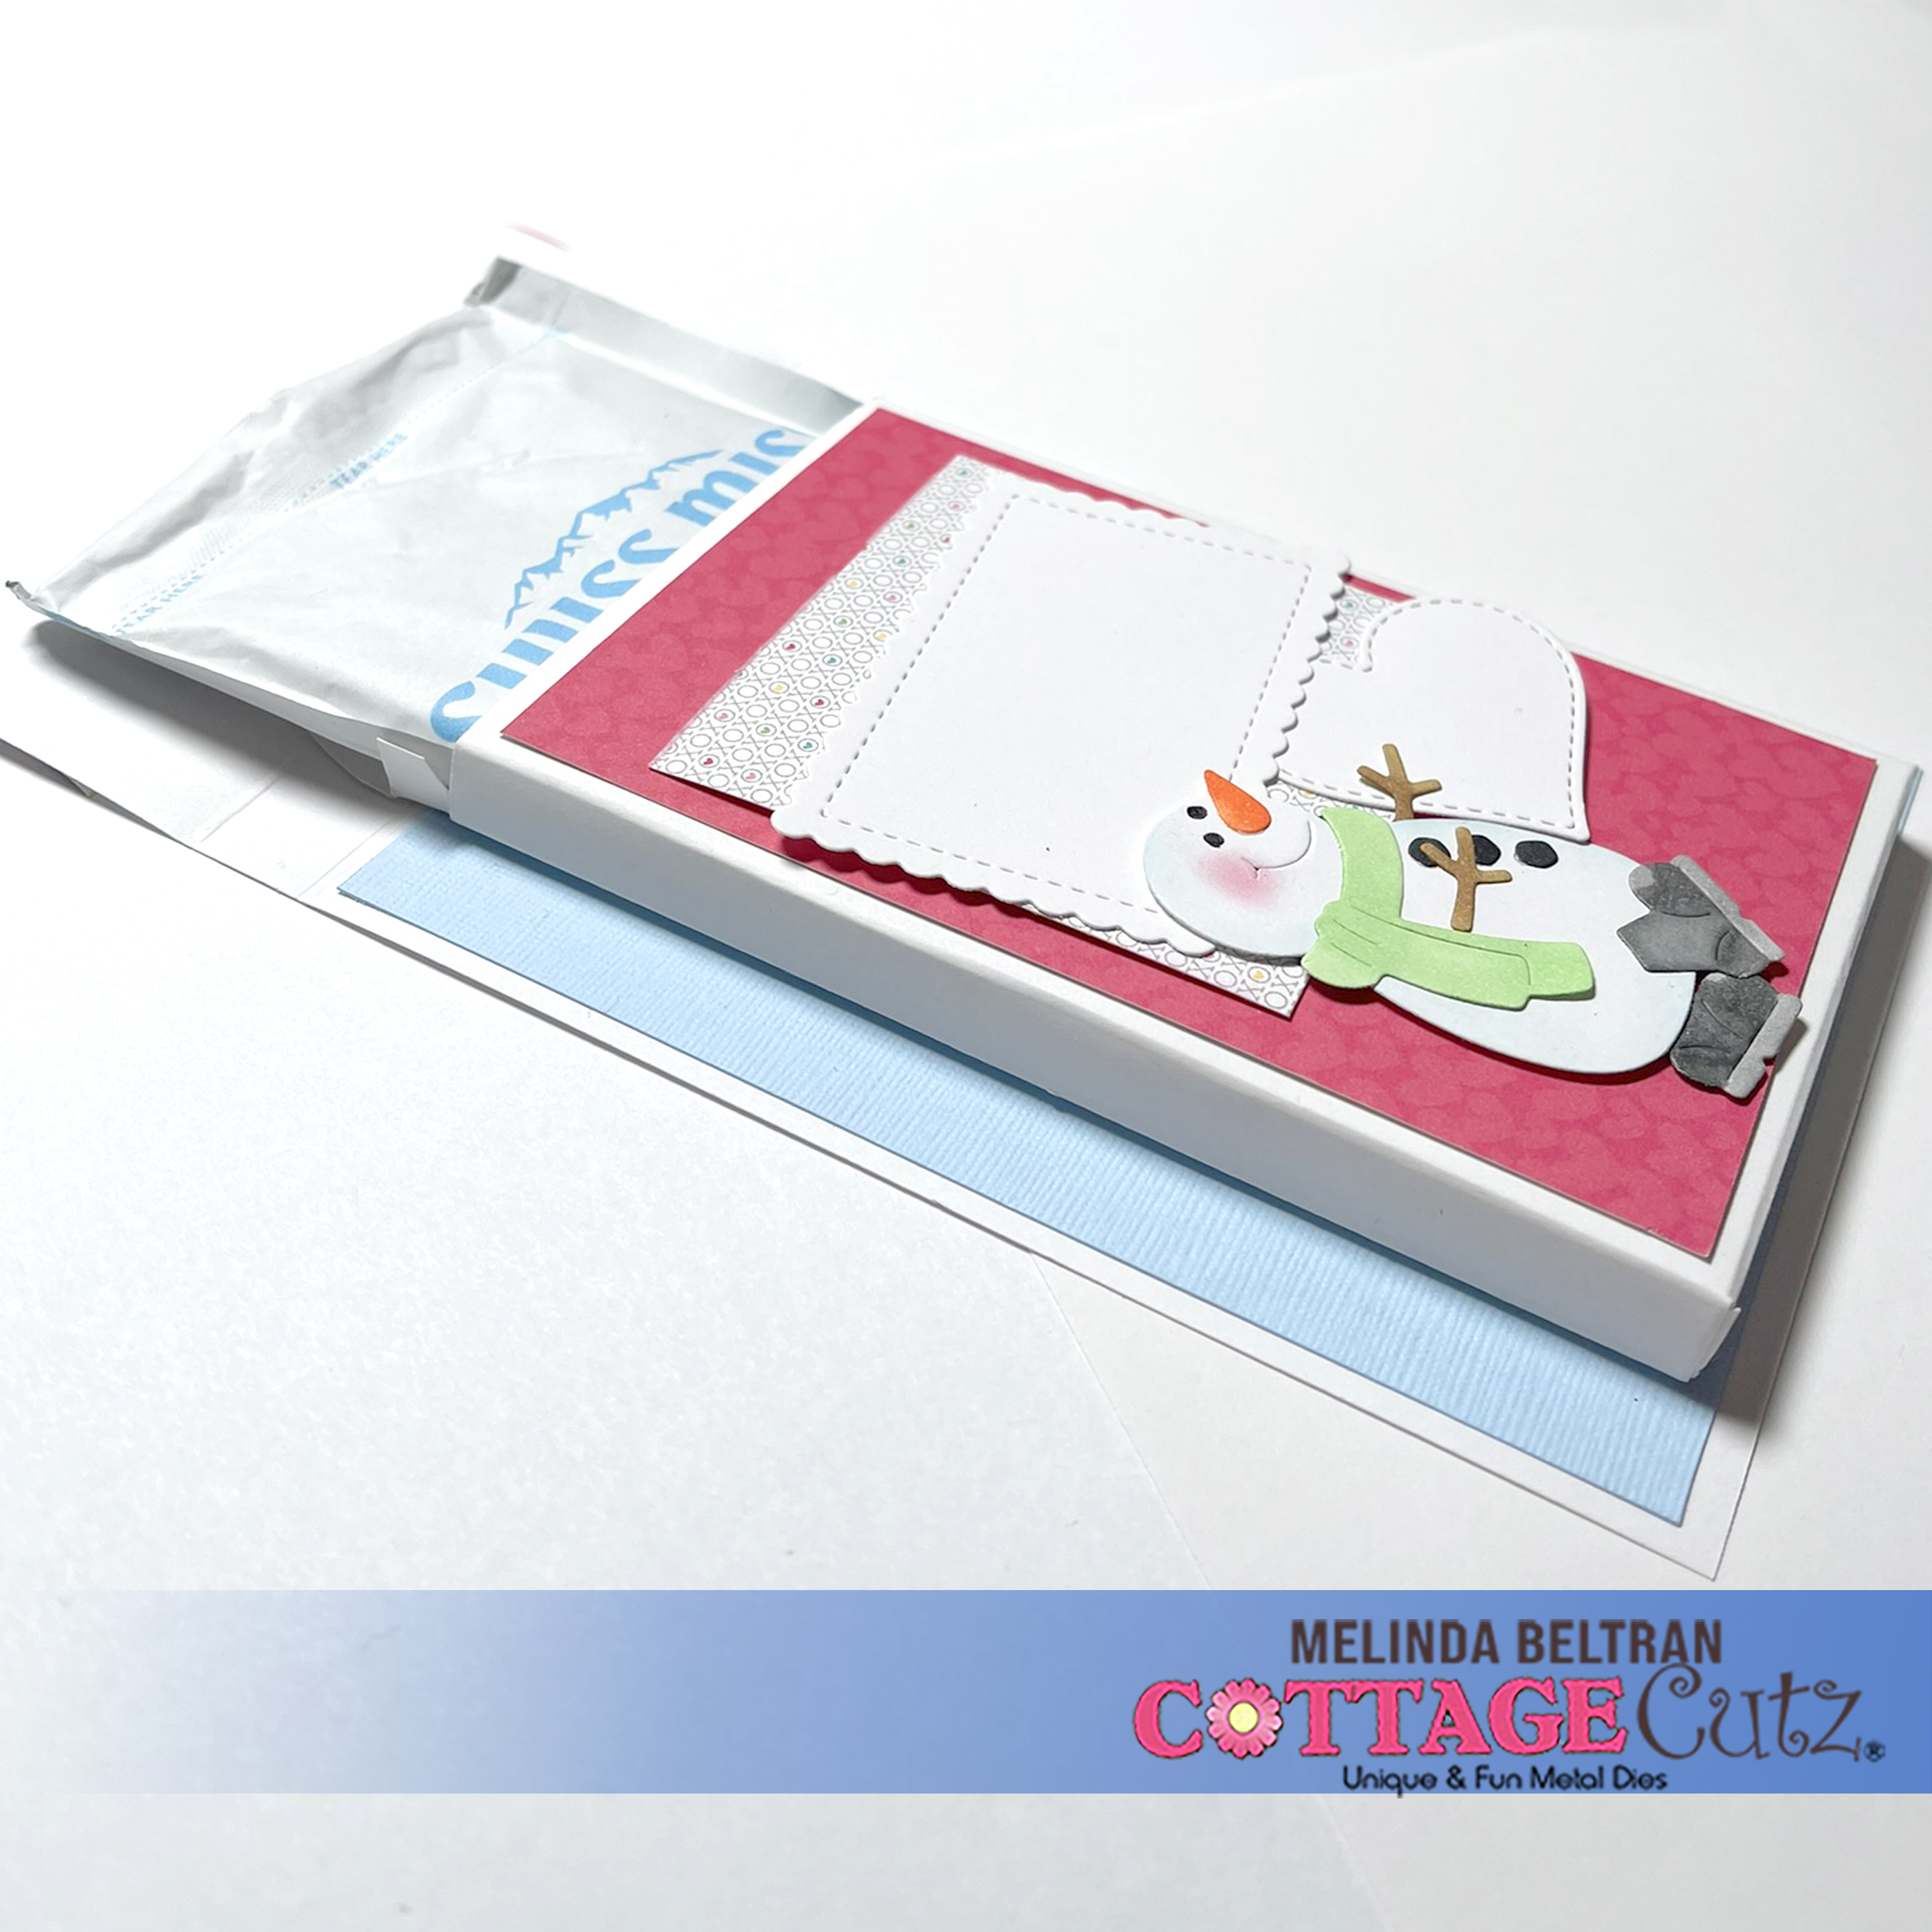
here is another view of my box. You can see the front is just a bit shorter so you can pull out the hot cocoa packets.


Both pieces of the box. I have to take the time to measure out the two pieces. I will update this when I do. I made SEVERAL versions before I settle on what I was happy with. I think one of these days, I need to add in some photos of what my desk looks like when I am coming up with these boxes. There is a LOT of trial and error involved before I get it right...lol. Of course that is a part of the fun of crafting, right?! Dreaming up something and having it come together. I do know the large rectangles on the left side piece are 3.5 x 5. That is the right size for the Swiss Miss hot cocoa packs. 


Here is a photo of the box as I am putting the two pieces together.


Here is another picture as I am putting the box together.


Here is a picture of the base of the box as it is first put together.

Here is a picture of the bottom. I added some half beads on the bottom for the "legs". I also added some extra mats at the bottom for some extra stability.

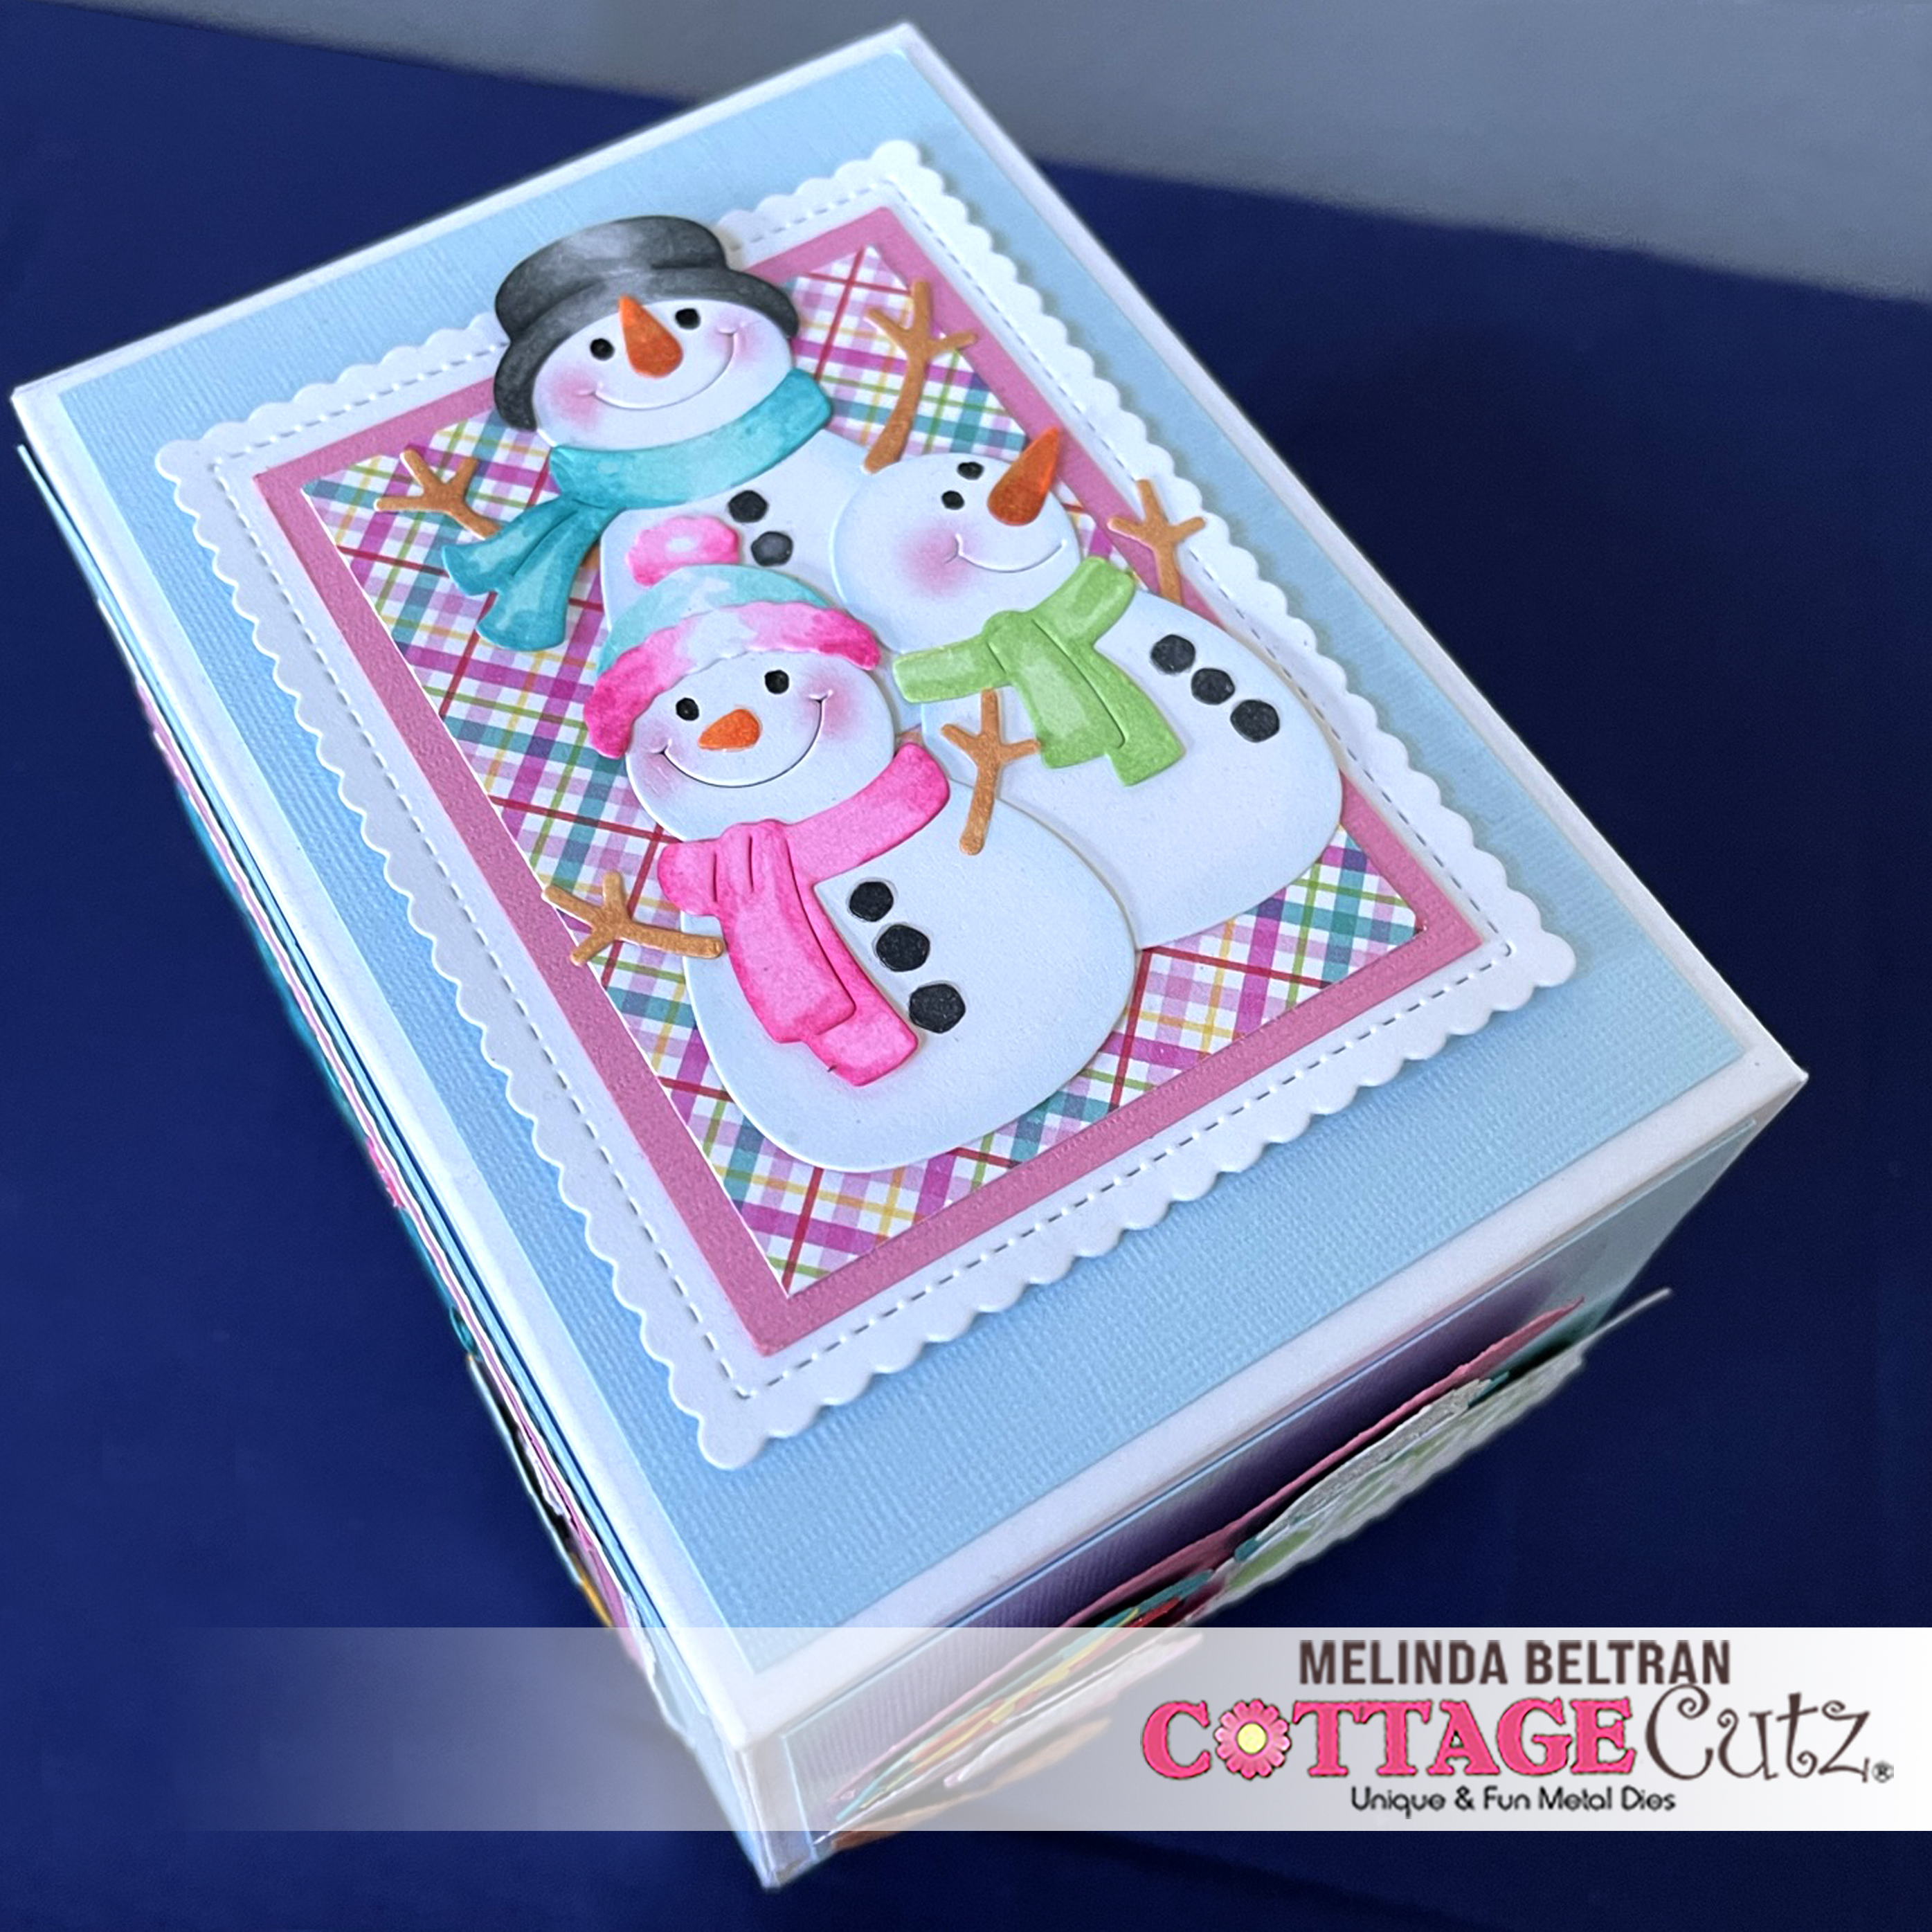
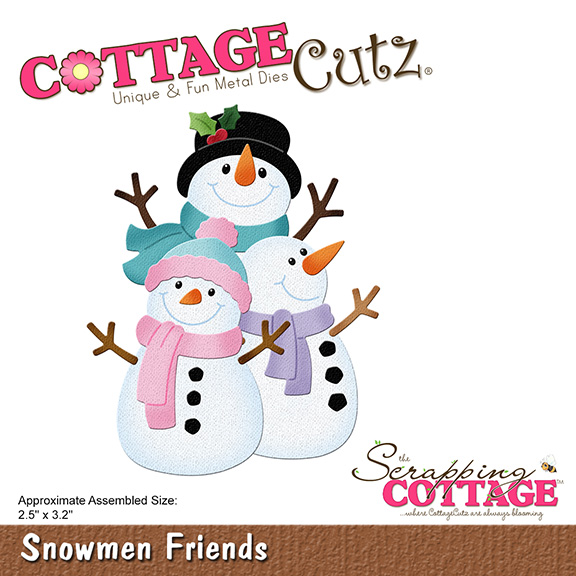
Here is a closer look at the top. I added some of the super cute snowmen friends die to a scalloped rectangle mat. I added some pink paper and some pretty patterned paper too.


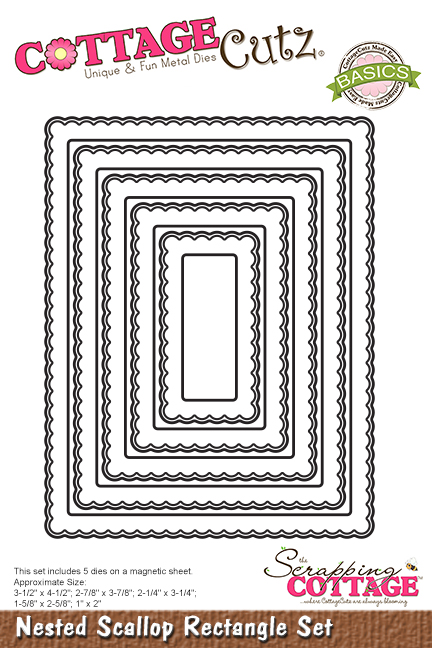
For both sides I used the scalloped rectangle and added a pink cardstock mat and some more of that pretty Doodlebug patterned paper. To that I added my hot cocoa mug with the little "steam curl" and the cookies & cocoa verbiage.

I think my little box turned out super cute and will be taking this to my office.

Dies I Used


Cookies & Cocoa

Santa Gnome w/Cookies

Snowmen Friends


Nested Scallop Rectangle Set


Stitched Heart Set


Well that about covers it for today! Until the next time, have a wonderfully craft-die day!
Melinda Beltran


Wednesday, January 18, 2023

We Go Together Hot Cocoa Pocket Box Surprise Card

Hello Cottage Cutz Friends!
Melinda here with you, and today I am sharing a fun and colorful Valentine's day card with a little surprise. Here's a look at my finished project.

Here's a look at just the cover. It features images from the following die sets
Cookies & Cocoa
Santa Gnome w/Cookies
Snowmen Friends
Nested Scallop Rectangle Set
Stitched Heart Set
 I used my markers to color in the various pieces. The cute image was from my Doodlebug paper pack as was the patterned papers I used for the scallop rectangle mat and the two hearts. I also used my puffy paint for the showgirls' hat and pompom and some stickles for the whipped topping on my mugs.


To make this fun card with a surprise you will start with a 5.5 x 11 piece of cardstock. I used white for mine. I then scored it at 5.25 and 5.75.

When scored you should have a half inch seam or section in the middle. See photo below. You will score and fold both lines so your base will close.


To make the little pocket you will need to create a little box like the one I created in the photo below. 
The base measurement is 4.75 x 11
You will score your piece of cardstock along the 4.75 side at .5", 7/8", 3 7/8" and 4.25"
You will score along the 11" side at .75", 1 1/8", 5 7/8", and 6.25"
You will cut it according to the photo below.

Here's a template image to offer a little additional help.

Once you have scored and cut the box, you will assemble it. When put together, this is what the "top" side should look like.

It has a flap that folds on the top so you can easily put a packet of Hot Cocoa inside.

Here is a photo of the "backside". I left the extra flaps so that I could adhere all of it to the base. Doing this makes the sides more sturdy. When you assemble the box, it will make more sense. They are optional and you could choose to cut them off to make the sides "flush" with the sides and not wrap around to the back. Here you can see I just added a piece of tape to keep down those flaps and then added adhesive to the entire back. This makes sure the little pocket/box is going nowhere...lol!

I added a blue mat to the inside background and then adhered my pocket/box to the center. I then decorated the top with a mat of patterned paper, a decorative piece of corresponding patterned paper and then a little rectangle, heart and another little snowmen friend. For this one, I added the little Santa Gnomes boots to him. Super cute! The rectangle and heart are left blank so I can write a little note to the recipient.

Here is a side view of the inside of the card, opened up. This gives you a good idea of what the box attached will look like and how the cocoa packet will be accessed.


Here is one last look at the top

I think it turned out super cute and you can make these for co-workers, friends and loved ones for Valentine's day and have a lot of fun doing them!

Dies I Used


Cookies & Cocoa

Santa Gnome w/Cookies

Snowmen Friends


Nested Scallop Rectangle Set


Stitched Heart Set


Well that about covers it for today! Until the next time, have a wonderfully craft-die day!
Melinda Beltran

Monday, January 02, 2023

Sweet Hearts Slimline Shaker

Happy New Year crafters!

Kris here sharing with you today.  I have a feeling we're in for a very long cold winter here, so I decided to make a cute Snowman Slimline Shaker card for Valentine's Day using the Snowmen Friends and the Cookies & Cocoa dies from the Christmas Release #2.  I've also used the Whimsical Hearts Slimline die - I thought with many open spaces it would be perfect for a shaker card!  (See product list at end for a full list with links.)


- CUTTING -

Dark Teal Cardstock
•  8" x 9" and score the 8" side in half for a top folding horizontal base.
• Whimsical Hearts Slimline (try to keep the hearts in place after they're cut)

Pixie Pink Cardstock
Whimsical Hearts Slimline (punch out all hearts)
 
Patterned paper (teal with white grid)
• 3-3/8" x 8-3/8" (for background behind the sequins)

Acetate/Window Sheet
• 8-3/8" x 8-3/8"

Light Teal Cardstock
• Stitched Hearts (2nd largest centered in middle of largest die to make a frame)

Dark Pink Cardstock
• Stitched Hearts (largest die)

White Cardstock

Black Cardstock

- ASSEMBLY -

1.  Teal Whimsical Hearts Slimline piece - punch out all the large and medium hearts, but try to keep all the tiny & small hearts in place.

    - Turn piece onto backside and place a small dot of glue onto each tiny & small heart.
    - Place acetate onto back of teal piece and press down where glued hearts are.
    - Turn piece over and carefully lift off the Teal background, leaving the tiny/small hearts

2.  Pixie Pink Whimsical Hearts Slimline piece - add glue to the backside and place carefully onto front of acetate, lining up the teal hearts.

    - Glue in any remaining tiny/small hearts that may not have stuck or that fell out after die-cutting so that all the tiny/small hearts are filled in and all the medium/large hearts are empty.

3.  Turn Pink piece onto backside and add 1/8" foam strips all along the 4 edges, getting very close to the edge, but not past it.  

    - Remove backing from foam strips.
    - Add shaker elements (ie. sequins, glitter, beads, etc)

4.  With your patterned paper piece turned upside-down, carefully fit it onto the top of foam strips, lining up the edges.

5.  Add tape or glue to back of shaker and center it onto card front.

6.  Add dimensional tape or foam strips to back of Light Teal heart frame and adhere to Dark Pink heart.

7.  Color Cocoa mug, and 2 of the Snowmen and pop them onto heart with foam tape.

8.  Glue the white "Sweet" onto it's black shadow and adhere to the top left of large heart. 

    - Adhere hearts to middle of shaker.


I hope this project inspire you to get crafty in 2023 with your favorite CottageCutz dies!

~ Kristine

PRODUCTS USED:


Saturday, November 26, 2022

Group Post Black Friday Release Dies (Day 4)

Hello CottageCutz friends! Thanks for taking the time to stop and visit with us today. It's Black Friday Release week here on the Blog.

We have a new Classic 50's release that makes its debut here on the Blog and also in the online store. You can pick up the bundle for a huge 65% off. That's under $97 or 30% off individual dies. The release is filled with some amazing retro images from the 50's era.

We will have group posts for the next several days to give you lots of inspiration on different ways to use the dies. If you missed our first 3 posts, you could see them herehere and here.  
Card 1: Our first card for today is from Marla Harris.  She created the cutest Christmas card using a combo of the Classic 50's release and the Christmas Part 2 Snowmen Friends die. 

Don't you love the appeal she achieved with the snowmen enjoying some Christmas music with the Jukebox in the background. She even added a guitar to complete the music look. It's a creative idea. Her snowflake background was created with a stencil and glitter glaze.

How cute would this be for the music or snowman lover in your life? And the non-traditional colors just add pizzazz to her card. 
Card 2: This next sample is one that I (Mary Marsh) created using the Rollerskate and the Fifties Phrase #1 dies. A friend invited us to her 8-year-old daughter's birthday party, and she loves to roller skate. So, this card is perfect for her. 

My background paper is in a package of heavenly skies paper. I like the bokeh look and I thought it would work well for my card idea. I cut the skate and the "Let's Party" phrase in complementing colors. The stars are part of the fifties phrase die. 
Card 3: Our last sample for today is from Melinda Beltran. She created a treat box with a tent card base.  She is so innovative with the treat box ideas she brings us. This one is a perfect gift to give to the music lover.  
Here is a view with the box off the base. It's opened slightly opened and the treat box can be filled with their favorite treats as Melinda is showing here. You can check out Melinda's Blog to get all the measurements and step by step instructions of how she put this all together. 

She used the Classic Radio, Fifties Jukebox, Guitar, Music Notes & Records and Fifties Phrases #1 to complete her project. 
dies used to create cards: