Showing posts with label Pierced Square Set. Show all posts

Thursday, June 11, 2020

Planter Box

Hello Scrapping Cottage Friends

It is Pam sharing with you on the blog today!

I am using several different dies today to create this little garden card.  Plus some fun designer paper and ribbon.  Hope you can play along with me today!


Design Steps:

 1.  Using the 
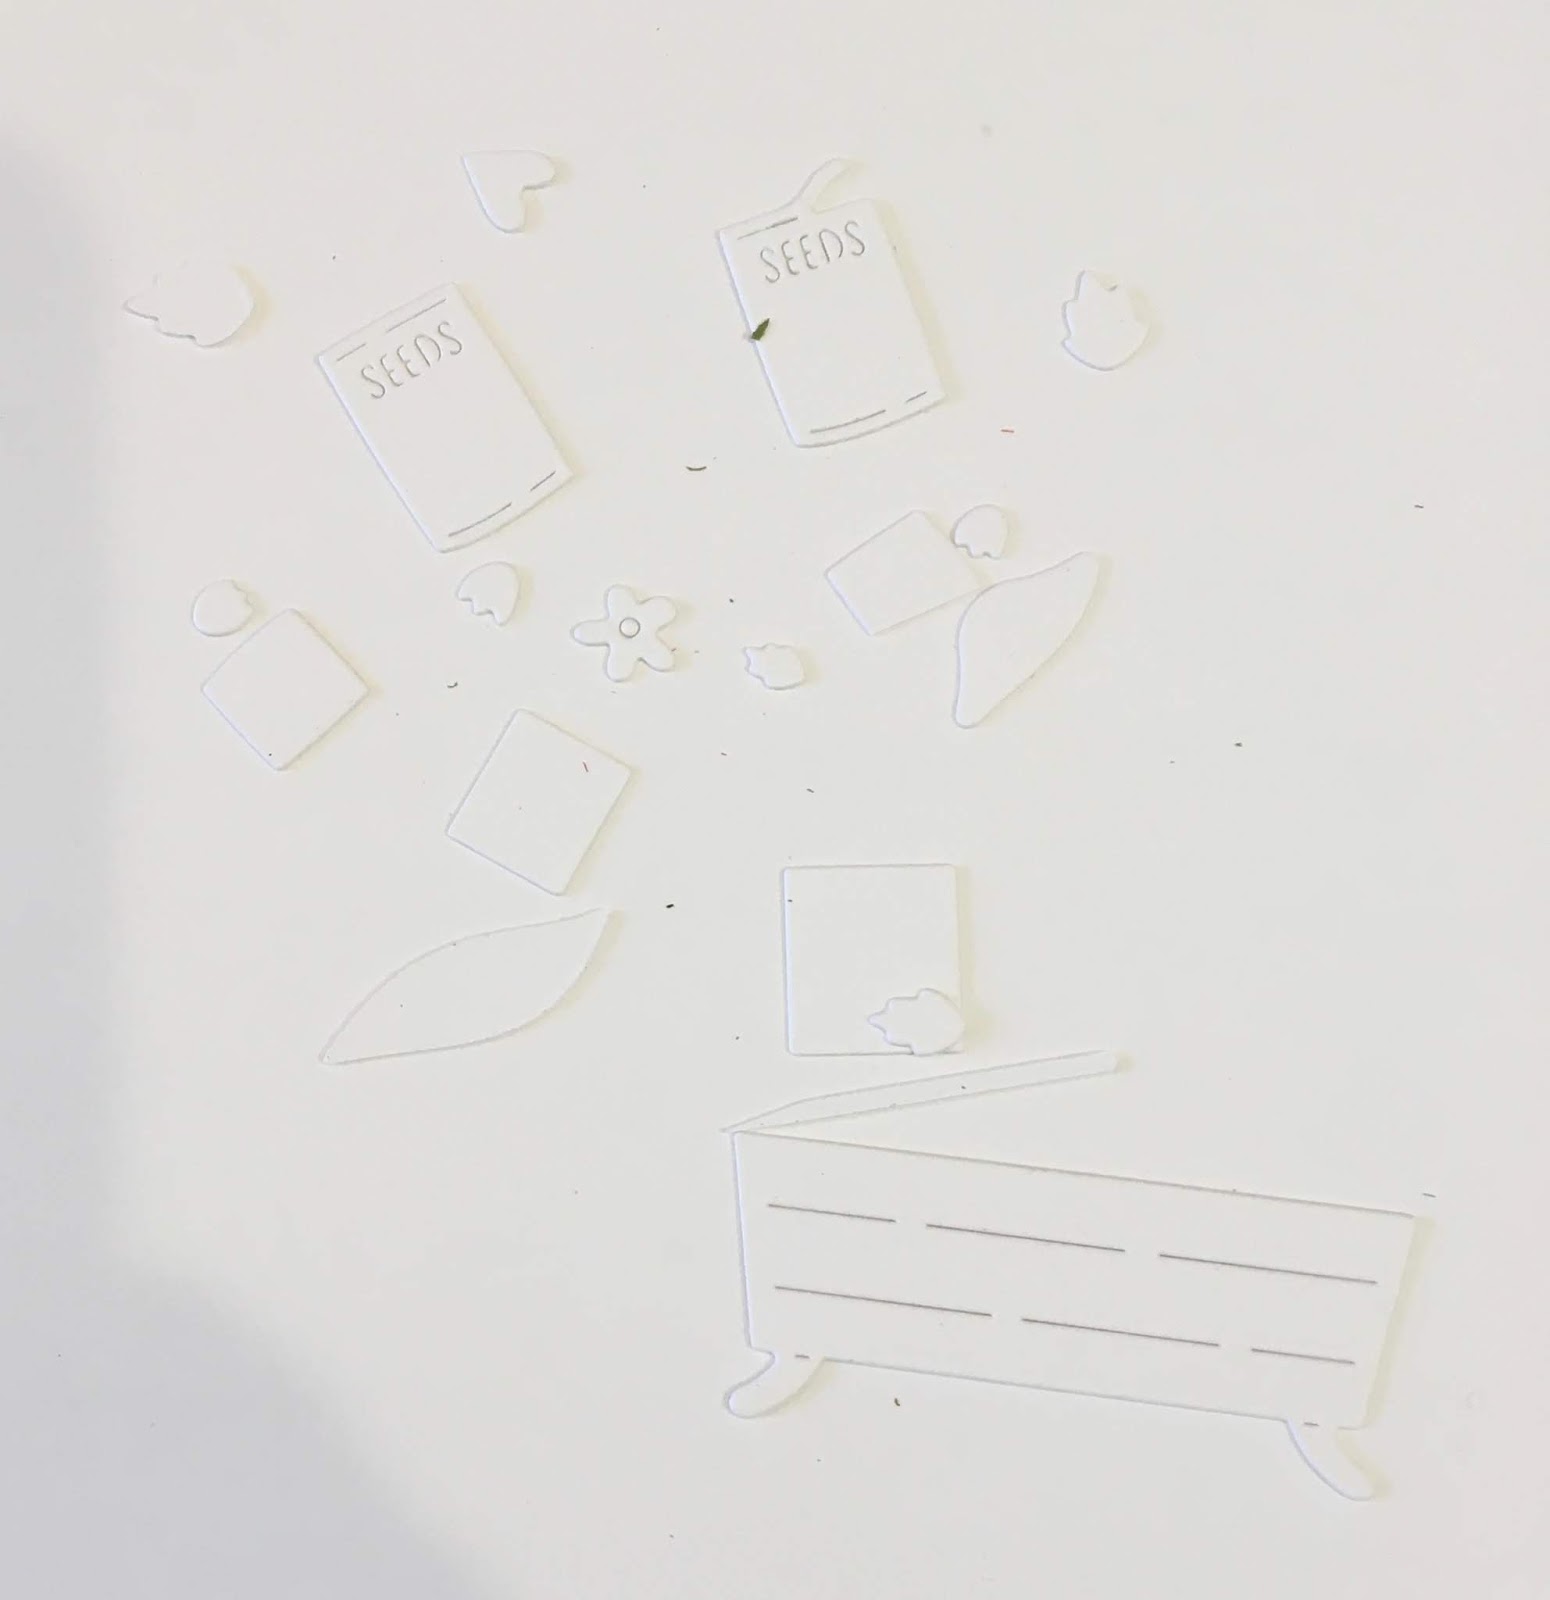
Planter Box & Seeds die plus the Garden Tools die cut all pieces out of white card stock
 2.  Color the pieces using Tim Holtz inks and a sponge applicator.  Assemble the pieces using a fine tip glue
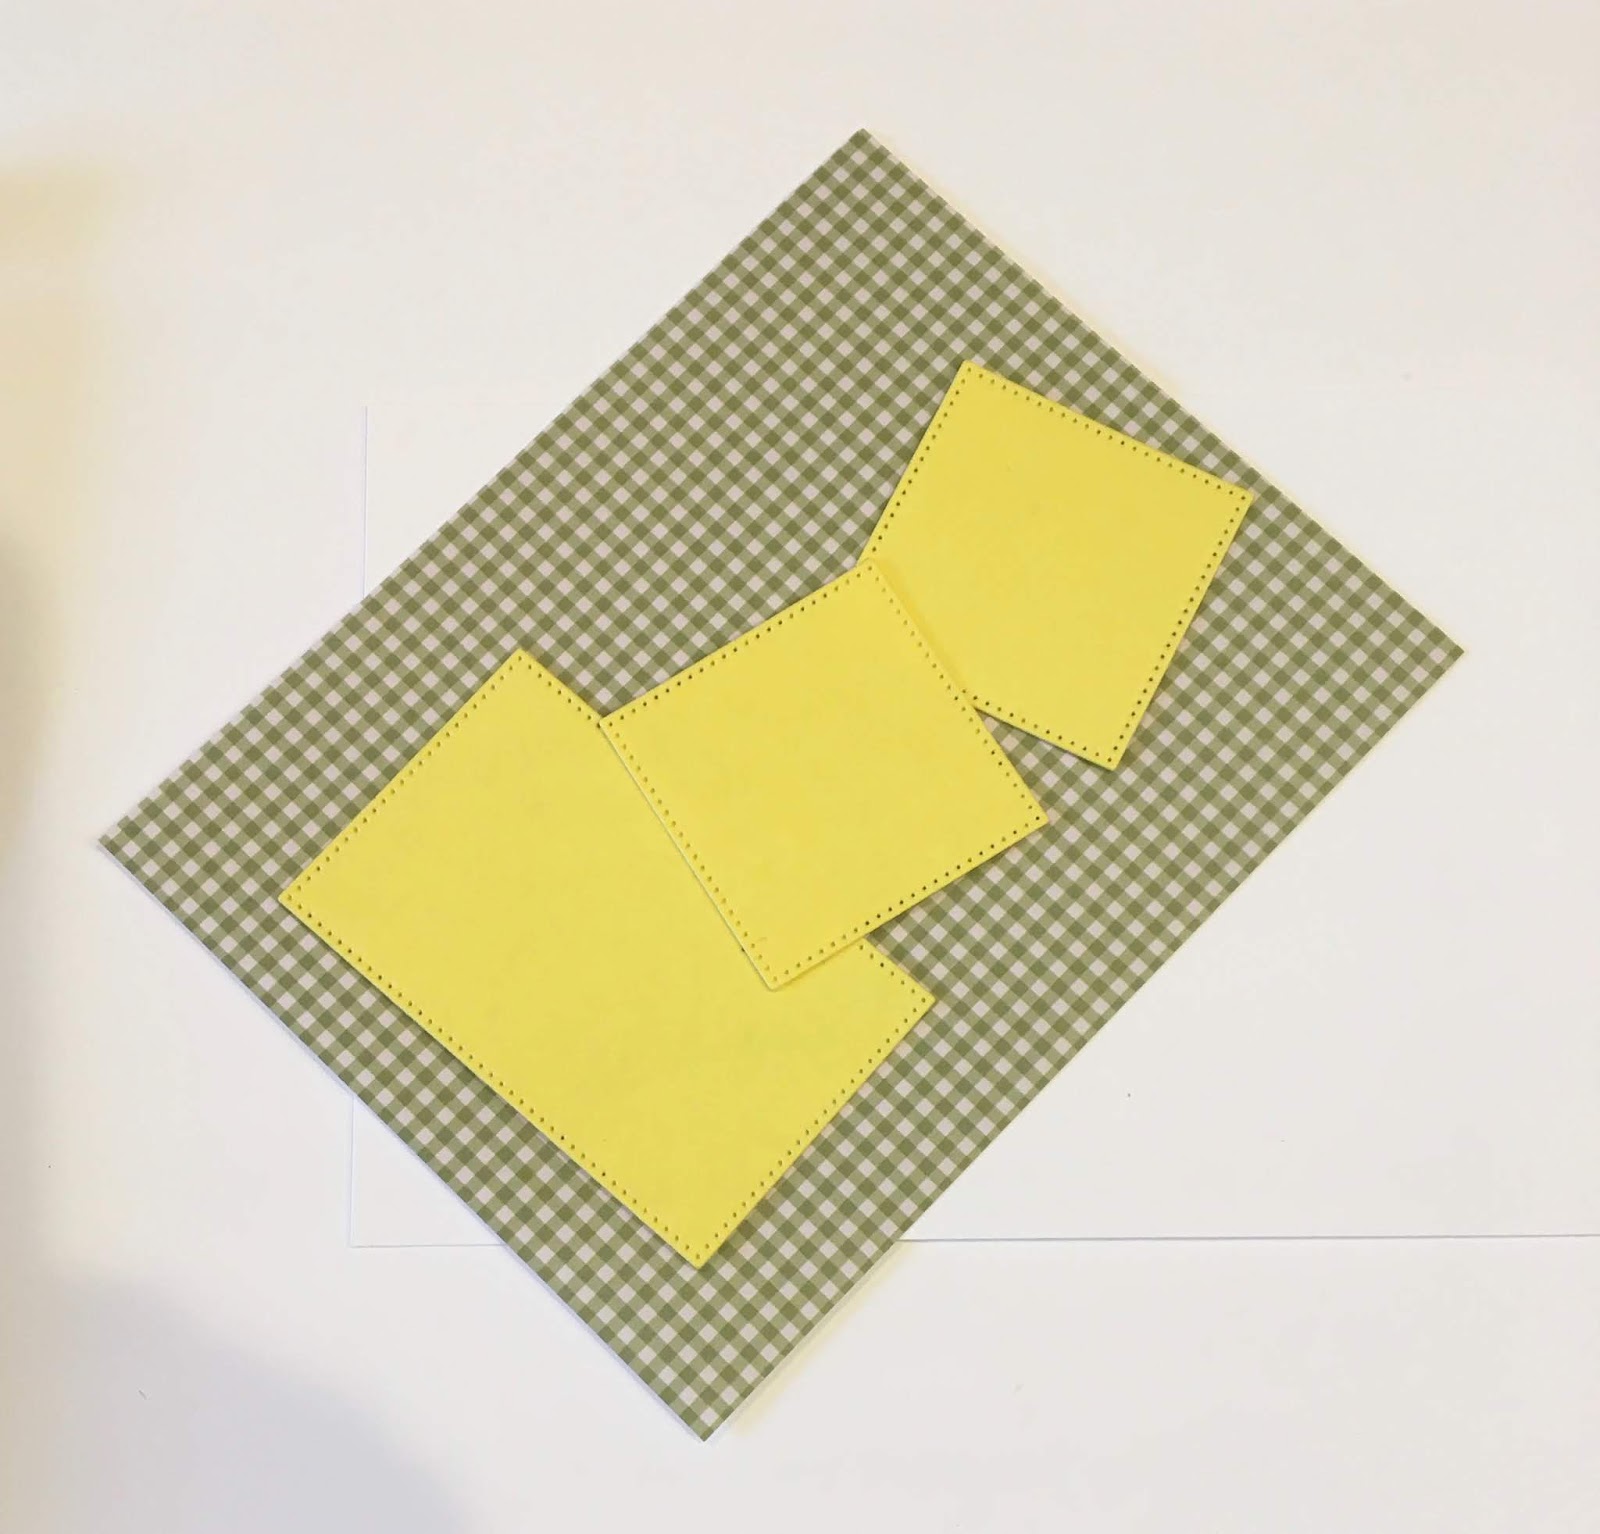
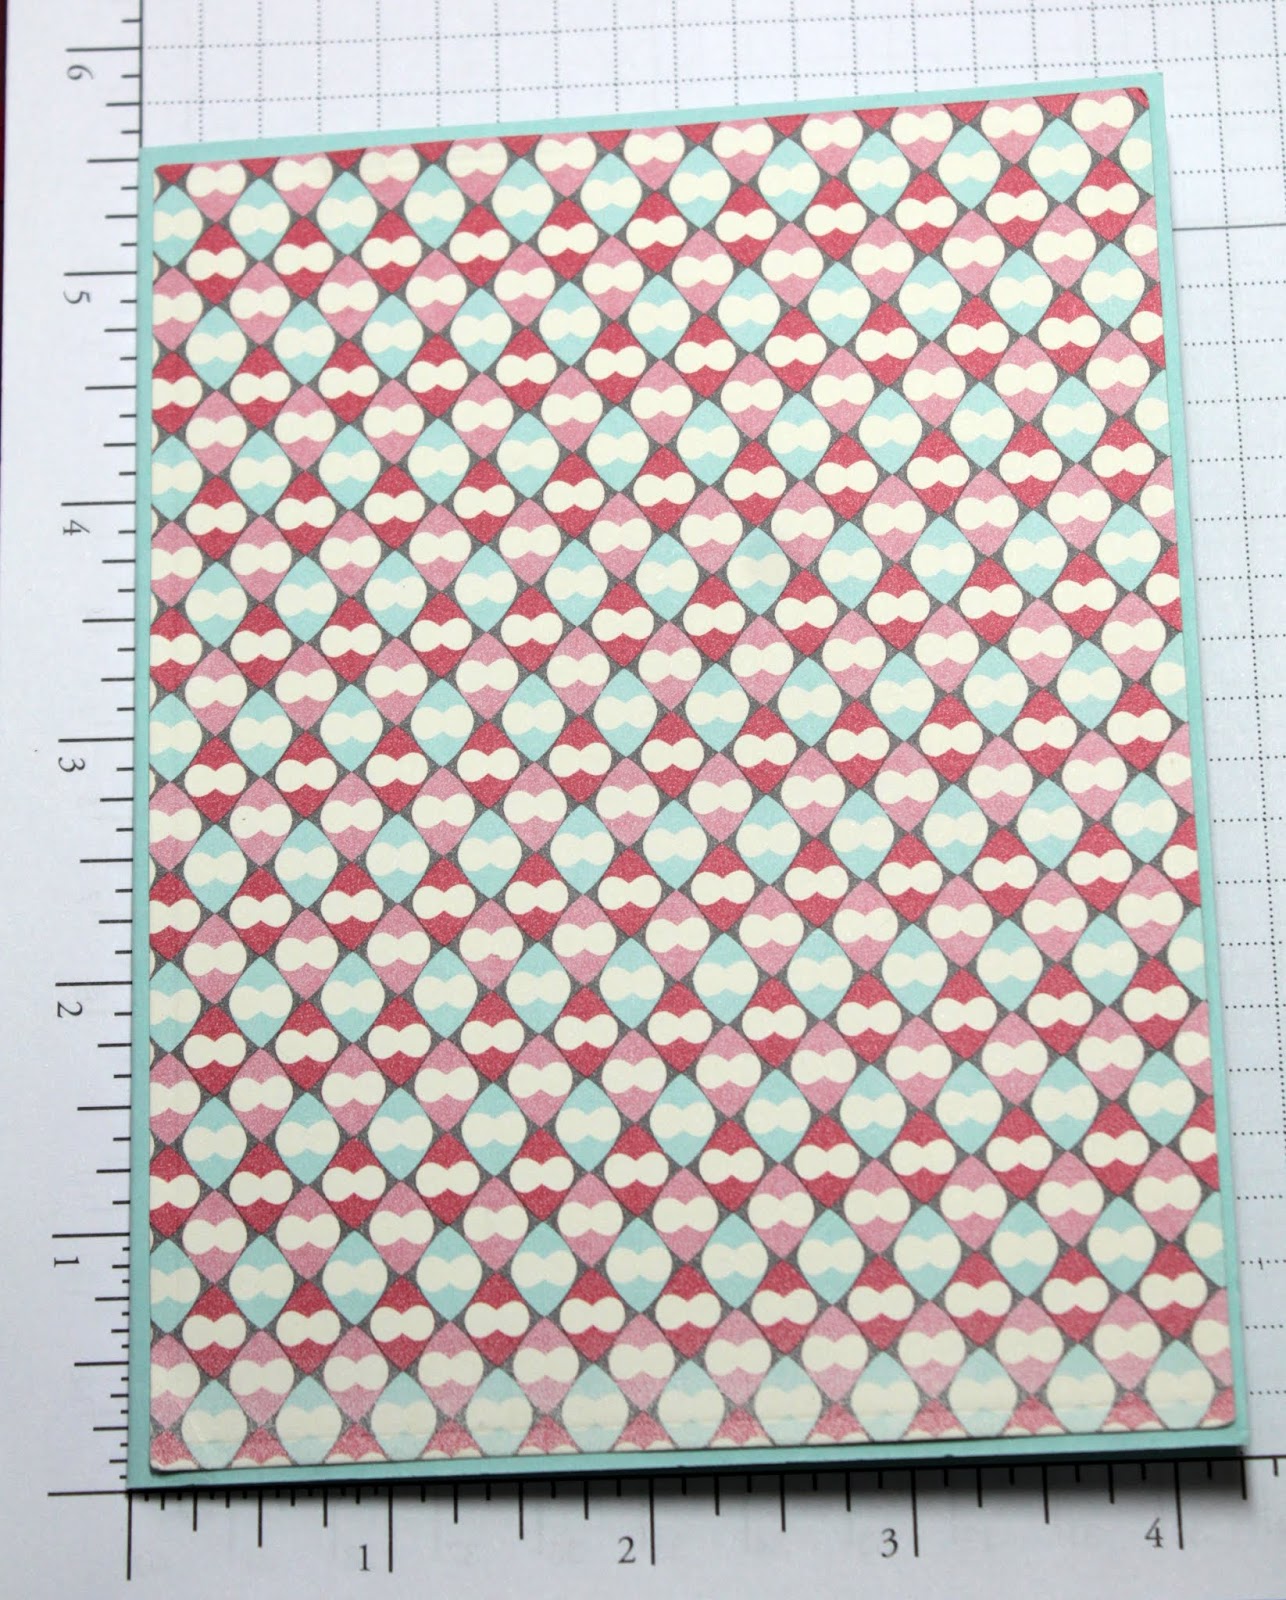
 3. Use a white A2 card base, Yellow card stock cut to 4 x 5 1/4 and Green checked DP cute 3 3/4 x 5.   Cut 2 yellow squares and 1 rectangle square using the Pierced Square and Pierced Rectangle dies.  Layer the squares and rectangle onto white card stock
 4.  Glue the checked DP to the yellow card stock layer.  Glue the yellow retangle and squares to their white layer then arrange onto the DP
 5.  Add the ribbon to the checked DP as shown.  Put pop dots onto the back of the squares and retangle then adhere to the check DP

6.  Add the die cut planter box, seeds, and tools to the squares and rectangle as shown.  Glue to the white card base.  To finish add the sentiment and rhinestones

CottageCutz Products

Thanks so much for stopping by!  I hope you are enjoying this release as much as I am there are a ton of different uses for these dies!

Blessings and see you next Thursday!
Pam


Sunday, February 16, 2020

Splish Splash Hello


Hi!

It's Anja here. My package finally arrived and this cute duckling die was the first to get on a card.


For this card I used:
- Cottage Cutz dies (Splish Splash Duckling, Expression Hello, Pierced Square Set),
- Distress Inks,
- white card base 15x15 cm,
- white card stock for die cuts,
- violet card stock for background (13,2x13,2 cm, 9,2x9,2 cm),
- patterned paper for background (13x13 cm),
- silver pigment ink,
- black pen,
- white pen,
- paper glue.

First I cut and colored the duck. I used black and white pen for the eyes.


Then I cut and colored the sentiment.


Then I cut all the pieces for the background.


 And assembled the card together.


This is all from me for today. I wish you all a sunny Sunday.

See you again next week.

Anja Z.


Cottage Cutz dies I used:


Sunday, July 28, 2019

Elephant With Balloons

Hi!

It's Anja here. I have another cad for you today. This time I combined this cute new die with some older ones and made a card that open a bit differently than usual.


For this card I used:
- Cottage Cutz dies (Party Elephant, Tree With Tire Swing, Nested Stitched Scallop Square Set, Pierced Square Set),
- Distress Inks (Broken China, Peeled Paint, Vintage Photo, Black Soot, Spiced Marmalade,
- white, colored and patterned card stock for die cuts,
- black pen
- white pen,
- hole punch,.
- ruler,
- pencil,
- metal rings,
- paper glue.

First I cut and colored the elephant and the tree. This time I used colored paper for die cuts. I emphasized the cuts with Distress Inks.


Next I made the background. I cut two squares. I colored the edges on the left one, and sky and grass on the right one.

Instead of the card base I cut two scalloped squares this time. I used patterned paper.


I glued the squares together and made two holes on top for the metal rings.


Then I combined both sides with the rings and glued the elephant on top. And my card was done.


And that is all from me for today. Have a nice Sunday and see you again next week.

Anja Z.


Cottage Cutz dies I used for this project:


Saturday, March 16, 2019

Hatching Bunny (new die)

Hello Scrapping Cottage friends! Thanks for taking the time to stop and visit with us today. It's Mary Marsh here bringing you the Saturday edition of the Blog.

We have a new release of 36 Spring dies in the online store. There are a variety of designs so perfect for Easter or Spring card making. Take a look in the store you definitely won't be disappointed.

For my card today I am using the new Hatching Bunny die. He is just too cute peeking out of the cracked egg. I couldn't resist using him on an Easter card. So let's get started with some details on how I created my card. 

Step 1: Having a layout in mind at the card start is always a big boost for me. That way I can just choose the card colors and designer paper and I am good to go. I liked this week's sketch #740 on Splitcoaststampers because of the somewhat simplistic design. I thought the stacked diamond shapes would be perfect as a background for this little bunny.  
I looked through my designer papers to get one that had some soft Spring like colors to it. I settled on this one that I have had since 2012. It had all the colors that I wanted. 
Soft Blue card base: 4 1/4" x 5 1/2"
Designer Paper layer: 4 1/8" x 5 3/8"

For the diamond shapes I used the Stitched Square set (5th largest) die set and cut in Primrose cardstock. For the vanilla layers I used the Square Set (5th largest) die. I sponged background clouds on the top 2 diamonds with tumbled glass distress ink. On the bottom diamond I sponged mowed lawn distress ink. 
The Hatching Bunny and other elements from this die are all cut from cardstock. I used a cocoa shade for the bunny, a medium green for the grass, primrose for the tulip and a soft blue patterned paper for her little bow. 
I decided to stamp a sentiment on the egg as well as the top diamond shape. A "Easter Hello" phrase seemed right for this card. 


Now that all the elements are cut I am ready to start card assembly. 

Step 2: I secured the designer paper to the card base using double sided tape. 
The diamonds are secured with the same medium. 
Started layering my Bunny image from the grass up on the diamond shapes.
 I kept looking at my card and thought it just needs something else. So I decided to add a small sun image on the top panel and scattered some blue sequins around the card. And, that did it for me. Card is complete and so is my post for this week.

I hope I have given you some inspiration and an idea for a way to use this cute new die. Have a great week and I will see you next Saturday.

Dies I used to create card: