Showing posts with label Nested Stitched Scallop Circle Set. Show all posts

Wednesday, July 31, 2019

Happy Birthday

Hello!  This is Sukie and today I'm sharing this birthday card for my design team post. Birthday cards are my absolute favorite to create so I had a blast working with the new Birthday dies from Cottage Cutz.
I selected a cheerful color palette with a happy vibe which was combined with some basic white card stock.
I cut out the Birthday Puppy and shaded him and the little cupcake with some Oxide Inks.  I also cut out a couple of circles with the Circle Set and the Nested Stitched Scallop Circle Set.  A bit of Stickles added some sparkle to the candle flame.
I selected a smaller sentiment from the Scrappy Moms (retired) Simple Sentiments stamp set along with some "Tickled with Teal" Trendy Twine.
Once I put my card base together, I layered it with a hand cut flag which was wrapped with the twine to add some softness to the top of my card.  The two circles were nested together and adhered on top of the oversized flag.
The puppy and cupcake were placed inside the double circles and the sentiment was anchored below. I finished off my card with a twine bow.
Here are the dies used on my card, available in the shop:

Tuesday, July 23, 2019

Round birthday cards

Hi! Janja is here. My summer holidays are over and I'm with you again.
For my today post I prepared 4 cards with a new release - Birthday.
Let's see how they are made.


- round card bases
- white and colored cardstock
- colored ink pads
- self-adhesive foam pads, glue

Cut out all the pieces from a colored cardstock. Color them around the edges with colored ink pads. Then assemble all mouses.


Prepare white round card bases. Cut circles from patterned papers and colored cardstock. Paste all circles on card bases.


Attach the mouses to the background with glue and self-adhesive foam pads. Stamp a sentiment and we're done.


Thanks for stopping here and happy crafting.
Janja


Wednesday, April 03, 2019

Friends Through Rain & Shine

Hello!  This is Sukie and today I'm super excited to share that I'm the newest member of the Scrapping Cottage design team. I absolutely adore this company and their collection of dies.  I'm looking forward to creating lots of inspiring projects during my design team term.
When I saw this adorable die I was inspired to create this fun card.  I cut out the Rainy Day Duck die pieces in white card stock and used my Oxide Inks to shade the pieces.  I also shaded the Nested Stitched Scallop Circle Set to coordinate with the duck's hat.  Another circle was cut out in white card stock with the Circle Set.  The clouds are from the Snowman Lane die set.
The inspiration for the duck and rainy day scene came from the gorgeous chevron patterned paper. The paper is from an older Doodlebug paper pad from my stash.  I layered the chevron paper on white card stock and adhered it to a yellow card base.
The two circles were adhered together and layered on my card.  Next, I added the puddle, clouds and duck to begin building the scene.
Initially, I didn't cut out the water splashes thinking they wouldn't fit inside the circle, however, they ended up being the perfect addition along with the umbrella to the scene.
The finishing touch was a sentiment from the Scrappy Moms (retired) Fun Celebrations stamp set.  I stamped the sentiment on a hand cut flag and added it to my card.
Here are the dies used on my card available in the shop, check out the anniversary sale going on now:

Thursday, February 21, 2019

Froggie Hello!

Hi Blogging Friends!

I am so happy you stopped by today! It is Pam sharing with you on the blog.

And before we get started I wanted to let you know that we are having a wonderful sale in our online store. The new Spring release is 25% off.  Check out the new dies! They are so adorable.

Today, I am using one of the dies from the Spring release.  I think this little frog is just so cute!


Designer Steps:
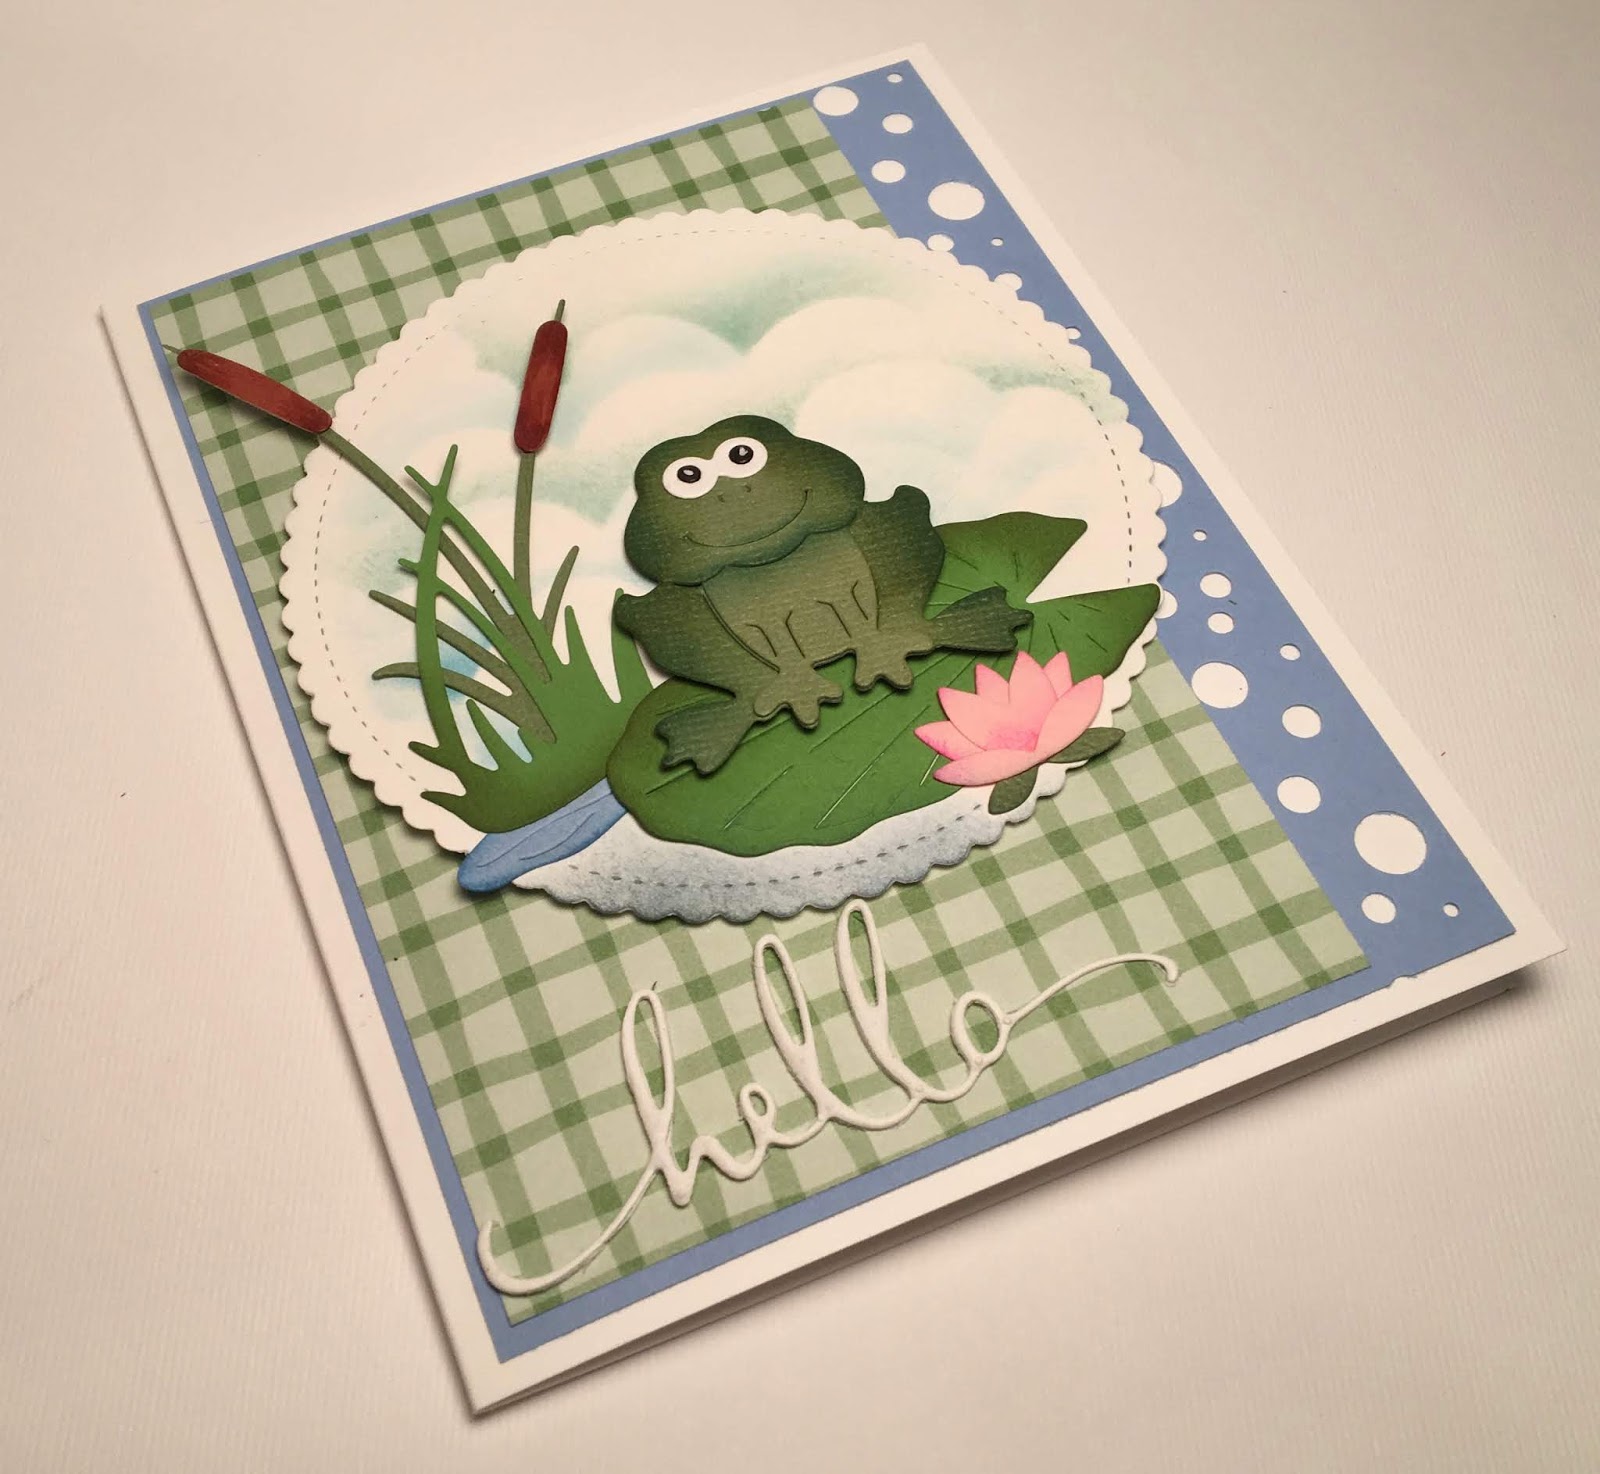
 1.  Cut out your frog using the Spring Frog with Lily Pad die.  I used two different greens, blue, tan, pink and white card stock
 2.  Use a variety of ink pads to shadow your pieces and then assemble the frog.  I used a black marker to color the white die cut eyes and then added a white dot with a gel pen
 3.  Assemble the flower and the cattail
 4.  Use the large Stitched Scallop die and cut out a white circle.  Use a stencil and blue ink to make the clouds
 5.  Arrange the cattail and lily pad on cloud circle and glue them down.  Then pop up the frog onto the lily pad with dimension tape
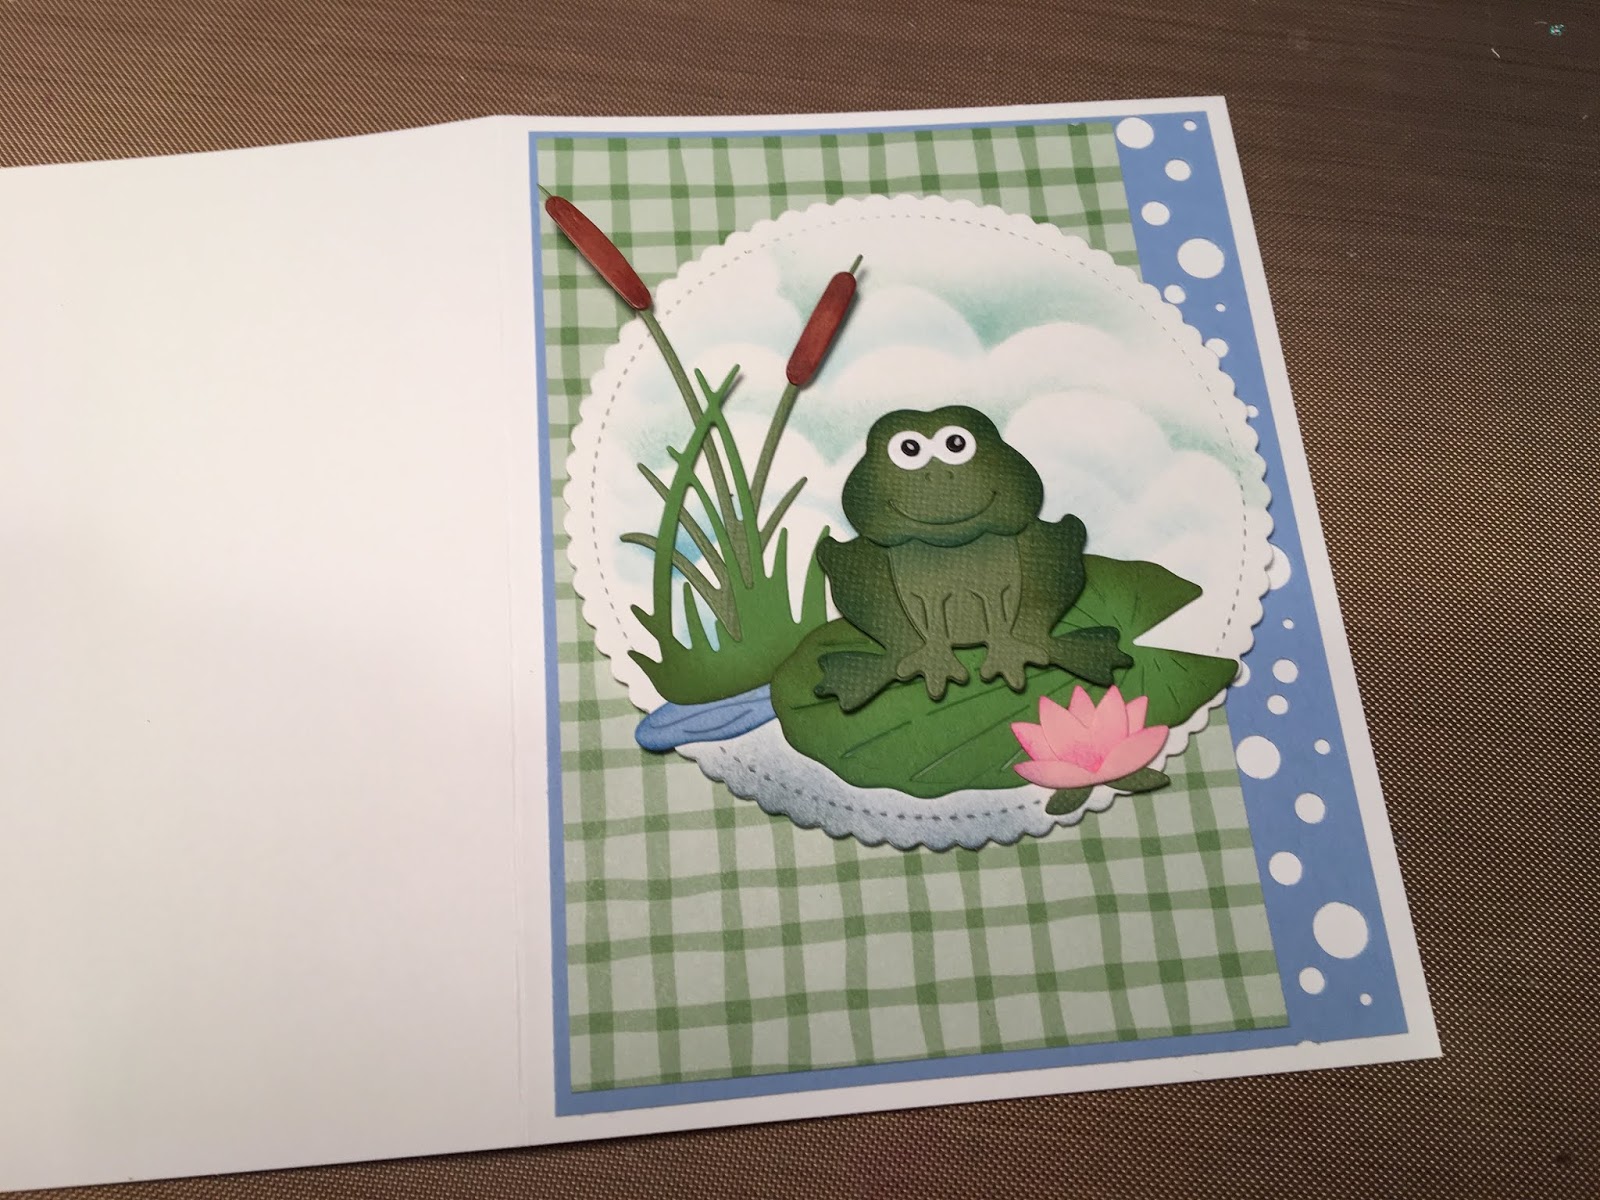
 6.  Use an A2 white card base and cut out a slightly smaller piece of blue card stock for the front of the card.  Use a punch on the side of the blue to get the different size holes
 6.  Cut a piece of checked green DP 3 1/4 x 5 1/4 and glue it to the blue card stock.  Then glue it to the front of the card
 7.  Place dimension tape to the back of the scalloped stitched circle and place it on the front of the card
 8.  Use the Hello die and cut it out of white foam and glue it to the front of the card as shown

CottageCutz Products


As always I am so glad you stopped by to take a look! Hope you take some time for yourself to be creative!
Blessings
Pam


Wednesday, November 28, 2018

Black Friday Release DT Samples

http://www.scrappingcottage.com/cottagecutzblackfriday.aspx
Hello Scrapping Cottage friends! Thanks for taking the time to stop and visit today. We are sampling DT cards from the brand new Black Friday Release Bundle.
There are 16 new pet designs in this release. And for a limited time the individual dies are on sale at 30% off. Or you can purchase the entire release for $99.95 and you will save 60%.

For the next several days, we will be featuring samples from the design team using these new dies. We wanted to  give you some creative ideas for using the dies. So let's get started with the cards for today.

Card 1:  Our first sample today is from Sukie Dhillon, our new guest designer. She is featuring the Fancy Feline die. She created such a fun card with this whimsical new die.
Don't you just love how the adorable cat is nestled on top of her own kitty condo.  The ball of yarn and tiny mouse add a fun element to the scene. She framed the images with the Nested Stitched Scallop Circle die.
 This card is the perfect way to say hello to the cat lover in your life. Her sentiment completes the theme of the card so perfectly.

Card 2: Our next sample is from Lois Bak. She created a cute birthday card featuring the Doghouse w/Pup & Hydrant die. She placed the puppy in a fun outdoor scene using patterned paper for her sky and grass. The picket fence just adds to the overall appeal of her card.  
Did you notice how she personalized the plaque on the dog house by stamping a witty sentiment. This card design would be ideal for children or adults who may be celebrating a birthday.  
Card 3: The final sample for today is one that I (Mary Marsh) created using the super cute Peeking Puppy die. I also created an outdoor scene for the lovable little pup.
His little friendly  face would put a smile on anyone's face when they open this card. He looks like he is so eager to give some love. So I thought a sending hugs phrase was so appropriate for this card of encouragement. The sending hugs sentiment is from a previously released die.
Well, that's our samples for today. I hope the team has given you some inspiration if you already bought these dies. And if you are contemplating a purchase, don't wait to long, The dies are on sale for a limited time.
 
Stop by again tomorrow for more team samples.