So glad you stopped by today! I am so excited about starting my fall cards. Autumn colors are my favorite and so is the season! Today I am sharing a Fall card using a number of different dies: Mushroom Fairy Garden (Mushrooms), Fall Centerpiece (leaves), Spring Greenery, Greenery and Botanical Garden 2.
Background Photo by FreePiks
Showing posts with label Mushroom Fairy Garden. Show all posts
Monday, August 19, 2024
Hello Fall
Hello Friends,
Design Steps:
1. Use a Kraft card stock base measuring 5 1/4 x 5 1/4, DP 5 1/8 x 5 1/8 and cut 3 kraft frames using the Large Stitched Wide Square Frame die
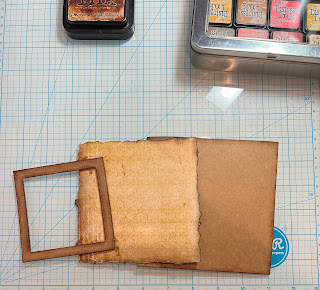
2. Glue the frames together and ink edges, tear around the DP and ink the edges, and finally ink the edges of the square card base
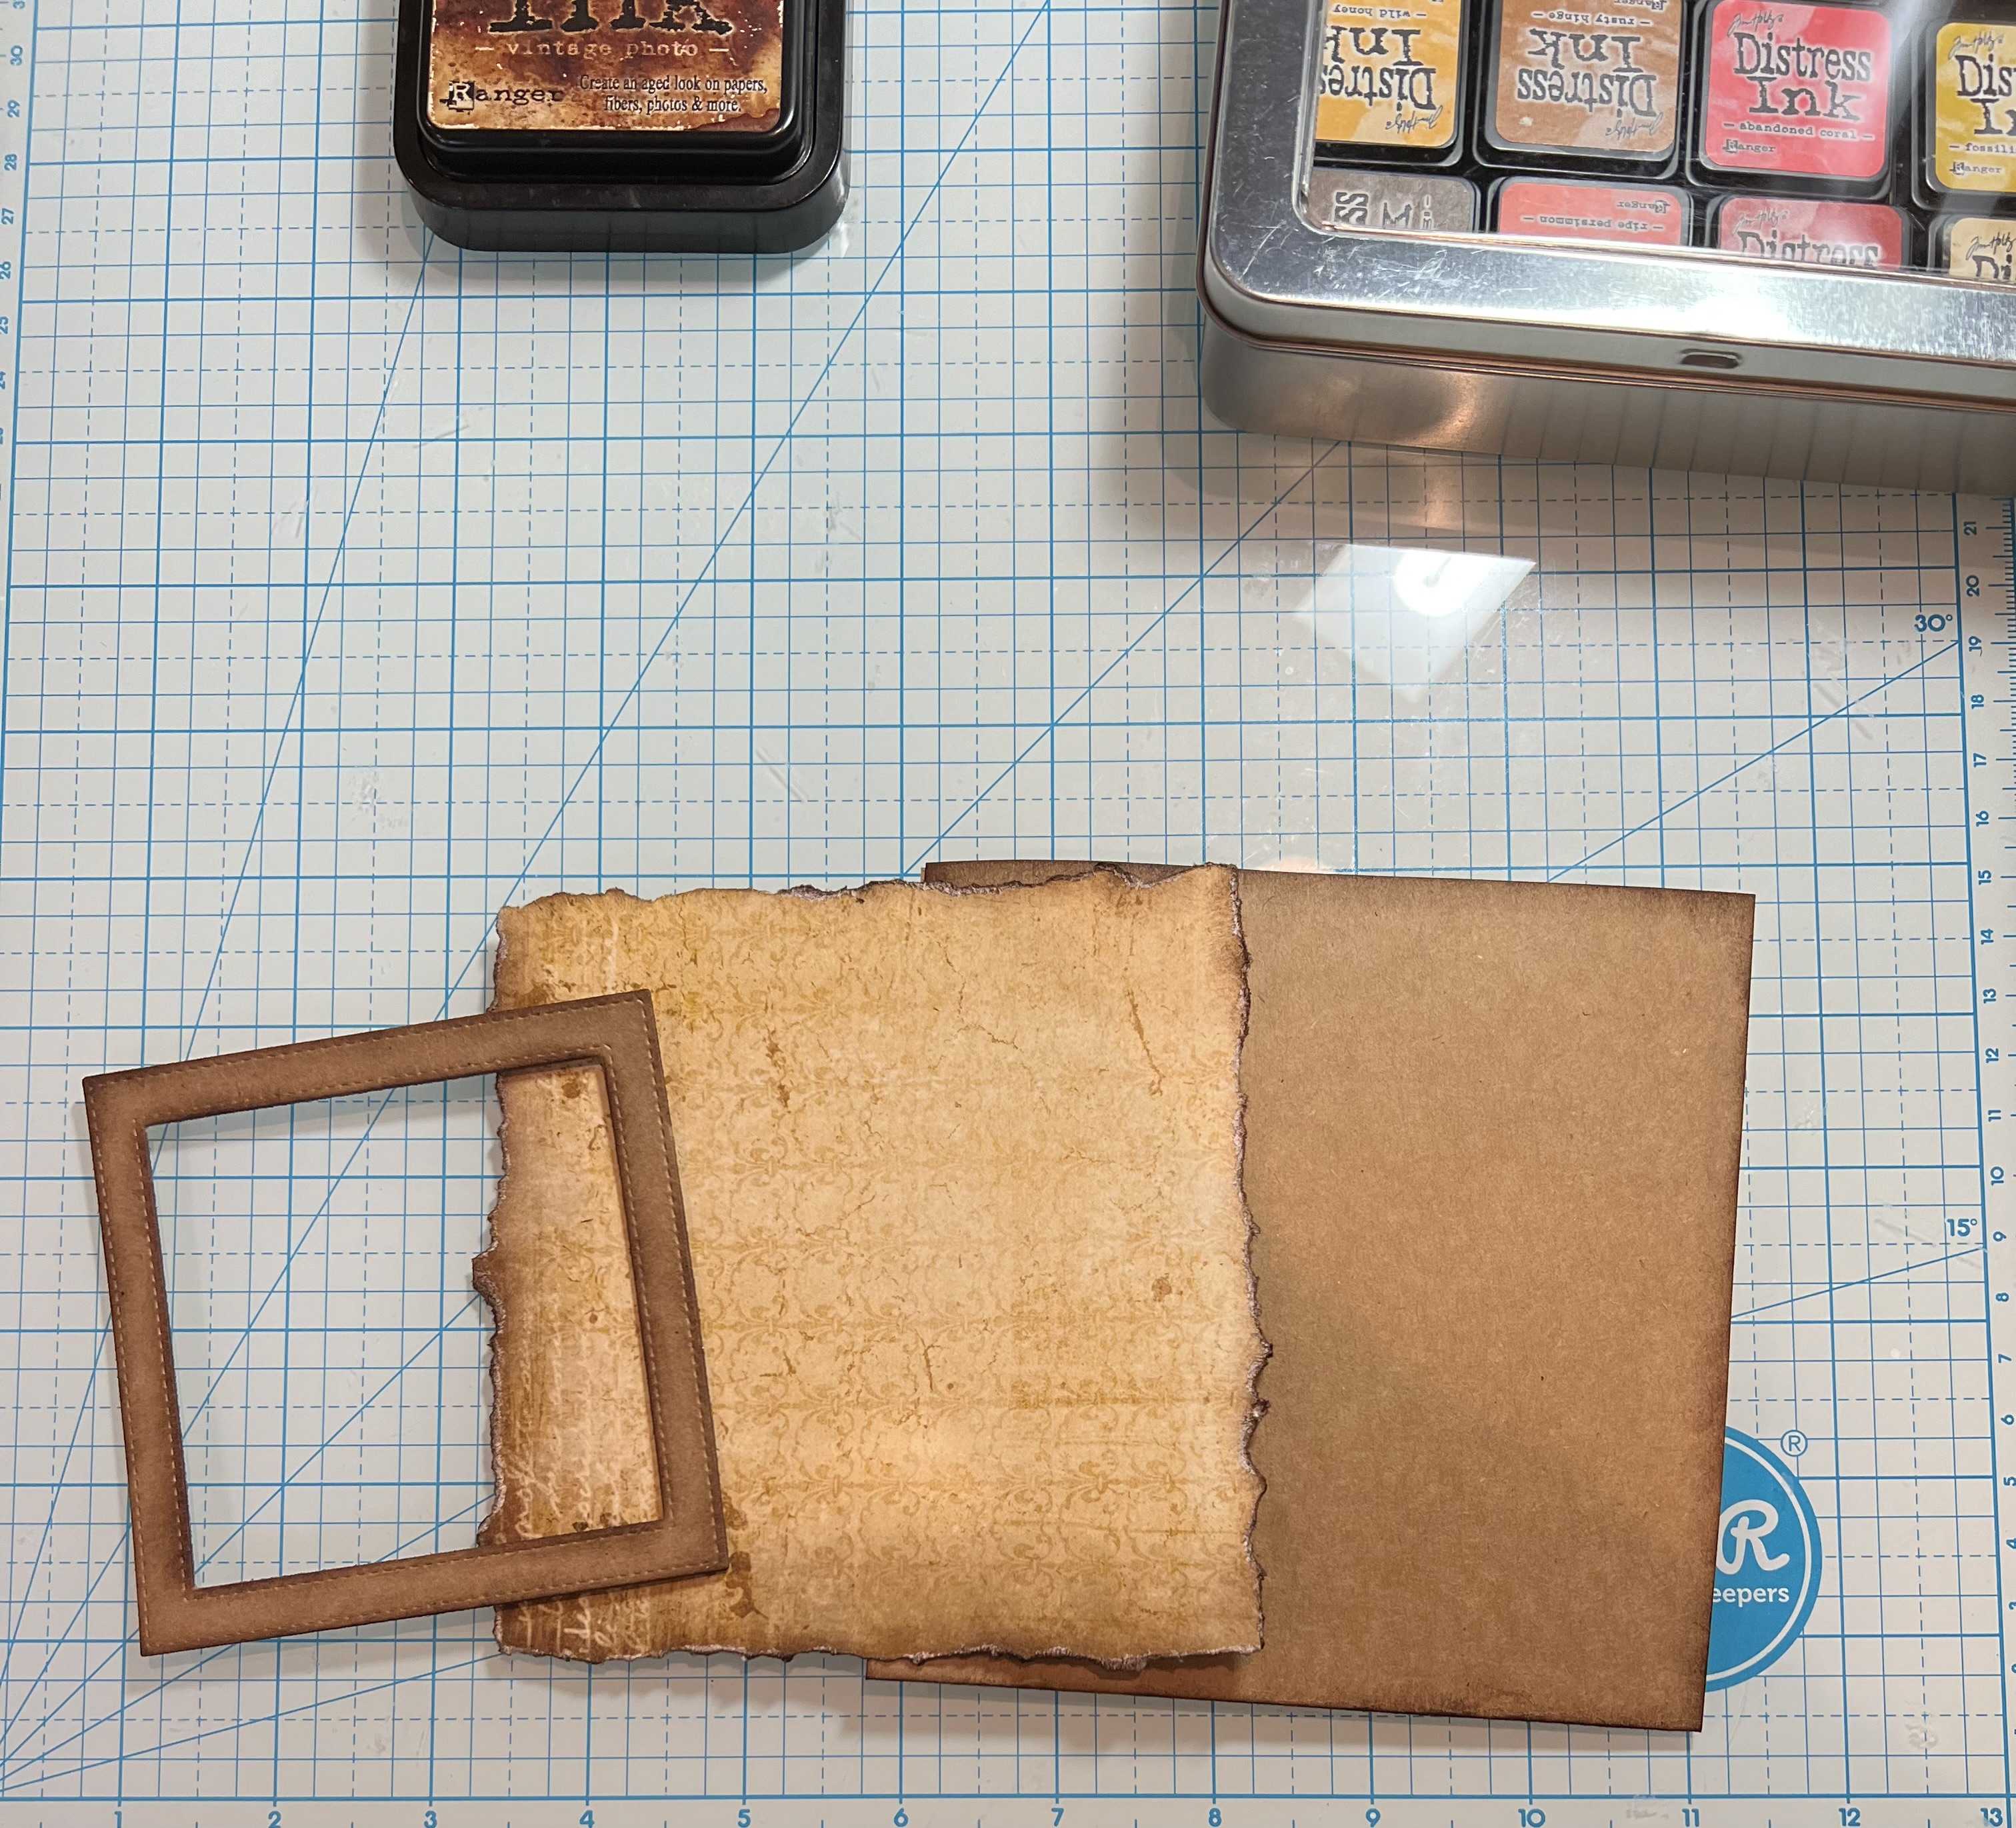
3. Glue the DP to the front of the card and then add frames
4. Cut out the greenery, mushrooms and leaves using the following dies: Mushroom Fairy Garden (Mushrooms), Fall Centerpiece (leaves), Spring Greenery, Greenery and Botanical Garden 2. Ink the edges. For the extra texture I dyed a piece of cheesecloth brown. Lay out your cheesecloth and then to tack down put a little exta glue on the backs of your greenery5. Place your leaves, mushrooms and acorns as shown above6. Cut out the hello fall 3 times using the Fall Phrases in dark brown card stock. Glue together add the phrase to the upper right hand corner and your card is completeWe have more inspiration on our YouTube Channel check it out HERE
Thursday, August 10, 2023
Happy Fall
Hello Friend
I am in Arizona where the temperature has been soaring. It has been over 100 degrees for a month! So needless to say I am ready for fall! I am trying to wish autumn here a little quicker with this cute little fall card. I made this card with a variety of older dies. The focal point is the Sweet Fox die which is available in the store now!
I saw a card by Ann Chuang on Pinterest that I loved. So I used her card as my inspiration.
Design Steps:
1. Start by cutting all the pieces using the following dies, Sweet Fox, Mushroom Fairy Garden, Pumpkin Pie & Latte (leaves), and Rustic Sign & Trees (log) and these colors of card stock: red, yellow, rust, orange, tan, green gray, black, white and brown2. Ink all of the pieces with coordinating inks. I used TH inks and a small applicator. After you ink assemble the pieces with a fine tip glue
3. The card base is a gray A2 size. I cut a piece of DP 4 1/8 x 5 3/8. The birch trees I cut out of gray using the Merry Christmas w/Deer Family die. I inked them before I glued them to the DP. Then I glued the DP to the card front
7. I had a few pieces left so I decorated the inside for a little surprise!
4. Cut the grass from a 4 1/8 x 2 piece of green using the Grass Slimline die. Glue the grass to the bottom of the card. Add the log and the fox to the center of the grass as shown above
5. Continue to add the Mushrooms, little clumps of grass, foliage and fall leaves to the card as you like. You can see by the finished card below I moved a few things around before glueing them down
6. Add the sentiment stamped on gray and layered on rust and your card is finished7. I had a few pieces left so I decorated the inside for a little surprise!
We have more inspiration on our YouTube Channel check it out HERE
Tuesday, June 30, 2020
Hugs from all of us
Hi. It's Janja here with you.
This is my last post here on the Scrapping Cottage blog. It was an honour for me to work for such a great company. Thank you very much for your encouragement and for the trust you have placed in me. I loved to work with all these incredibly cute dies.
Let's take a look at my card.
- CottageCutz dies: Mama Raccoon & Baby, Mushroom Fairy Garden, Hide & Seek Bunny
- card blank: 5.3 x 5.3" (13,5 x 13,5 cm), folded
- different colors of cardstock
- different colors of ink pads
- glue, double-sided adhesive tape, self-adhesive foam pads
As usual, first die-cut all the pieces for main image out from different colors of cardstock. Use different ink pads for more depth.
Trim white cardstock and shade the blue background.
Cut out the grass twice and add a green strip.
It seemed to me that it would look better if I added a frame. Cut it out of white cardstock.
Attach the green strip to the back of the frame and everything to the background we prepared earlier.
Stamp or print the sentiment. Cut out two banners and attach them to the stick.
Complete the card.
I would like to thank you all for all your comments and support over all these years.
Janja
Subscribe to:
Comments (Atom)


