Showing posts with label Love Cupcake. Show all posts

Thursday, August 19, 2021

Missing You

 Hello Scrapping Cottage Friends,

It is Pam creating with you today on the blog!

It is time to make the CottageCutz family a little bigger.  We are adding a brand new line of Photopolymer Clear Stamps call Lil' Bluebird Designs.  We are kicking off this new line with 16 new stamp sets that have coordinating dies.  Make sure to check all of them out by clicking HERE

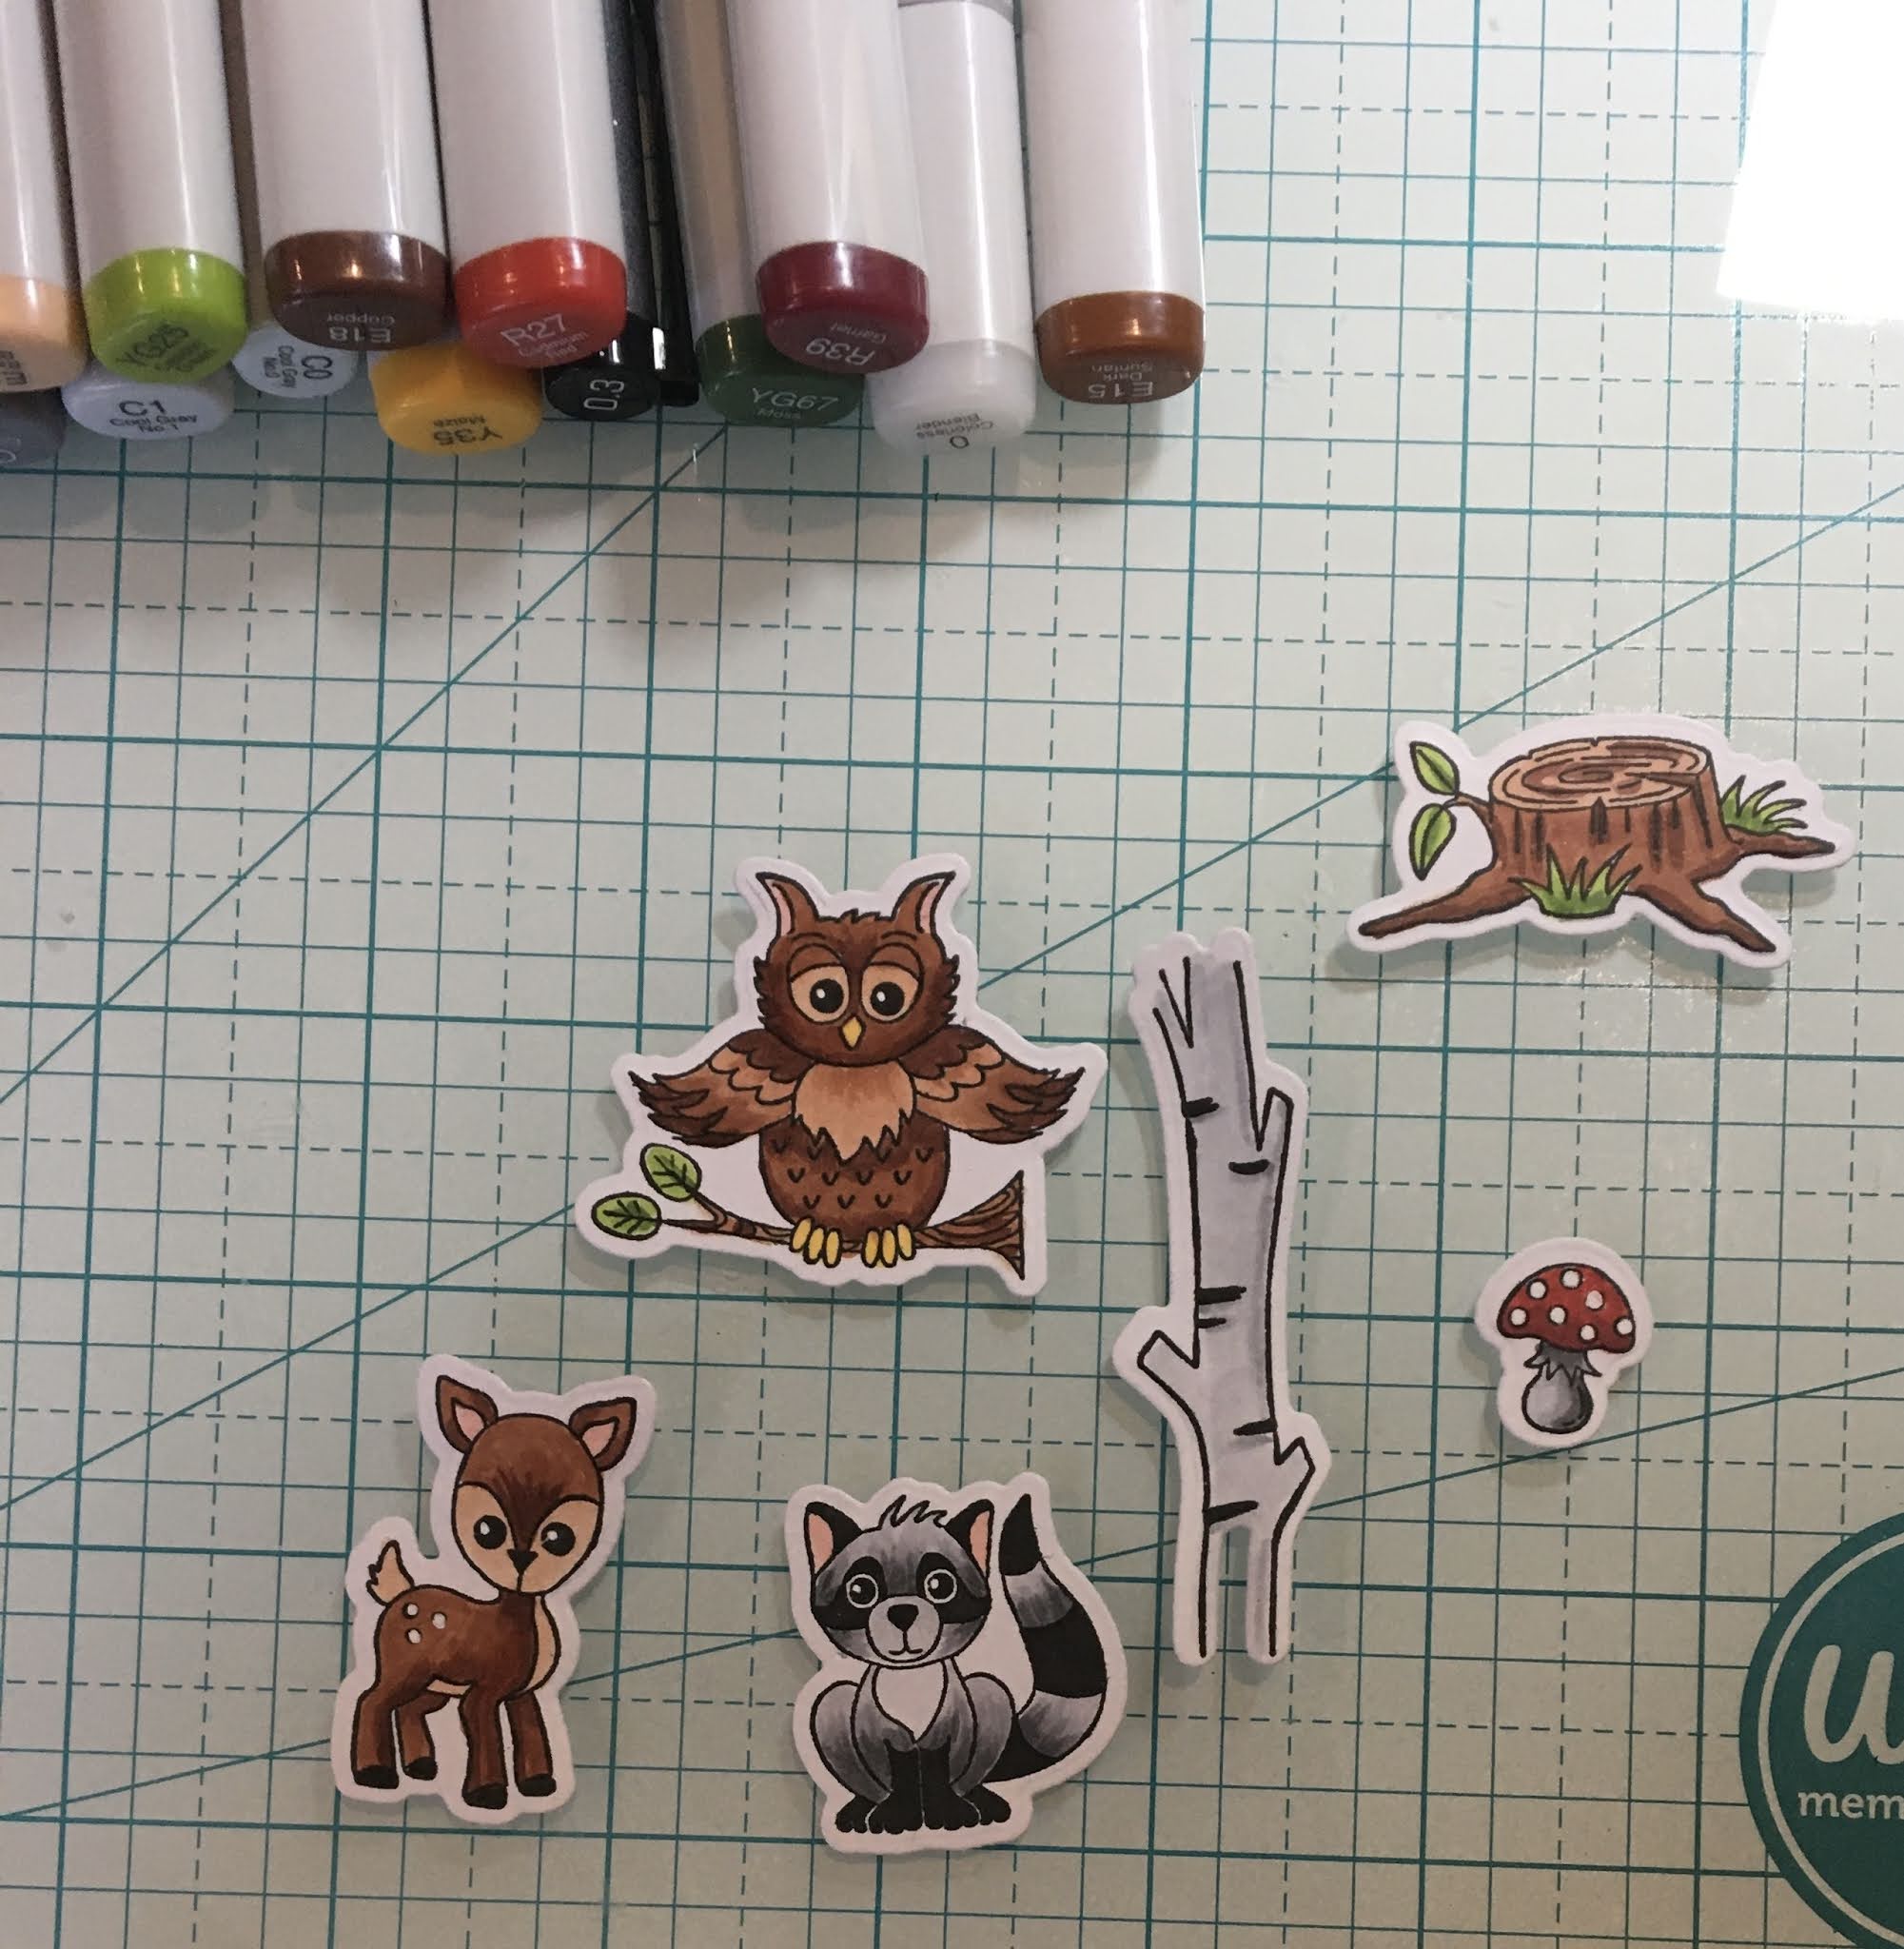
 Today, I am featuring the Forest Friends set.  I have family all over the country so I love sending Miss You cards to them.

Design Steps:

1.  Use a Slimline card which measures 8 1/2 x 3 1/2.  Cut a piece of blue DP 3 1/4 x 8 1/4,  also cut out 3 white Windows using the Window Slimline die
2.  Stamp your images in Memento Black ink using the Forest Friends Stamp set
3.  Color the stamped images with Copic markers.  The colors I used are in the picture above.  After you are finished coloring use the Forest Friends Coordinating die set to cut them out
3.  Glue all three frames together then glue the blue DP to the back of the frame.  Use the Spring Grass die to cut out 2 pieces of grass on green card stock.  Cut the grass down to 2 1/2 inches and glue them into the bottom two frames as shown

4.  Using the Lighthouse w/Clouds die cut out 2 white clouds. For the little hearts I used the Love Cupcake die and red card stock.  I cut out 3 hearts.   Glue all of your pieces into the frame as shown above.  Add the sentiment, sequins and hearts and your card is complete

CottageCutz and Lil' BlueBird Designs


Thanks so much for stopping by today!  Please check out all the adorable new stamp set we have in the online store!
Blessings and Take Care
Pam

Sunday, February 17, 2019

Love Cupcakes


Hi!

It's Anja here. I'm still in Valentine's mode. I made two Valentine's cards this week and I'm showing it to you in today's post. I combined cupcake dies and adorable lovebugs.


For this project I used:
- Cottage Cutz dies (Lovebug Bee & Ladybug, St. Patrick's Day Cupcake, Love Cupcake, Live Laugh Love),
- Distress Inks (Picked Raspberry, Spun Sugar, Worn Lipstick, Black Soot, Barn Door, Fired Brick, Aged Mahogany) and Oxides (Worn Lipstick, Abandoned Coral, Candied Apple),
- watercolor paper (2 pieces of 10,5x15 cm),
- white card stock for die cuts,
- glossy accents,
- glitter dust,
- water spritzer,
- heat gun,
- adhesive foam pads,
- wire,
- foil,
- wire cutter,
- paper glue,
- paper trimmer.

First I cut and colored the cupcakes and lovebugs. I used Distress Inks.


Then I trimmed watercolor paper to make two card bases.


I used Distress Oxides to color the background. I made to backgrounds.


Then I spritzed a few water drops over it and put a foil on top and pressed to get a more interesting details. I used heat gun to dry the base. I did the same with the other card base.


I cut two wires and adhered it to the bugs and to the cupcakes. I used adhesive foam pads.


Then I just adhered both bugs to the card bases. I used glossy accents to add some dimension to the sentiments and hearts. And I added some glitter to the cupcake. And my cards were done.


This is all from me for today. Check out the store for the new release and someother discounts.

Have a great Sunday and see you again next week.

Anja Z.


Cottage Cutz dies I used for this project:


Wednesday, January 23, 2019

Love - We're the Perfect Blend

Hello!  This Sukie with my guest designer post sharing a project with the new Valentine's and St. Patrick's Day release.  There are 16 new dies in this release which are currently on sale.  They are all so cute and perfect for those Valentine's and St. Patrick's Day projects!
For my card, I used paper from the Craft Smith "Love U A Latte" paper pad.  The patterned paper complimented the die cuts perfectly.
I'm always looking for creative ways to use my dies so I combined the Love Latte & Donut with Love Cupcake.  The heart was cut from the Stitched Heart set.
Each of the die cuts were inked on the edges and adhered together. Next, I clustered the die cuts by grouping them on the stitched heart. The "love" sentiment was placed on the heart creating a cohesive look to the design.
The card base was put together quickly by adding a solid brown strip along the edge of the patterned paper.  I heat embossed a sentiment from the Scrappy Moms Stamps (retired) Freshly Brewed stamp set. The sentiment filled in the space between the heart and the edge of the card and worked perfectly to anchor the sweet design.
Here are the dies used on my card available in the shop:

Saturday, January 12, 2019

Love Cupcake (new die)

Hello Scrapping Cottage friends! Thanks for taking the time to stop and visit with us today. It's Mary Marsh here bringing you the Saturday edition of the Blog. Not sure what's happening where you are but it's cold and snowy here in Pittsburgh. One of those perfect days to enjoy some hot chocolate and do some crafting. 

We have a new release of Valentine & St Patrick Day dies in the online store. Each one is cuter than the next and they are on sale for a limited time at 25% off. There will be a group post next week and the team will showcase all of the Valentine dies. Today, I have for your viewing pleasure a Valentine card using the Love Cupcake die.

So let's get started with some details and a tutorial on how I created my card.

Step 1: I wanted to stick with the traditional Valentine colors of red & pink with black accents for my card. I chose some heart themed designer paper for my background layer.
Black card base: 5 1/2" x 4 1/4"
Red Layering Panel: 5 3/8" x 4 1/8"
Designer Paper: 5 1/8" x 3 7/8"

Image Panel: 3rd largest stitched square die
Black Layering Panel: 2nd largest square set die

I cut the cupcake from red and pink cardstocks. Love all the detail on the cupcake base as well as the icing. I adhered this with Ranger multi medium matte.
Step 2: Now that all the panels and image are cut, I am ready to start card assembly. I stamped the sentiment in black ink on the image panel before I attached my cupcake. Used my MISTI for placement.
Secured the cupcake to the image panel with double sided tape. I attached the love word after the cupcake was down because I didn't want it to cover the sentiment. I cut a few extra red hearts and added them to the panel just to balance out the layout. 
I attached the designer paper panel to the red base. I wanted something else so I decided to use some black velvet ribbon. I thought it balanced off that side of the card. 
I decided to angle the image panel for added interest. It's attached with double sided tape. 
Completed my card by attaching the black card base. And that completes my card and post for this week. I hope I have given you an idea for a way to use this new die. See you next Saturday!

dies I used to create card:
http://www.scrappingcottage.com/cottagecutzlovecupcake.aspx
http://www.scrappingcottage.com/cottagecutzstitchedsquaresetbasics.aspx
http://www.scrappingcottage.com/cottagecutzsquaresetbasics.aspx