Showing posts with label Love Bow & Arrow. Show all posts

Saturday, February 04, 2017

Carnation Love


Hello Scrapping Cottage friends! Thanks for taking the time to stop and visit today. It's Mary Marsh here bringing you the Saturday edition of the Blog.

We have some fabulous new stamp & die combo sets released. Today for your viewing pleasure I am featuring one of the new Birthday Flowers sets. This one is the January - Carnation Flower. Not only is it a stamp but it has a matching die. So let's get started on how I created my card.

Card Base: 5" x 4"
Stenciled Layer: 4 5/8" x 3/ 5/8"
Wide Rectangle Frame: 4 3/4" x 3 3/4"

I started my card this week by stenciling a background. I was going for a lattice type look for my flowers. The stencil was done with Tumbled Glass distress ink, a Clarity brush and a stencil from DCWV. I think stenciling creates a special touch on your card.
Next step was to stamp and color my carnations. I used alcohol markers and made the flowers red. I was thinking Valentine's Day or even an anniversary card. Once the coloring was complete I used the matching die to cut the flowers out.
I was now ready to assemble my card. I decided to keep it on the clean and simple side because I wanted the flowers to be the focal point of the card. The pierced wide rectangle die set makes the perfect frame and adds another layer of interest.
 
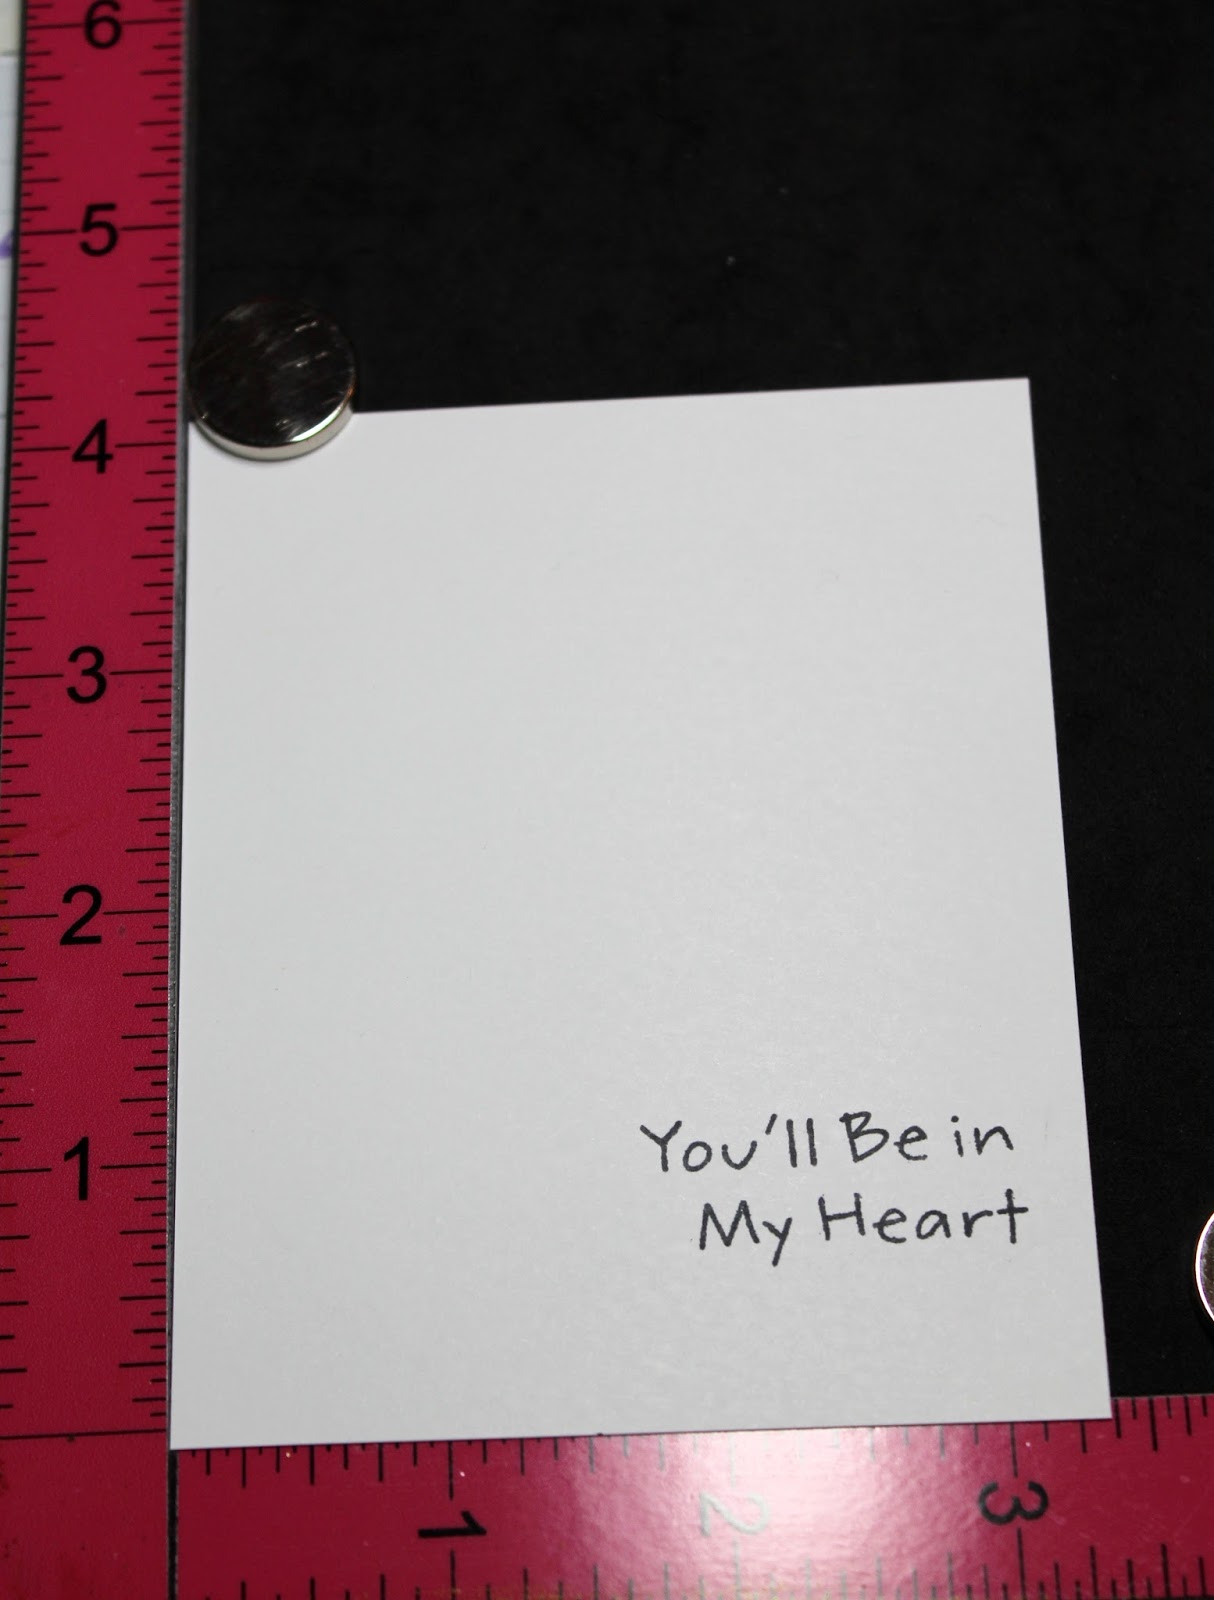
 I used the Love Bow & Arrow dies for my heart and love word. It added a nice corner embellishment and still allowed the flowers to be the center of interest.  Scattered a few sequins to complete my card.
 
Well, that's it for me for this week.  I hope I have given you another idea for the Birthday Flowers stamps & dies. See you next week! 
 
 
http://www.scrappingcottage.com/cottagecutzcarnation-januarystampanddie.aspx

http://www.scrappingcottage.com/search.aspx?find=wide+rectangle

http://www.scrappingcottage.com/cottagecutzlovebowandarrow.aspx


Tuesday, January 17, 2017

Valentines, Part 3

Hi, Janja here!

Today I share with you another pair of cards on Valentine's Day theme.


Supplies:
- white card base: 4.1 x 5.4" (10,5 x 13,7 cm), folded
- patterned paper: 3.7 x 5" (9,5 x 12,7 cm)
- white and colored cardstock
- Distress ink: Worn Lipstick, Aged Mahogany, Antique Linen, Tea Dye, Mowed Lawn, Evergreen Bough
- glue
- double-sided adhesive tape
- adhesive foam pads

CottageCutz dies: sweet fox, love bow & arrow, sweet love borders

Trim background and attach strip from patterned paper in the size of 3.7 x 2.4" (9,5 x 6 cm) on it.


Add white lace and our background is ready for a sweet fox.


Completed card.


CottageCutz dies: love bird branch, happy Valentine's Day phrase, heart set (the largest die from the set), stitched heart set (3rd die from the middle of the set)

Prepare cut-outs and shadow them with Distress inks.


To finish the card, mount all elements as shown, to a white card base.


I hope you've enjoyed.
Thank you for coming over and have a nice day. 


Saturday, January 07, 2017

Valentine Love Cards + Sketch

Hello Scrapping Cottage friends! Thanks for taking the time to stop and visit today. It's Mary Marsh here bringing you the Saturday edition of the Blog. Since this is my first post of 2017, I would like to send Happy New Year wishes to all of our Blogging Friends.

It's definitely time to start thinking about your Valentine cards. I send them out to my family and friends. They like receiving them and being thought of on this love day. So I have 2 cards for your viewing pleasure today. I am using the same layout and mostly the same stamps on each card.

So lets get started on some details of how I created both cards.

Red Card Base: 4 1/4" x 5 1/2"
Patterned Paper Layer: 4 1/8" x 5 3/8"
Red Layer For Image Panel: 3 1/2" x 4 1/2"
Image Panel: 3 3/8" x 4 1/4"

My layout is from this week's sketch #626 on Splitcoaststampers. I used it on both of my cards.
Once I decided on this card layout, I chose my patterned paper and that determined by card colors. I cut all the layers and then the die cuts. I am using the new Love Bow & Arrow die which will be in the online store soon for purchasing.
 
Before I assembled my image panel, I stamped my sentiment. The stamp was a bit to long for this panel so I masked part of it off and stamped it on 2 lines. I used my MISTI tool to accomplish this. Although any stamp positioner would work as well. I placed the bottom heart on the panel so I would have an idea of where to place my sentiment.  


For the long rectangle strip in the sketch, I used pink cardstock measuring 3/4" x 5 1/2" and a heart embossing folder for added texture.
 
I added my die cut images. You will notice on the sketch photo they have circles. When you use a sketch it's a starting point. You can always substitute the images. As long as your finished card resembles the sketch your good.  After I assembled my card, I thought the image panel looked bare. So I scattered some love words and hearts to finish it off. I was happy with the finished card.
 
 
On my 2nd card, I used the same sketch so the panel measurements are the same as above. I changed up the colors to black and red.  For this image panel I used a white corrugated paper I found in my stash. And, instead of using patterned paper, I used a hearts embossing folder. The Happy Valentine's Day die is also another new die and will be in the online store soon.


 I decided to make a substitute on the circles in the sketch on this card also. I used 2 die cut images and then the "V' from the Happy Valentine's Day die cut served as the middle shape. And that completed this 2nd card. I hope I have given you some inspiration for your Valentine cards. As soon as the new dies are in the store, I will update this blog post.
 
Until next time..........inky hugs.

http://www.scrappingcottage.com/cottagecutzlovebowandarrow.aspx

http://www.scrappingcottage.com/cottagecutzhappyvalentinesdayphrase.aspx