The new baby dies release is just too cute and I just can't stop making cards using these sweet dies (LOL)! And with 42 different designs, I have had lots of ideas. So today for your viewing pleasure, I am showcasing a couple of the new baby dino dies using the Brontosaurus and T-Rex. I needed a child's birthday card and these dino's work perfectly. What little one doesn't love dinosaur's? And that's both boys and girls.
So let's get started with some details on what I did this week. I already knew I was making a birthday card so I just needed my layout. So when I saw the sketch #643 on Splitcoaststampers this week, I knew it would work for a little dinosaur scene.

Plum Card Base: 4 1/2 " x 5 3/4"
White Image Panel: 4 1/4" x 5 1/2"
I used a hinge technique to get this larger size card base. Here is a link to some instructions I provided previously on how I do this with 8 1/2" x 11" cardstock.
Step 1: Once I looked at this sketch, I thought I would make rolling hills as the spot to place my dino's. I was going to cut the hills but after looking through my patterned paper, I found paper that already had the shape of the hills. I just needed to measure and fussy cut. The paper even had a little pattern. It's the look I was after.

Step 2: Once the hills were cut I adhered to white card base with dimensional adhesive. I used a cloud template and sponged the top of the white cardstock with tumbled glass distress ink. The clouds are covering layer 1 of this sketch.

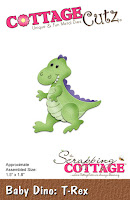
Step 3: I wanted 3 dino's in this scene so I cut one (1) T-Rex and two (2) from the Brontosaurus dies. On the Brontosaurus I used a peach card stock + peach patterned paper and yellow cardstock and + yellow patterned paper.
On the T-Rex I used plum and olive cardstocks + plum patterned paper. I like the variegated colors on the pattern papers I chose. It adds some interest to the dinosaurs.
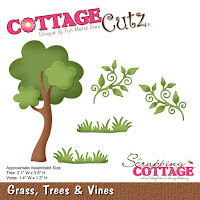
I also used the CottageCutz grass, tree and vines die for another element to this card.

Step 4: Now that all the card elements are done, I needed to think about my sentiment and the placement of it. I have a stamp set with individual sentiment words so I chose birthday & kisses. Since they are 2 separate stamps, I stamped in black ink on plum cardstock and cut them into 2 labels. Here is a card close-up.

Well, that's my card for this week. I hope I have given you some an idea for using these Baby dino stamps. Have a great weekend, Blogger friends and see you back here next time........
Dies I used to create card: