Hello Scrapping Cottage friends! Thanks for taking the time to stop and visit today. It's Mary Marsh here bringing you the Wednesday edition of the Blog.
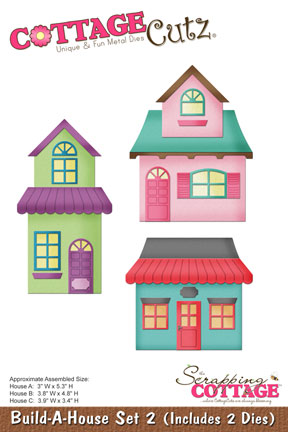
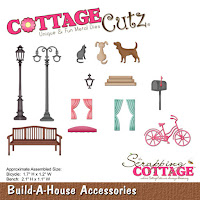
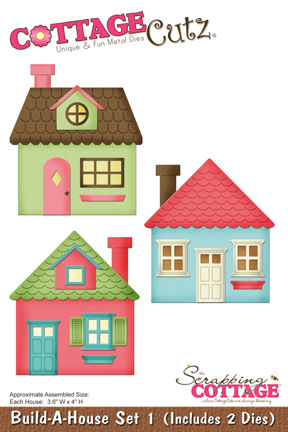
Today for your viewing pleasure, I am featuring several new dies set from the June "Home Sweet Home" release. This release is chock full of dies that are all about the home. They can be used in so many creative ways as the Design Team has been showing you for the past 2 weeks.
Today for your viewing pleasure, I am featuring several new dies set from the June "Home Sweet Home" release. This release is chock full of dies that are all about the home. They can be used in so many creative ways as the Design Team has been showing you for the past 2 weeks.
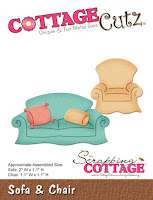
Today, I thought I would make a card to send to a friend who has had some stressful days at work. We all need to take time to relax a bit. Don't you agree? The sofa & chair dies were so perfect for my card idea. So let's get started with some card details.
Card Base: 5 1/2" x 4 1/4" - used a Caribbean Blue shade of cardstock.
Embossed Paper Layer: 5 3/8" x 4 1/8" - used a vanilla cardstock
Embossed Paper Layer: 5 3/8" x 4 1/8" - used a vanilla cardstock
Step 1. Created the background texture using an embossing folder and my BigShot machine.


Step 2. I wanted this panel raised from the card base. The card has nice dimension that's not picked up in these photos. I decided not to use mounting tape. Instead I has some fun foam which works quite nicely. I only had blue but once it's on the blue card base you can't really see it. It gives about an 1/8" lift to the panel.


Step 3. I die cut my frame using the Pierced Wide Rectangle Frame set and attached it to the embossed layer. Added some pearls to the frame corners. I die cut my sofa and chair in a medium brown cardstock and the sofa pillows with a striped patterned paper. This card could also work for a guy just eliminate the pearls.
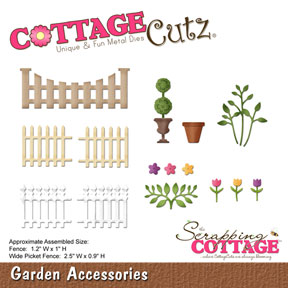
Since I don't have the floor lamps, rugs and plant dies, I punched an oval for my rug and used the flower pot from the Garden Accessories and the leaves from the Fancy Pocket Plus to create my plant. Just another way to get more use out of the CottageCutz dies you own. I attached the dies with a variety of adhesives - double sided tape, glue dots and multi-matte medium.

Step 4. To complete my card, I stamped my sentiment on a die that is also part of the Fancy Pocket Plus set. I added a bit of thick baker's twine that matches my cardstock color. I decided to add a couple of cats to this scene because my friend likes cats and that finishes off the card.
Well friends, that's it for me for today, so until next time.......inky hugs.


.