Showing posts with label Fishing Pole & Boat. Show all posts

Sunday, May 07, 2023

Happy Father's Day

Hello CottageCutz friends! Thanks for taking the time to stop and visit with us today. It's Mary Marsh here bringing you the Sunday edition of the Blog.

Our Easter -Spring release is still available in the online store with 17 new designs. There is something for every card maker with faith-based dies, beautiful floral images, whimsical with bunnies and frogs and several lovely birds and butterflies.

You will be able to take the images beyond the Easter or Spring season. And for a limited time, you can get individual dies at 30% off

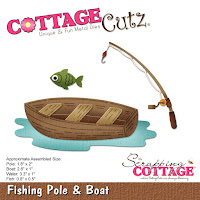
Today for your viewing pleasure I am using the new Pond w/Cattails & Lilypad die + an older die Fishing Pole & Boat and Fishing Gear

I created a Father's Day card. this one will go to my brother who is an avid trout fisherman. In fact, he was out fishing this week and he sent us a fresh catch. They were already scaled, debone and filleted and ready for a quick pan fry. So delicious and healthy.

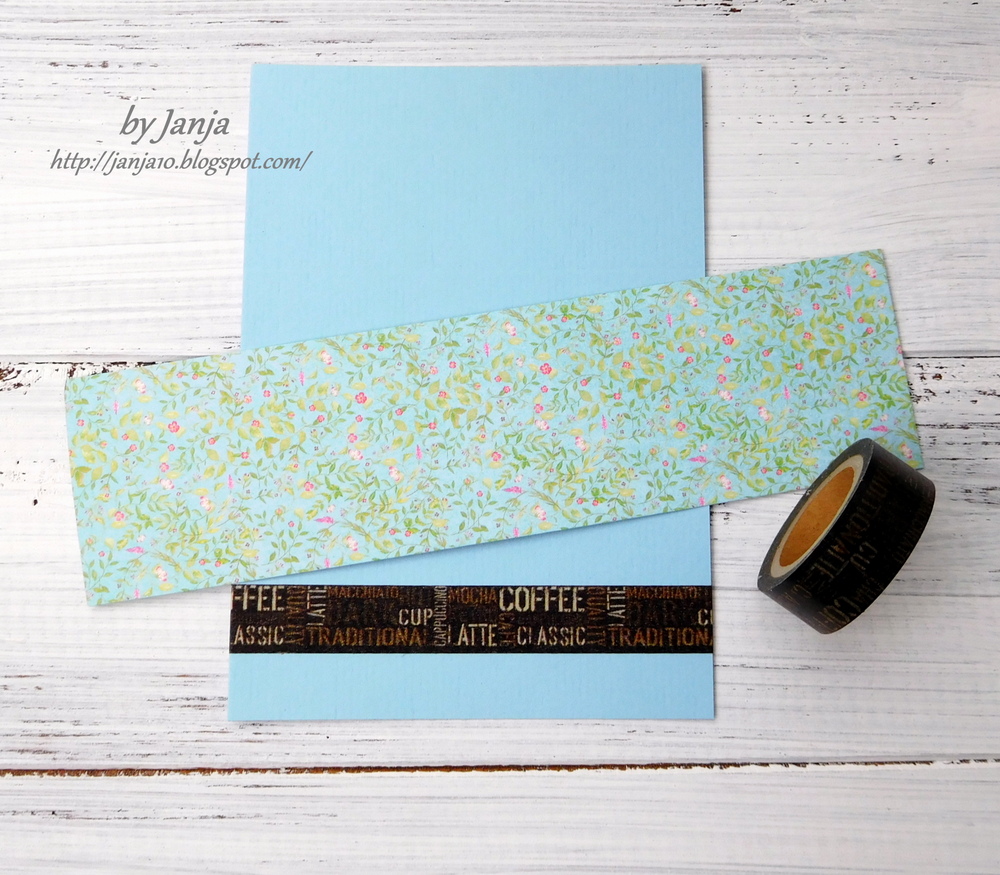
I started my card with the colors from the Splitcoaststampers color challenge #946. Our colors were cherry cobbler, old olive, pacific point and bermuda bay. Optional was to make it masculine. 
cherry cobbler, pacific point, old olive, bermuda bay
I chose an ombre background designer paper in the bermuda bay color. I cut the boat and other elements in the challenge colors plus some allowed neutrals. 
I framed my scene using the Pierced Wide Rectangle frame die. Looks like this one is retired and no longer available, but you can easily cut a frame using any of the CottageCutz Rectangle dies

Stamped my sentiment and my first Father's Day card is finished. See you next Saturday.

Reminder: We have a couple of Design Team openings. Check out this post for all the details. 


Sunday, September 15, 2019

U Rock!

Hi!

It's Anja here. I have fishing card for you today. I played with different dies to create this idyllic scene.


For this card I used:
- Cottage Cutz dies (Fishing Pole & Boat, Fishing Gear, Snowcapped Mountains, Snowy Tree, Rustic Sign & Trees, Woodland Cabin),
- Distress Inks,
- craft card stock (15x15 cm),
- white card stock for die cuts and background (14,5x14,5 cm),
- silver pigment ink,
- black pigment ink,
-  colored pencils (blue, light brown, dark brown),
-  sentiment stamp,
- scissors,
- paper glue.

First I cut and colored the boat and the fishing pole.


Next the fishing gear.


Then I cut and colored all the trees and the mountains.


And after that I started on the background. I sketched around the arranged die cuts and then colored the lake and the ground around. I used colored pencils to emphasize the edge of the lake.


Last I stamped the sentiment and cut it with the scissors.


And my card was done.


And that is all from me for today. I also invite you to The Scrapping Cottage online store to check out the new Christmas release.

Have a nice Sunday and see you again next week.

Anja Z.


Cottage Cutz dies I used for this card:


Saturday, July 07, 2018

Fishing Boat Sympathy


Hello Scrapping Cottage friends! Thanks for taking the time to stop and visit with us today. It's Mary Marsh here bringing you the Saturday edition of the Blog. We just celebrated American Independence day on July 4th and now summer is in full swing.

Since there isn't a new release of dies for July,  we have decided to have a throwback month.  The team will be featuring some of our older dies to give you some fresh ideas for using them.

My card today is featuring the Fishing Pole & Boat die. I need a sympathy card for a friend who just lost her husband to liver cancer. He was an avid fisherman and even the remembrance pamphlet they gave at the funeral home reflected that.  It was such a beautiful tribute that I will use it for the inside of my card.
So let's get started with some details on how I created this card.

Step 1.  I sponged some clouds in my lake scene using a cloud stencil and tumbled glass distress ink. The cardstock is taped with repositionable tape to my craft mat. I do this to keep it from moving while I am stenciling. And the craft mat makes clean-up easier.
 
Once I was satisfied with the look, I stamped my background mountains with gray ink.  The stamp set I used is supposed to give the look of watercoloring. I wanted the mountains to have a misty appearance since they were in the background. I thought I achieved that.
Used marina mist ink (medium blue)for the water. I stamped off once before I stamped the water to give it that same look.   I wanted the fishing boat and die cut water pool to be the emphasis.  
 For the sun and rays, I used a sun ray stencil and daffodil ink. Taped the stencil to the corner of my scene.
I also sponged some kraft ink at the waters edge for the lake shore.
Image Panel: 4 1/8" x 5 3/8"
 
Step 2: Cut the boat and fishing pole using different shades of brown cardstocks. The water is cut with marina mist cardstock. It's the same ink I used to stamp the water.
Step 3: Time to start the card assembly. I layered the die cut pieces onto the sponged and stamped scene I created.
I adhered the image panel to a marina mist cardstock base. Once I did that I decided I didn't like the fishing lure that I used. So I cut the one that is part of the fishing pole die in red and a light gray cardstock. I thought the smaller lure looked better in my scene.
I wasn't sure about adding a sentiment on the card. But, I wanted this to be more personal for my friend so I gave in and stamped "sharing in your sorrow" to complete my card.
 
Well, that's it for me for this week. I hope I have given you a new idea if you own this die. If you don't have it, it's still available in the online store. See you next Saturday with another Throwback in July idea.
 
Die I used to create card.
http://www.scrappingcottage.com/search.aspx?find=fishing+pole


Tuesday, December 06, 2016

Outdoor activities

Hi, Janja here!

Do you like to go to the mountains, camp in the nature, enjoy the quiet moments of fishing?
With the new release of CottageCutz dies - Camping, you can catch all these outdoor activities on your projects.
If you are interested how I created the whole card, please sit back, since today's post is a little longer.


Supplies:
- white and colored cardstock
- washi tape
- Distress ink: Tumbled Glass, Stormy Sky, Antique Linen, Tea Dye, Vintage Photo, Peeled Paint, Mowed Lawn, Aged Mahogany, Black Soot
- Memento ink: Dandelion, Tangelo, Bamboo Leaves
- glue, adhesive pads, double-sided adhesive tape
- punch- round
- punch - slot
- ribbon
- string

Prepare the card base:
- two thicker cardstock for cover pages: 4.3 x 6" (11 x 15,3 cm)
- white cardstock: 17.2 x 6" (43,6 x 15,2 cm)
- folding measurements are: 4.3", 8.6", 12.9" (10,9 cm, 21,8 cm, 32,7 cm)


Glue two middle sheets with double-sided adhesive tape to get a pocket. On the upper part cut out a semicircle with a round punch. 


In the pocket insert a tag:
- brown cardstock: 3.5 x 4.7" (9 x 12 cm)
- white cardstock: 3.3 x 4.5" (8,3 x 11,5 cm)

Cut out a slot for ribbon with a puncher.


Paste cover pages. Our card base is now completed.


Trim colored and patterned papers:
- 2 x patterned paper: 4.3 x 6" (10,8 x 15,1 cm)
- 4 x blue cardstock: 4.3 x 6" (10,8 x 15,1 cm)
- 6 x patterned paper: 4.3 x 2.1" (10,8 x 5,2 cm)


Add on each sheet washi tape and a strip of a patterned paper (0.6" from the bottom edge). On cover pages add two different washi tapes.


In two patterned strips cut out openings for the mountains and lake with dies.


With brushes, clouds mask and Distress inks create clouds on the backgrounds.
 

In the middle of two backgrounds cut out semicircle with a punch.
 

From colored cardstock cut out all motives, which will be added to the backgrounds.
On the following photos, you can see only a few of them.


Now we can start by assembling and attaching individual sheets to the card base.
 

Used CottageCutz Dies:
Camping Phrases, Campsite, Campfire Clothesline, Camping Trailer


Used CottageCutz dies:


Used CottageCutz dies:
Jeep, Snowcapped Mountains, Campsite, Camping Phrases


I hope you enjoyed this project. 

Thanks for joining me today!