Friday, May 17, 2024
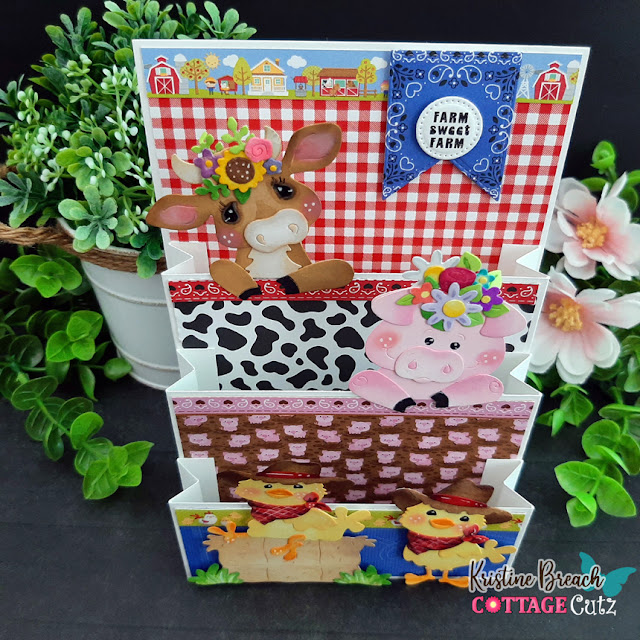
Tiered Accordion Farm Card
Monday, July 19, 2021
Little Farm Envelopes
It's Anja here for my Monday's post. I made little envelopes decorated with cute farm animals for today's project.
- Cottage Cutz dies (Farm Cow Peeker, Farm Pig Peeker, Filigree Daisy Envelope),
- Distress Inks,
- white card stock for die cuts,
- yellow card stock for die cuts,
- black pen,
- white ink,
- black pigment ink,
- sentiment stamp,
- acrylic block,
- scissors,
- paper glue.
First I cut and colored the pig and the cow. Next I cut both envelopes. I cut the envelopes two times. I used one piece of each color to cut out the middle part. I did that with the scissors. I used this part to insert in each envelope. Then I assembled the envelopes, added the sentiment and adhered the animals. And my cute little envelopes were done.
Anja
Z.
Cottage Cutz dies I used:
Saturday, June 26, 2021
Hay There
IT'S NEW RELEASE TIME! The collection is called COUNTRY FARM! It has the most delightful dies from Tractors to Cowboy Chicks! Each die is just full of awesome details and can be used for so many different occasions. All of the new dies are on sale at 25% off.
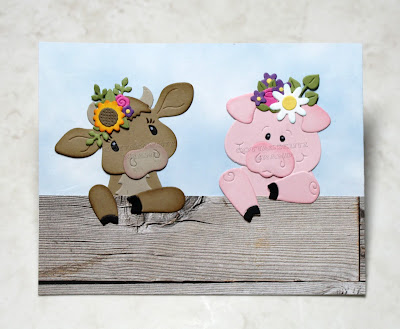
Today for your viewing pleasure, I am featuring the new Farm Cow Peeker + Farm Pig Peeker and created a birthday card. So let's get started with some details on how I created my card.
Friday, June 04, 2021
Hogs and Kisses
Happy Friday! It's Jeanne today and IT IS NEW RELEASE TIME! The collection is called COUNTRY FARM! It has the most delightful dies. Everything from Tractors to Chicks to Cows! Each die is just full of awesome details and can be used for so many different occasions. Today, I am using the Farm Pig Peeker as a gift card holder / card.
This little gal is adorable with her floral headpiece.I first started by coloring her with Distress Oxide inks. I used Copic markers for the smaller floral pieces. (There is a sneak peek here of a card I'll have later this month for you!) I cut my A2 base and pocket from a Co'Ordinations cardstock which gives a weathered look when sanded. I wanted it to have an "old jeans" look. The Pocket was cut from the Peeker Pocket die which is currently out of stock.I traced the pocket onto a piece of light blue cardstock and cut it slightly smaller than the pocket. I glued this to the back of the pocket.
The pig peeker is glued to the pocket NOT the card to make a gift card holder.The front view.
I added her flowers and glued the pocket to the card panel. When adhering a gift card pocket I insert the card while gluing so I know that I have enough room for the card. If I don't, I have at times, glued the pocket piece so tightly to the card that I can't insert the gift card!
I stamped the sentiment and used the smallest of the Stitched Rectangle Slimline dies to cut a banner. The excess I trimmed with scissors.
Finally I added a small daisy in the corner to match the daisy in this little piggy's headdress. This panel can be used alone as a gift card holder or as the front for an A2 card!
Dies used:
Thanks for visiting today! Be sure to stop by the online store where the new Farm Realease is on sale for a limited time!
I hope you have a fun and creative weekend!


