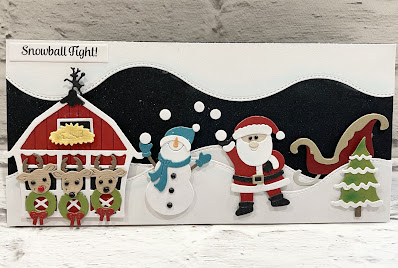
Happy Tuesday Cottagecutz fans, It's Wendy bringing the blog to you today. It’s my birthday today so I am sharing 3 full tutorial projects with you. I have a shaker tag or it could be a bauble, some cupcake toppers and a Shaker Napkin Ring
So I’m going to start with the gift tag and then the napkin ring as they are very similar to make. Take 2 of the nested circles dies measuring 3” and 2” and cut a ring
Next take some acetate and choose a circle die that is just smaller than the ring, cut it our and glue to the reverse of the ring
Next use some 3D foam pads at lease 2-3mm and apply all around the ring and pop to one side
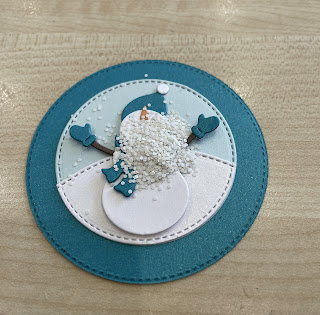
Now cut another 3” circle in the teal, a cut two 2” circles in the lighter blue and white. glue the lighter blue circle in the middle of larger circle. Then with the white circle create a snow hump using one of the slimline hills dies and stick to the light blue circle
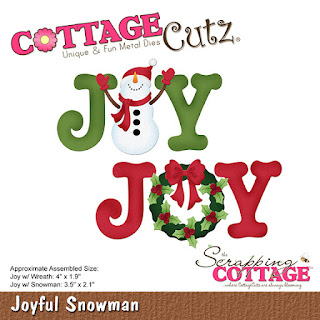
Now cut out the snowman from the ‘Joyful Snowman’ die in coordinating colours and attach to the base you have created
Now I’ve added chunky glitter onto my snowman scene but you could use little beads
Now you can peel off the foam pads from the acetate circle you made and carefully place over top to make your shaker element. I’ve cut a circle at the top to thread through some ribbon and added some holly for decoration. So this could be a bauble or a gift tag.
We’re going to make the napkin ring now and It’s exactly the same method as above, you just don’t need to cut the hole for the ribbon or add the holly. So here is how I made base ring for the napkin. Take a piece of card 7” x 1.5” and mark at 1” either end. At the same time cut one of the nested stitched circles measuring 3”
Take a stapler and staple one end to the middle of the circle
Take the other end of the card and staple to the middle of the napkin ring. Make sure the more pointy part of the staples are facing out as we’ll cover that up
Next add 1mm 3D foam pads to cover all of the circle
Attach to the shaker design we made earlier
Here is your fun and final shaker napkin ring
Finally we come to the cupcake toppers. These are so quick and simple to make. So using the ‘Joyful Snowman’ again, cut the main body 12 times if you are making 6 cupcake toppers.Then cut our the remainder of the design 6 times as we are only going to decorate the front of the toppers
Now to create the basic cupcake topper. I would use 2-3mm foam pad and add this to one side of the snowman but leave enough room for a cocktail stick. In that void use a strong blue such as cosmic shimmer and then app,y another snowman over the top before inserting the cocktail Stick.
Finish by adding the remaining elements onto the snowman and you are done. There are so many other dies that Cottagecutz has that lends themselves to make cupcake toppers
I hope you’ve enjoyed the projects today. Have a lovely week and I’ll look forward to seeing you on Friday
Wendy
Announcement: The winner of the YouTube giveaway is Karen Ladd. Contact Mary Marsh at mrmarsh917@gmail.com to make arrangements for your prize. We will be having another
giveaway on YouTube starting Wednesday when the newest goes live.
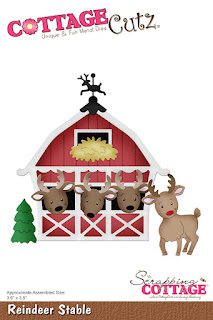
Dies I have used