Showing posts with label Cottagecutz Strawberries and Bees. Show all posts

Wednesday, July 13, 2022

Scene Building with the Strawberries and Bees Release


Marla here today, oh boy... have you been enjoying all the inspiration from the new "Strawberries and Bees" release?  I am so smitten with each and every die and I can't stop creating with them.  

What I personally love about this release is that it is perfect for scene building.  As you can see, I used bits and pieces from several different dies to create the sweetest summer scene.  I wanted to get as many of these super cute images into this scene as possible so I could really showcase how incredible this release is. I hope I did it justice. You let me know.  It also meant, I left little to no room for a sentiment on the outside of my card.  That's ok, because I made up for it on the inside.

You can see how I put this card together and how I added finishing touches to the inside when you head over to the CottageCutz YouTube Channel.  While you're there, don't forget to enter for a chance to win the "Honey Bee" die as an added bonus.  

Until then, I will leave you with a list of all of fabulous products I used to create my card for quick and easy shopping.  Thanks for stopping by.  Until next time....Marla


Tuesday, July 12, 2022

Floral Card

Happy TuesDIE Cottage Cutz Friends!
Melinda here with you on this Terrific Tuesday. I hope you are enjoy these wonderful days in July! Today I am sharing a very simple but effective card I created with one of the dies from the new Strawberries and Bees releaseHere is what I came up with.
I created this pretty card with a simple floral theme. I used the wonderful new Flowers 4x6 die that is part of the new Strawberries and Bees release. I die cut several of the flowers in the die out all in white cardstock. I then lightly colored them with a some light shades of pink and gray.

Here is a closeup of one of the flowers. It has two layers as part of the flower. I just curled the petals to give them more movement. I also stuck a small piece of foam between the two layers to give them some additional lift.
Here is a shot looking at the card straight forward. I nestled the various flowers onto the largest double stitched oval from that set. 

Here is a view with the card at an angle so you can see more of the dimension of the flowers and leaves. I added some stickles to the centers of the flowers for a little extra touch. I then mounted the black oval with all the flowers onto three layers of mats. A Black, Pink and Pink and White Polka dot layer. All of that went onto a top folding standard A4 white cardstock base.

I purposely put no sentiment on it as I am not sure if this will be a thinking of you or a birthday card. We shall see :-)


Dies I Used


Be sure to check it out and all the amazing creations from the design team!

Make sure you head over to the CottageCutz YouTube channel and check out all of the amazing projects on there. Our video team is doing a wonderful job of filling the channel with all sorts of creative content! You don't want to miss it!


Well that about covers it for today! Until the next time, have a wonderfully craft-die day!
Melinda Beltran

Saturday, July 09, 2022

Bee Happy - Spinner Card

Happy Saturday friends! 

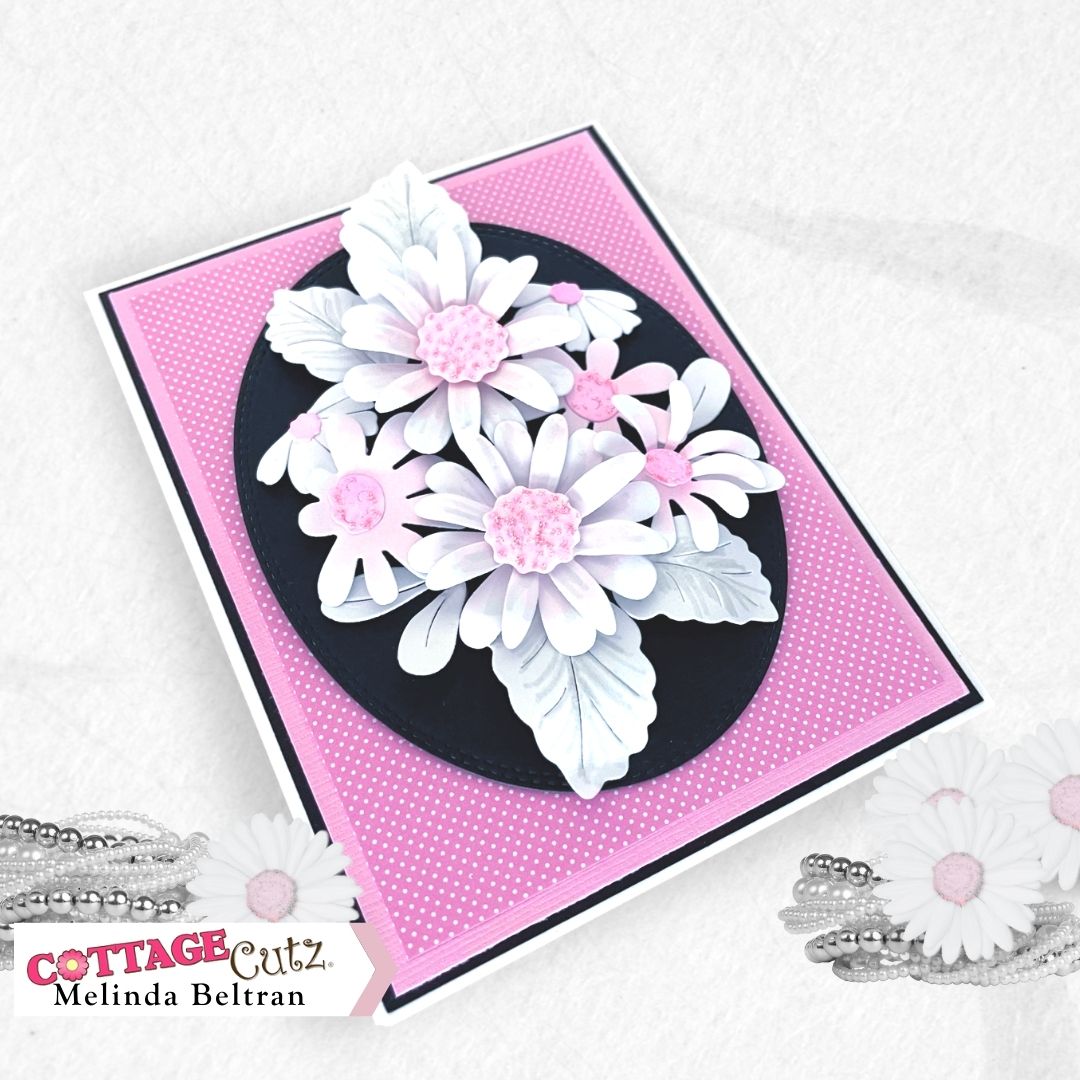
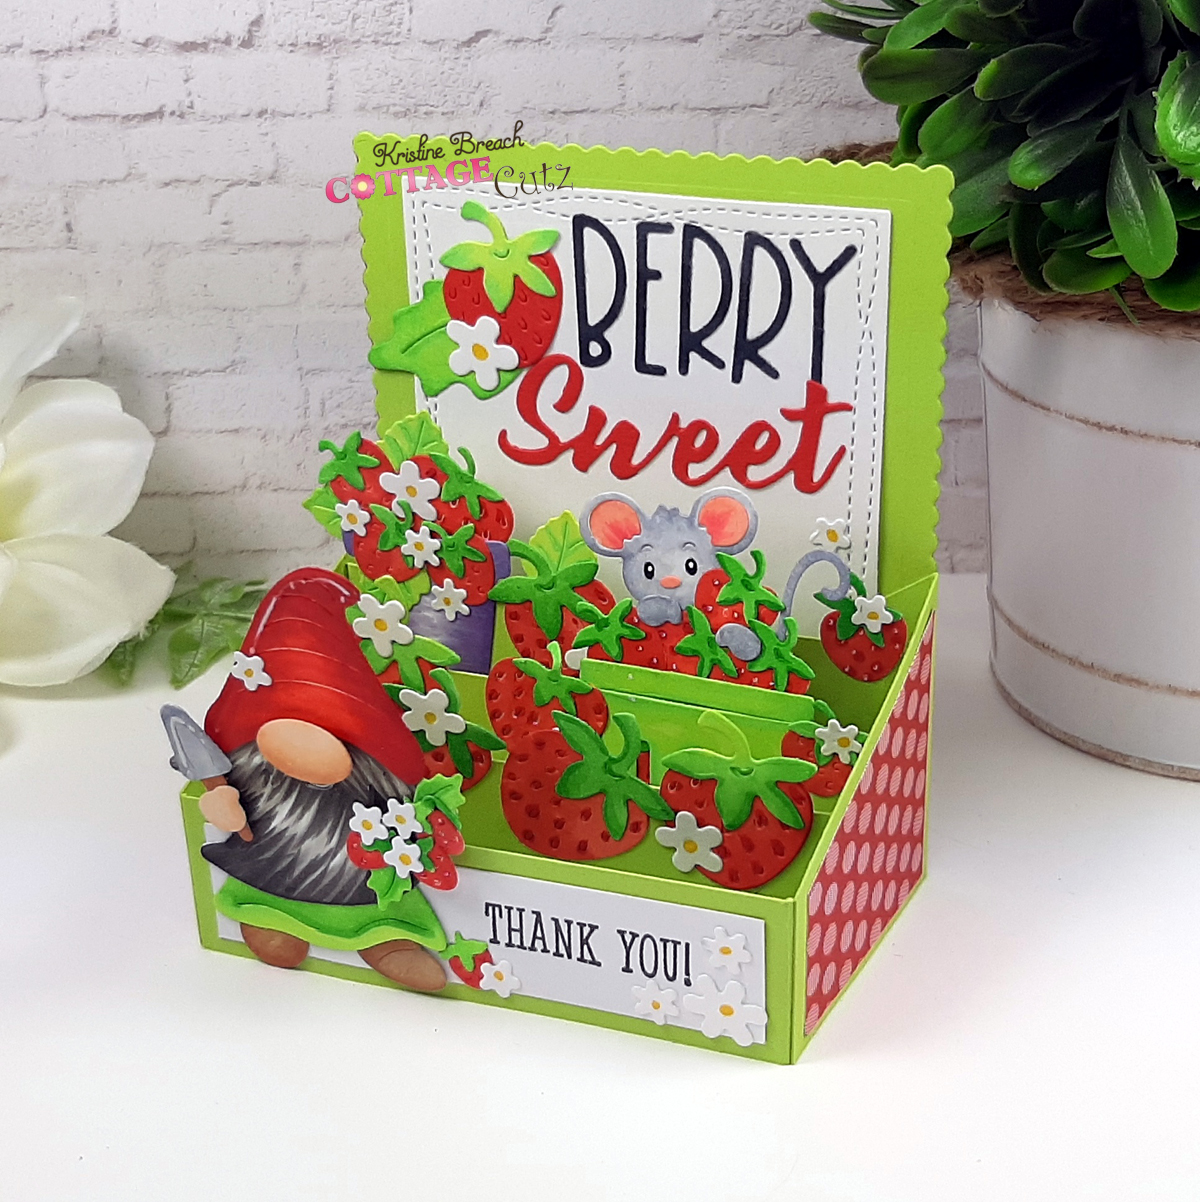
Kris here with a fun interactive card!  Have you gotten your hands on this ADORABLE 
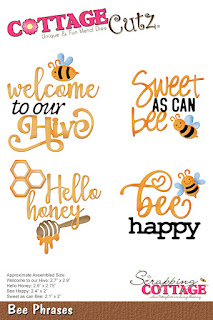
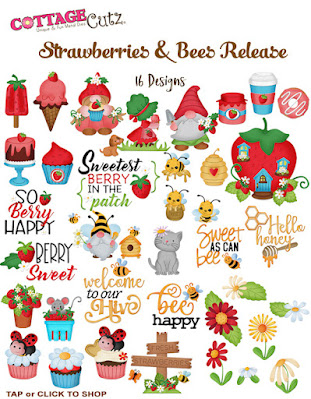
Strawberries & Bees Release yet?!  It's so fun to piece together and make really fun cards....and they're all 30% off for a limited time 😀

I've used the cute Bee Gnome and the Bee Phrases to create this fun spinner card!


How I made it:

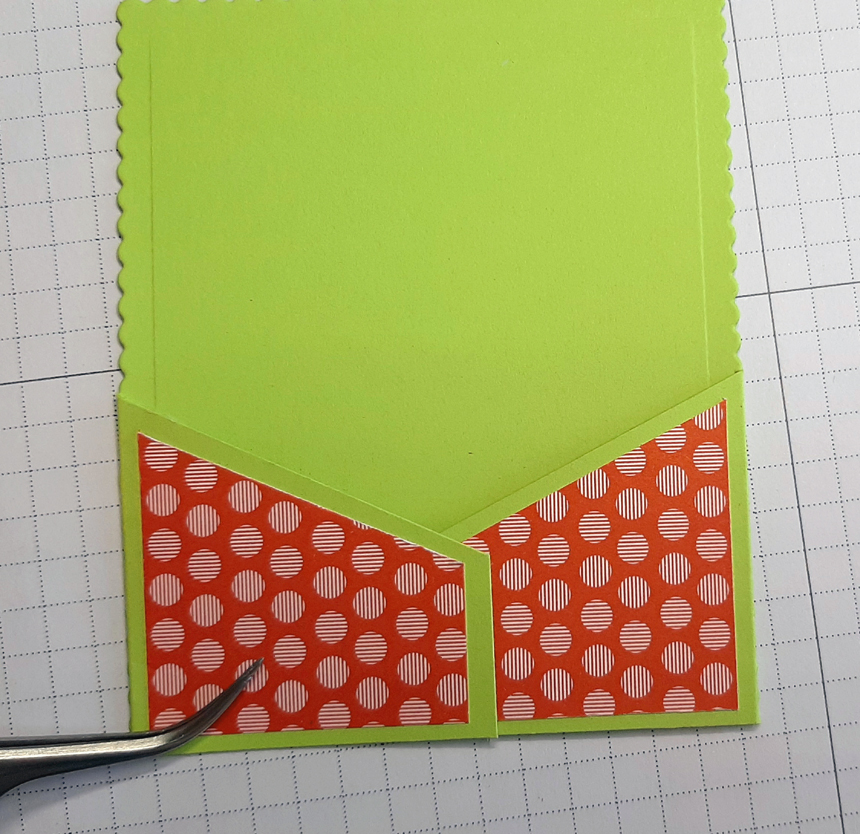
1.  I cut a piece of thick white cardstock 11" x 5-1/2" and scored it at 5-1/2" to make a square card base and set it aside.

*Next... if you already have some honeycomb papers - Great!  I did not, so I used some paper stencils.

2.  I cut 2 pieces of 80 lb. white cardstock:  the first one 5-1/4" square and the second 5" square.

3.  I sponged wild honey distress oxide ink with a honeycomb stencil onto the 5-1/4" square

4.  I sponged salty ocean distress oxide ink with a larger honeycomb stencil onto the 5" square.

5.  I die-cut my Bee Gnome and Bee Phrases  from white cardstock and colored with Copics.

6.  I laid (most of) my images onto the blue honeycomb piece and figured out my placement for the spinner.  Then I laid the 2nd and 3rd smallest dies from the Nested Wacky Stitched Circles die set onto the upper middle part of the card and taped them with a low-tack tape and removed the die-cut elements before cutting.  


7.  Next, I needed a small circle that is bigger than the opening for spinner, so I die-cut the smallest from the Pierced Wide Circle Frame die set  and I used the very center circle that was cut from the middle of that die.  (see photo below).

8.  I sponged that small circle with the wild honey distress oxide ink so it would blend in with the paper showing thru the channel, and glued a tiny spinner element to the middle of it.  If you don't have that, you could use a tiny button or stack 2 circle foam dots together.... as long as it's round and smaller than the spinner channel. (see photo below)

***Note:  this is the same concept as the penny spinner, however, a penny will show thru the channel as it's larger than the largest bee in these sets, so if you want to add weight,  you can add a magnet or washer, maybe even a dime? (I didn't try that) etc. to the back of your yellow circle which will help it spin better!  ☺


9.  Next, I added foam strips to the back of the blue cardstock (around all edges and some pieces closer to the circle opening, but not too close that it prevents the circle spinner from passing) and center circle piece and adhered to the yellow honeycomb piece.

10.  I placed the spinner circle piece in between the 2 blue layers as shown above and added a tiny bit of glue to the top of the white spinner and centered my bee onto it.  

11.  I glued the sentiment and white honeycomb grouping to the blue layer, and popped everything else up with foam dots.

12.  Lastly, I adhered that whole piece onto my white card base, making sure there's equal amount of white border all around and Voilà!!  


PRODUCTS I USED:


I hope I've inspired you to try this or your own creation using the new

~Kristine

Sunday, July 03, 2022

Berry Sweet Box Card

Hello and happy Sunday!  Kris here to share a "Berry Sweet" and easier-than-it-looks box card with you showcasing the NEW Strawberries & Bees release!  

Before I get to my project, I just want to say.... NOW is the perfect time to go shopping as this whole release is 50% off for a limited time.... individual dies in this release are 30% off.... and the store is having a huge 4th of July sale going on with up to 70% off other dies! Run, run -it won't last long ☺

Okay, onto my card...


CUTTING & SCORING

I began with the fun stuff first ... die-cut all my cute images and sentiments from white cardstock, colored with alcohol markers and pieced together.  Next, onto making the box!

BACK: 
Green cardstock:
•  Die-cut (1) using largest die from the Nested Scalloped Rectangles - then, trim off 1/4" from the bottom 

White cardstock:
•  Die-cut (1) using the 2nd from largest Wacky Stitched Rectangles

SIDES:
Green Cardstock:
•  With paper trimmer, cut (2) 2-3/8" x 2" and score at 3/8" on just one of the 2-3/8" sides.  One of the sides will have the score line on the LEFT, and the other one will be on the RIGHT (see photo below). Then, measure down 1" on the opposite side from the score line and place a pencil mark.  Cut from the TOP of the score line diagonally down to the mark.  Repeat on other piece.

From patterned paper:
•  Cut (2) 1-3/4" squares.  On one side, measure down 7/8" and place a mark.  Cut from top of the opposite corner down to the mark. *On other piece, you'll cut from the other corner.  (See photo below)

FRONT:
Green Cardstock:
•  Cut (1) 4-1/4" x 1" and score 3/8" from each end

White Cardstock:
•  Cut (1) 3-1/4" x 3/4"

MIDDLE SHELVES:
Green Cardstock:
•  Cut (3) 4-1/4" x 3/4" - and score at 3/8" from each end.  Miter the top only of each of the 2 scored flaps on each shelf.  (see photo below)


ASSEMBLY:

1.  Glue your patterned papers onto the side pieces.  Add glue to the flaps and adhere to the front lower sides of scalloped piece so that they both angle down towards the center of card.  The scored line of flap is FLUSH with the scallops, and the bottom edges are aligned.


2.  Adhere white Nested Wacky Stitched Rectangle to the front center, paying attention to the top and side borders for placement - not the bottom as remember we cut off 1/4" ;)


3.  Stamp on the front white piece if desired, and  adhere to FRONT green piece.  

4.  Add glue only to the LEFT flap of your FRONT piece and adhere the left side piece so that it bumps up to the score line, not over it.  


5.  Open that side & front piece to the left while we work on the middle shelves. 

6.  Add glue to just the left flap of one shelf, then bump it up to the score line (of the side piece), making sure that the top of your shelf is below the edge of the side piece.  You can click on the pic to enlarge if needed.


7.  Fold that first shelf over to the right and leave it there.  Do not attach the other end - we'll do that after all our shelves are in. 

8.  Add glue to the next shelf, and place it according to the photo below, again, making sure the top of the shelf is lower than the edge of your side piece.


9.  Fold that shelf to the right as shown and continue with the 3rd shelf. 

10.  Fold all shelves and front piece to the right and add glue to the remaining flaps.


11.  Fold your right side piece over flaps, aligning that front piece, and rub to adhere.


12.  For the very BACK of my card, I die-cut another Nested Scallop Rectangle, in red this time, and another Nested Wacky Stitched Rectangle (same size as the front back piece), stamped it and adhered, lining up the scallops.


13.  And lastly, add your decorative die-cut elements for a BERRY SWEET box card that folds flat to mail in a regular A2 sized envelope!


I hope I've inspired you to try this or your own creation using our new

~Kristine

Here are the products I used today: