Melinda here with you, and today I am sharing a simple but effective Christmas themed card I created featuring the cute Christmas Owl die from the FABULOUS Christmas release!

My card is a standard A4 size: 4.25 x 5.5. This card is a regular side fold card. I thought these Owls were adorable. I wanted to make them in my favorite color...pink. So I ended up with this very non-traditional looking Christmas card.

I started by die cutting all of my pieces in white cardstock. I then proceeded to color the various pieces in. I wanted to keep my little owls on the lighter colored side. So I used shades of gray and light pink-peach for their bodies. I used some chalks for their cheeks. I also added some stickles to the berries and some puffy paint to the little owl with the hat on the left. I added the paint to the rim and the pom pom of the hat and it gave it the perfect texture and dimension.

I mounted the adorable owls onto a pierced circle mat cut from white cardstock. I used some pretty patterned paper for the mat layer. I then repeated that with the largest pierced circle die cut in white cardstock and to that I added a mat of some rusty pink cardstock. I then used the phrase We Wish You A Merry Christmas from the Merry Christmas tree die. I curved the letters around the large circle die.

Here is a closer look at the work merry. I colored that in some dark gray marker and it matched the leaves and theme of the card perfectly.
Here is one last look at the completed card. I loved the way this turned out!
Don't forget to head over to the CottageCutz YouTube channel and check out all of the amazing projects on there. Our video team is doing a wonderful job of filling the channel with all sorts of creative content! You don't want to miss it!
Dies I Used
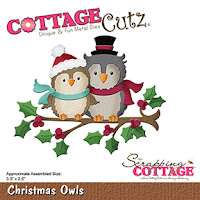
Christmas Owls

Merry Christmas Tree

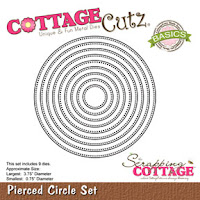
Pierced Circle Set

Here's a look at the entire release. Be sure to head over and grab them while they last!


Well that about covers it for today! Until the next time, have a wonderfully craft-die day!
Melinda Beltran