Showing posts with label Baby Monkey w/ Balloons. Show all posts

Thursday, June 01, 2017

Wish!

Good Morning Scrapping Cottage Fans!

Pam, here today and I am really excited to show you our new release Expressions Plus Dies!  Here is my Design Teammate to show you how wonderful these dies are!!
We gave you a small sample in the video of the 35 dies that where released so I am including a picture of all the new release dies!

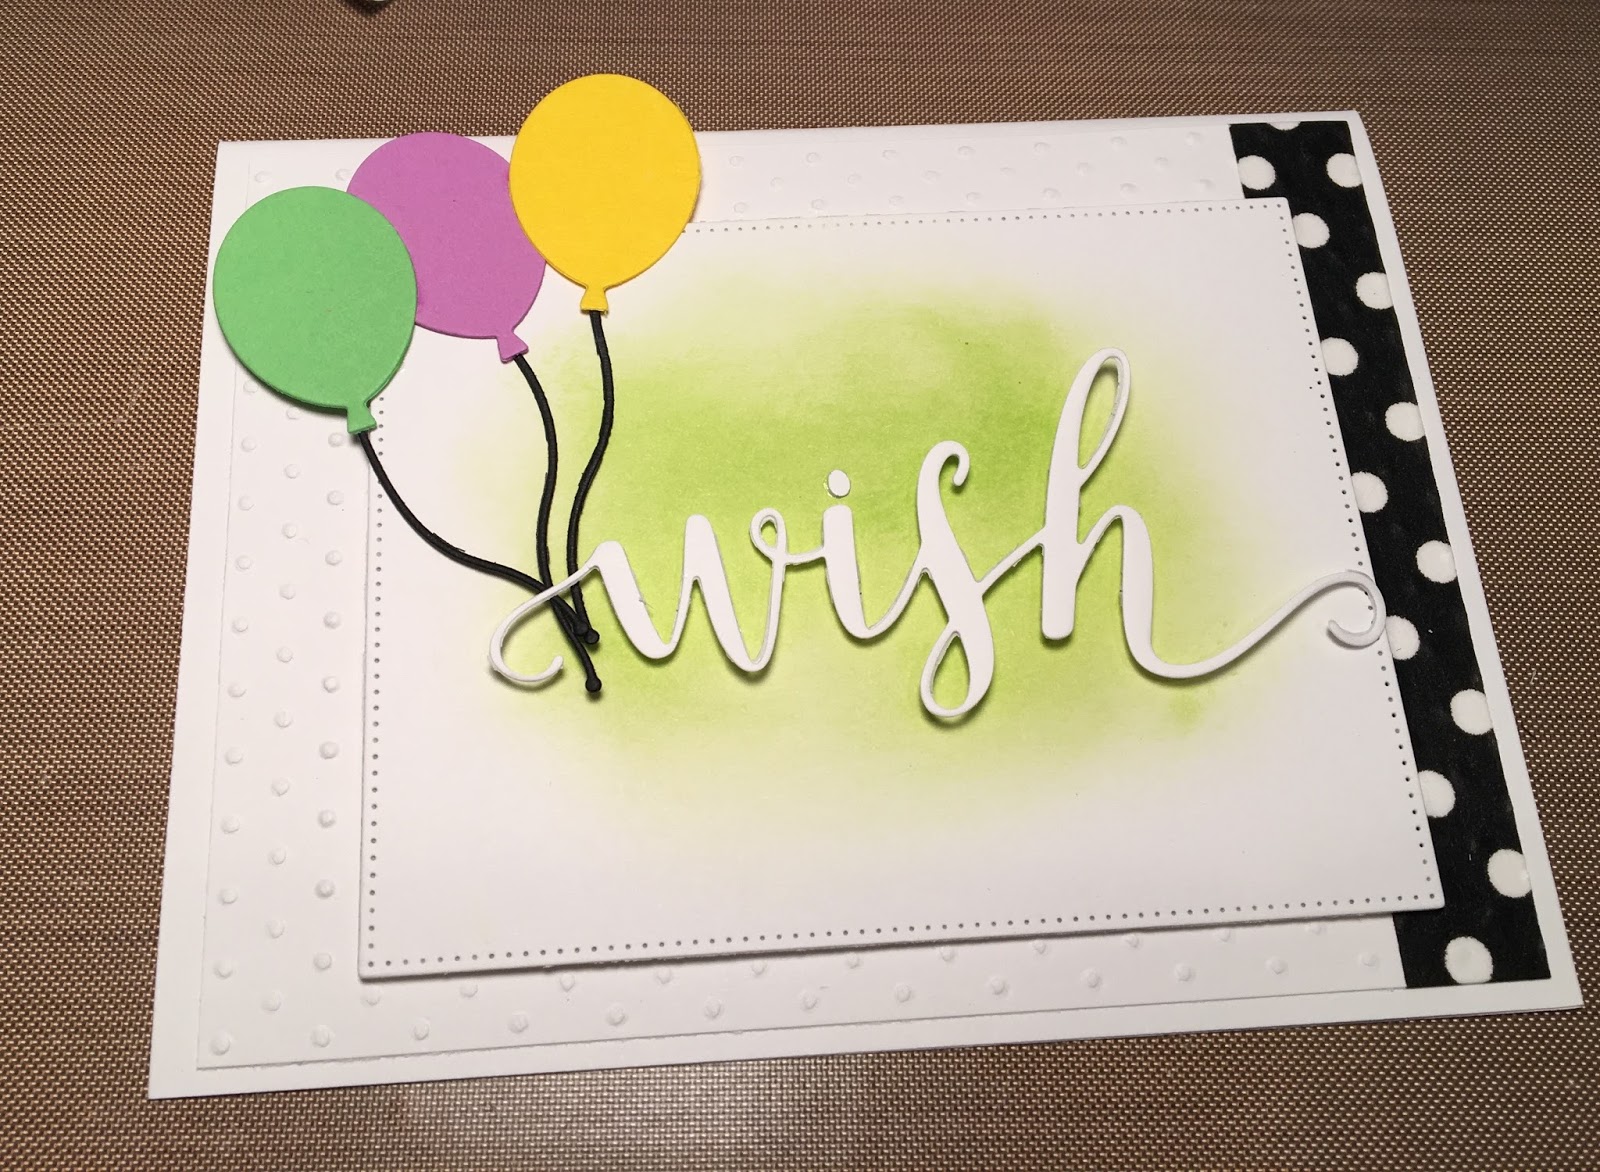
Now on to the card for today! I needed to replenish my supply of birthday cards.  And I wanted them to be great for either guys or gals so I came up with this festive design that I think would fit for both genders and just about any age too!


Design Steps:

1.  Start with an A2 white card stock base and cut a 4 x 5 1/4 inch piece of white card stock and run it through the dotted embossing folder.
2.  Wrap a piece of black and white polka dot washi tape around the right side of the embossed white card stock and set aside


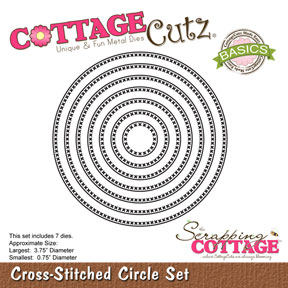
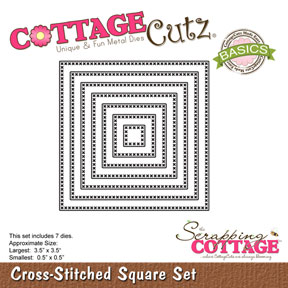
3.  Next cut a piece of white card stock using the largest Cottage Cutz Pierced Rectangle.  Using white card stock again cut out Wish using Cottage Cutz Words Expressions


4.  Sponge green onto the rectangle to create a background for the word wish


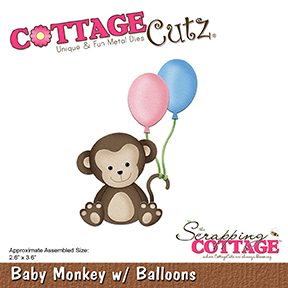
5.  Using small dimension dots place them on the back of the word wish then glue to the center of the rectangle.  Use purple, green, yellow and black card stock to cut out the balloons from the die Baby Monkey with Balloons.  Glue the strings to the balloons


5.  Add dimension tape to the back of the sponged rectangle and glue to the embossed white card stock

6.  Glue the balloons as shown

7.  Add sequins to complete the card
Here are the Cottage Cutz Products I used:


We now have an instagram account check it out here. As always thanks so much for stopping by and I hope you get crafty today!

Blessings
Pam

Thursday, May 11, 2017

Baby Monkey!

Good Morning Scrapping Cottage Friends!

It is Pam creating with you on this beautiful Thursday!  I just thought I would share another use for this cute little new release Baby Monkey die!  I always need cards for enclosing gift cards. So I found this really easy design on Youtube.  I altered some of the measurements so that it would fit into a A2 envelope.   It seems now a days that a gift card is all anyone wants especially my older nieces and nephews.  I must admit it is much easier then trying to please them but it does take some of the fun out of gift searching!


Designer steps:

1. Use a light brown card stock base 4 1/4 x 11 and score at 4 1/2, 5 1/2 and 6 1/2.  Use your bone folder and crease the card as shown.


2. Flip the card over and put a strip of strong tape as shown then press together.  This will form the card holder.

3. Use the second to the largest Pierced Rectangle die which is the same wideth as a gift card and make the cut through the mountain fold.


4. And now it is time to decorate the  card!  Cut a white 4 1/4 x 4 1/4 piece of white card stock and emboss it with cupcakes.  Glue to the front of the card


5. Using the Baby Monkey with Balloons die cut all the pieces of the monkey and balloons.  Use brown, tan, and black for the monkey.  Before you assemble the monkey sponge the edges for more depth
6. Glue all the pieces together adding small black pearls for the eyes

7. Cut the balloons using designer paper and the strings out of black card stock
8. Cut a strip of light brown card stock 11 x 1 inches this will make a band around your card to keep the gift card inside it good and safe.   Just take your band and fit it around your card and make a tiny pencil mark as to where you will place the tape

9. Cut a Cross Stitched Circle out of designer paper and glue the monkey and balloons to the circle.  Then attach the circle to the front of the band set aside

10. On the inside of the card cut a Double Stitched Rectangle and glue to the center of the inside of the card
11. Using designer paper cut another set of balloons, string and the word Celebrate glue all to the inside of the card


Here are the Cottage Cutz Products used:


I hope you enjoyed this project and that it will inspire you to make a card with an enclosed gift card!

Blessings and thanks for stopping by!
Pam


Friday, May 05, 2017

Baby Boy Explosion Box card


Hello to all !! It's Anita here with a baby boy explosion box. CottageCutz has recently released a whole new range of baby dies and they are all so adorable. You can check the whole collection here
Here is my explosion box card showing many dies and they give the whole project such a beautiful look.


Score a 6.25 x6.25 inch paper at 1" intervals on all sides and snip off the corners as shown. This makes the lid of the box. 
To make this box, Score a 12x12 inch card stock at 4" and 8" and turn the paper and score again.Cut out the four corners as shown.


 Cut pattern papers 3 x 3 and cut the cross stitched die cut. Distress with blue ink.


Cut the die cuts and assemble them together following the image on the paper pack.


Layer all the die cuts and papers together.


Make 3D flower and arrange in the centre with leaves using 3d foam tape.


the finished card

Cottage Cutz dies used