Showing posts with label Anita Kejriwal. Show all posts

Saturday, March 25, 2017

Paper Embellishments with Layered Die cuts

Hello dear friends,

How is everyone doing!!!!! I hope you will have a super crafty Sunday today.
Have you ever wondered what a range of paper embellishments can be created with die cuts.

We are always short of tags, mini cards or even decorative embellishments and try to make quick simple ones . So here I have five creative paper embellishments that can be used as tags, cards and even for scrapbook layouts.
CottageCutz has a wide range of dies and you can play with them to create these super cute things. And the best part is you use all your paper scraps that you have been hoarding all this while. So have a look at these. Get inspired and start playing with your dies.


Aren't they super cute!!! And I had fantastic time playing with my die cuts.
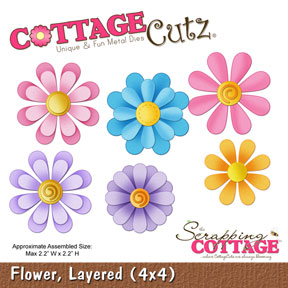
I gathered all my paper  scraps and grouped them in shades of various colours. Then I picked one floral die and cut many flowers from one shade.
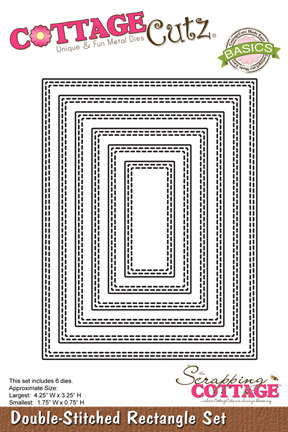
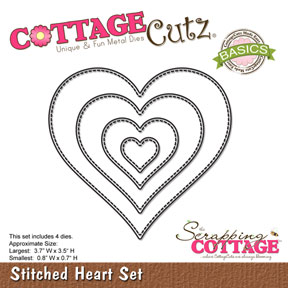
Similarly , If I chose a stitched die, I cut many die cuts of different colours from paper scrap. 
Cut several designs in many shades and layer them with foam tape. You can create hundreds of designs. 

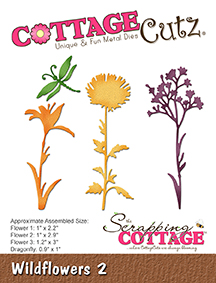
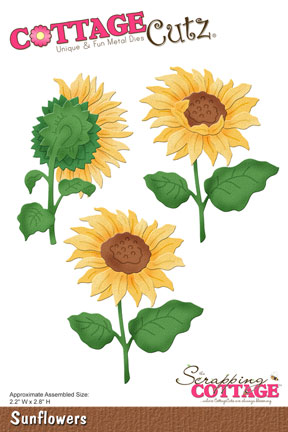
Here are the dies I used for my embellishments.


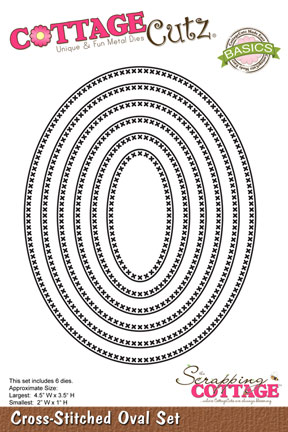
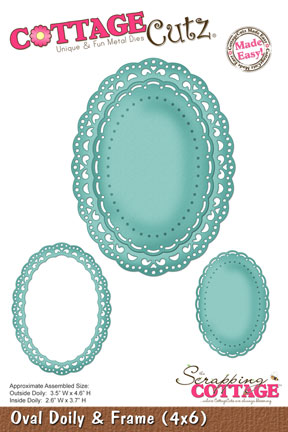
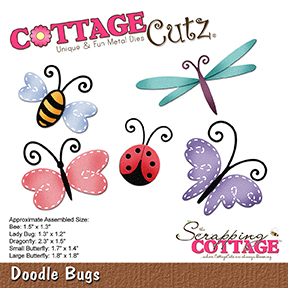
You can check all the amazing collection of dies at the CottageCutz Store.
Do share your views on these pretty paper creations. Thanks for stopping by. 


Friday, March 17, 2017

Watercolour on Diecuts-floral card


Hello dear friends

Happy Friday to all !!!
Spring is in full bloom and flowers are spreading their beauty all over. It's Anita once again, sharing with you the beauty of spring flowers.

Many times we are all short of time and also some people are not fond of making 3D flowers . They want quick beautiful cards .
So here is a cool technique where colouring die cuts with water colour can really make them look beautiful and layering them together gives a lovely floral card like this.


To make this card,
Cut all the die cuts with white card stock and emboss a card panel 6" x 4"


Using distress inks , colour all the die cuts. Use the negative of the wild flower to create subtle stamping on the oval label. Distress ink names are mentioned below.


Layer the ovals like this and adhere on the embossed panel as shown.

Adhere all the die cuts layering them together like this.
Add a sentiment.

Adhere the card panel on card base measuring 7" x 5".

CottageCutz products used.

Wildflowers 2

Springtime Bluebell flowers


Cross-stitched Oval set

Distress inks used -- Peeled Paint, Mowed Lawn, Chipped Sapphire, Candied Apple, Fossilised Amber, Carved Pumpkin
I hope you will try this technique. Do share your work. I hope you have a good crafty weekend. 

Friday, March 10, 2017

Happy flowers with CottageCutz dies

Hello ,

Its Anita here and I am back with my Friday post.
Happiness is such a subjective emotion. many derive happiness by spending time with their loved ones while some become happy by being with their pets.  know some people are happy when alone while some like noisy crowd to be happy.
I find happiness in flowers. And I am happy when my flowers bloom the way I want them to. And the CottageCutz 3D flowers dies are most amazing ones that make my flowers look happy.

There is a wide variety of flower and leaf dies ranging from tiny flowers to mega sized blooms.

For my card here, I have created some spring flowers and I loved the purple hue . Do follow the step by step instructions for making these flowers.
Here is my card.

 Instructions for making flowers

Cut the die cuts from white card stock using CottageCutz dies

Cut out 2  frames each for the card base and stick them together.

Colour the flowers and leaves using distress inks and put tiny dots with black pen. Mist the flowers with water.


Shape using an embossing tool on a foam mat as shown

Make pollen centres as shown

Add wire pollens to filler flowers

Carefully make small cut marks in between the petals. This will enable the pollen centres to pass through.


Complete all the flowers and lay them out on the card.


the finished card measures 7"/ 7". It has two mat layers of 6.5/6.5" and 6"/6". The edges have been distressed. Cut 4 strips from pattern paper measuring 1"/ 7" and swipe walnut stain ink to give that distressed look. Adhere on card front as shown.

CottageCutz dies used


Other products

Distress inks-walnut stain, seedless preserve, wilted violet, Memento inks-bamboo leaves, ivy cottage. white card stock

Do leave a few happy words and thanks for stopping by.

Friday, March 03, 2017

Sunflowers and Sunshine

Hello friends!!!

Welcome to the CottageCutz blog. this is Anita here, with another inspiration with the spring theme. Spring means sunflowers and sunshine and that is what my card brings in today.

The CottageCutz store has a wide range of spring theme dies and also stamps and die combos. You can view all of them here.

Here is my card with sunshine and sunflowers


So did my card bring a smile on your face!!!
Its very easy to make this card.

Instructions

1. Cut a white card stock a 5 inches by 6 inches and colour with water colour using shades of yellow and orange. Score the card panel on the score board at an interval of 1/8 inch. Adhere this on brown mat layer.

2. Cut four die cuts from double stitched rectangle die to get frames and adhere two frames together to get a thicker die cut. Add a sunflower picture at the back of one of the frames. To another frame , add a white backing paper that you get from cutting the frames. Add some water colour.

3. Adhere the two frames on the card panel as shown.

4. Cut die cuts in white water colour paper from Sunflowers die and colour the flowers and leaves as shown. Use any colouring medium of your choice. Add the dragon fly from Doodle Bugs Die

5. Adhere on the card panel with foam tape. 

6. Add sentiment, twine bow and some sequins to finish the card.

CottageCutz die used


See you again next week with more projects and inspirations from the CottageCutz.
Stay happy and keep crafting.