Friday, August 23, 2024

Autumn Friends


Welcome back. Today, I am sharing my first autumn themed card of the year. I've had this sweet "Autumn Friends" die from CottageCutz in my craft room and it was finally time to put these cute critters on a note card.


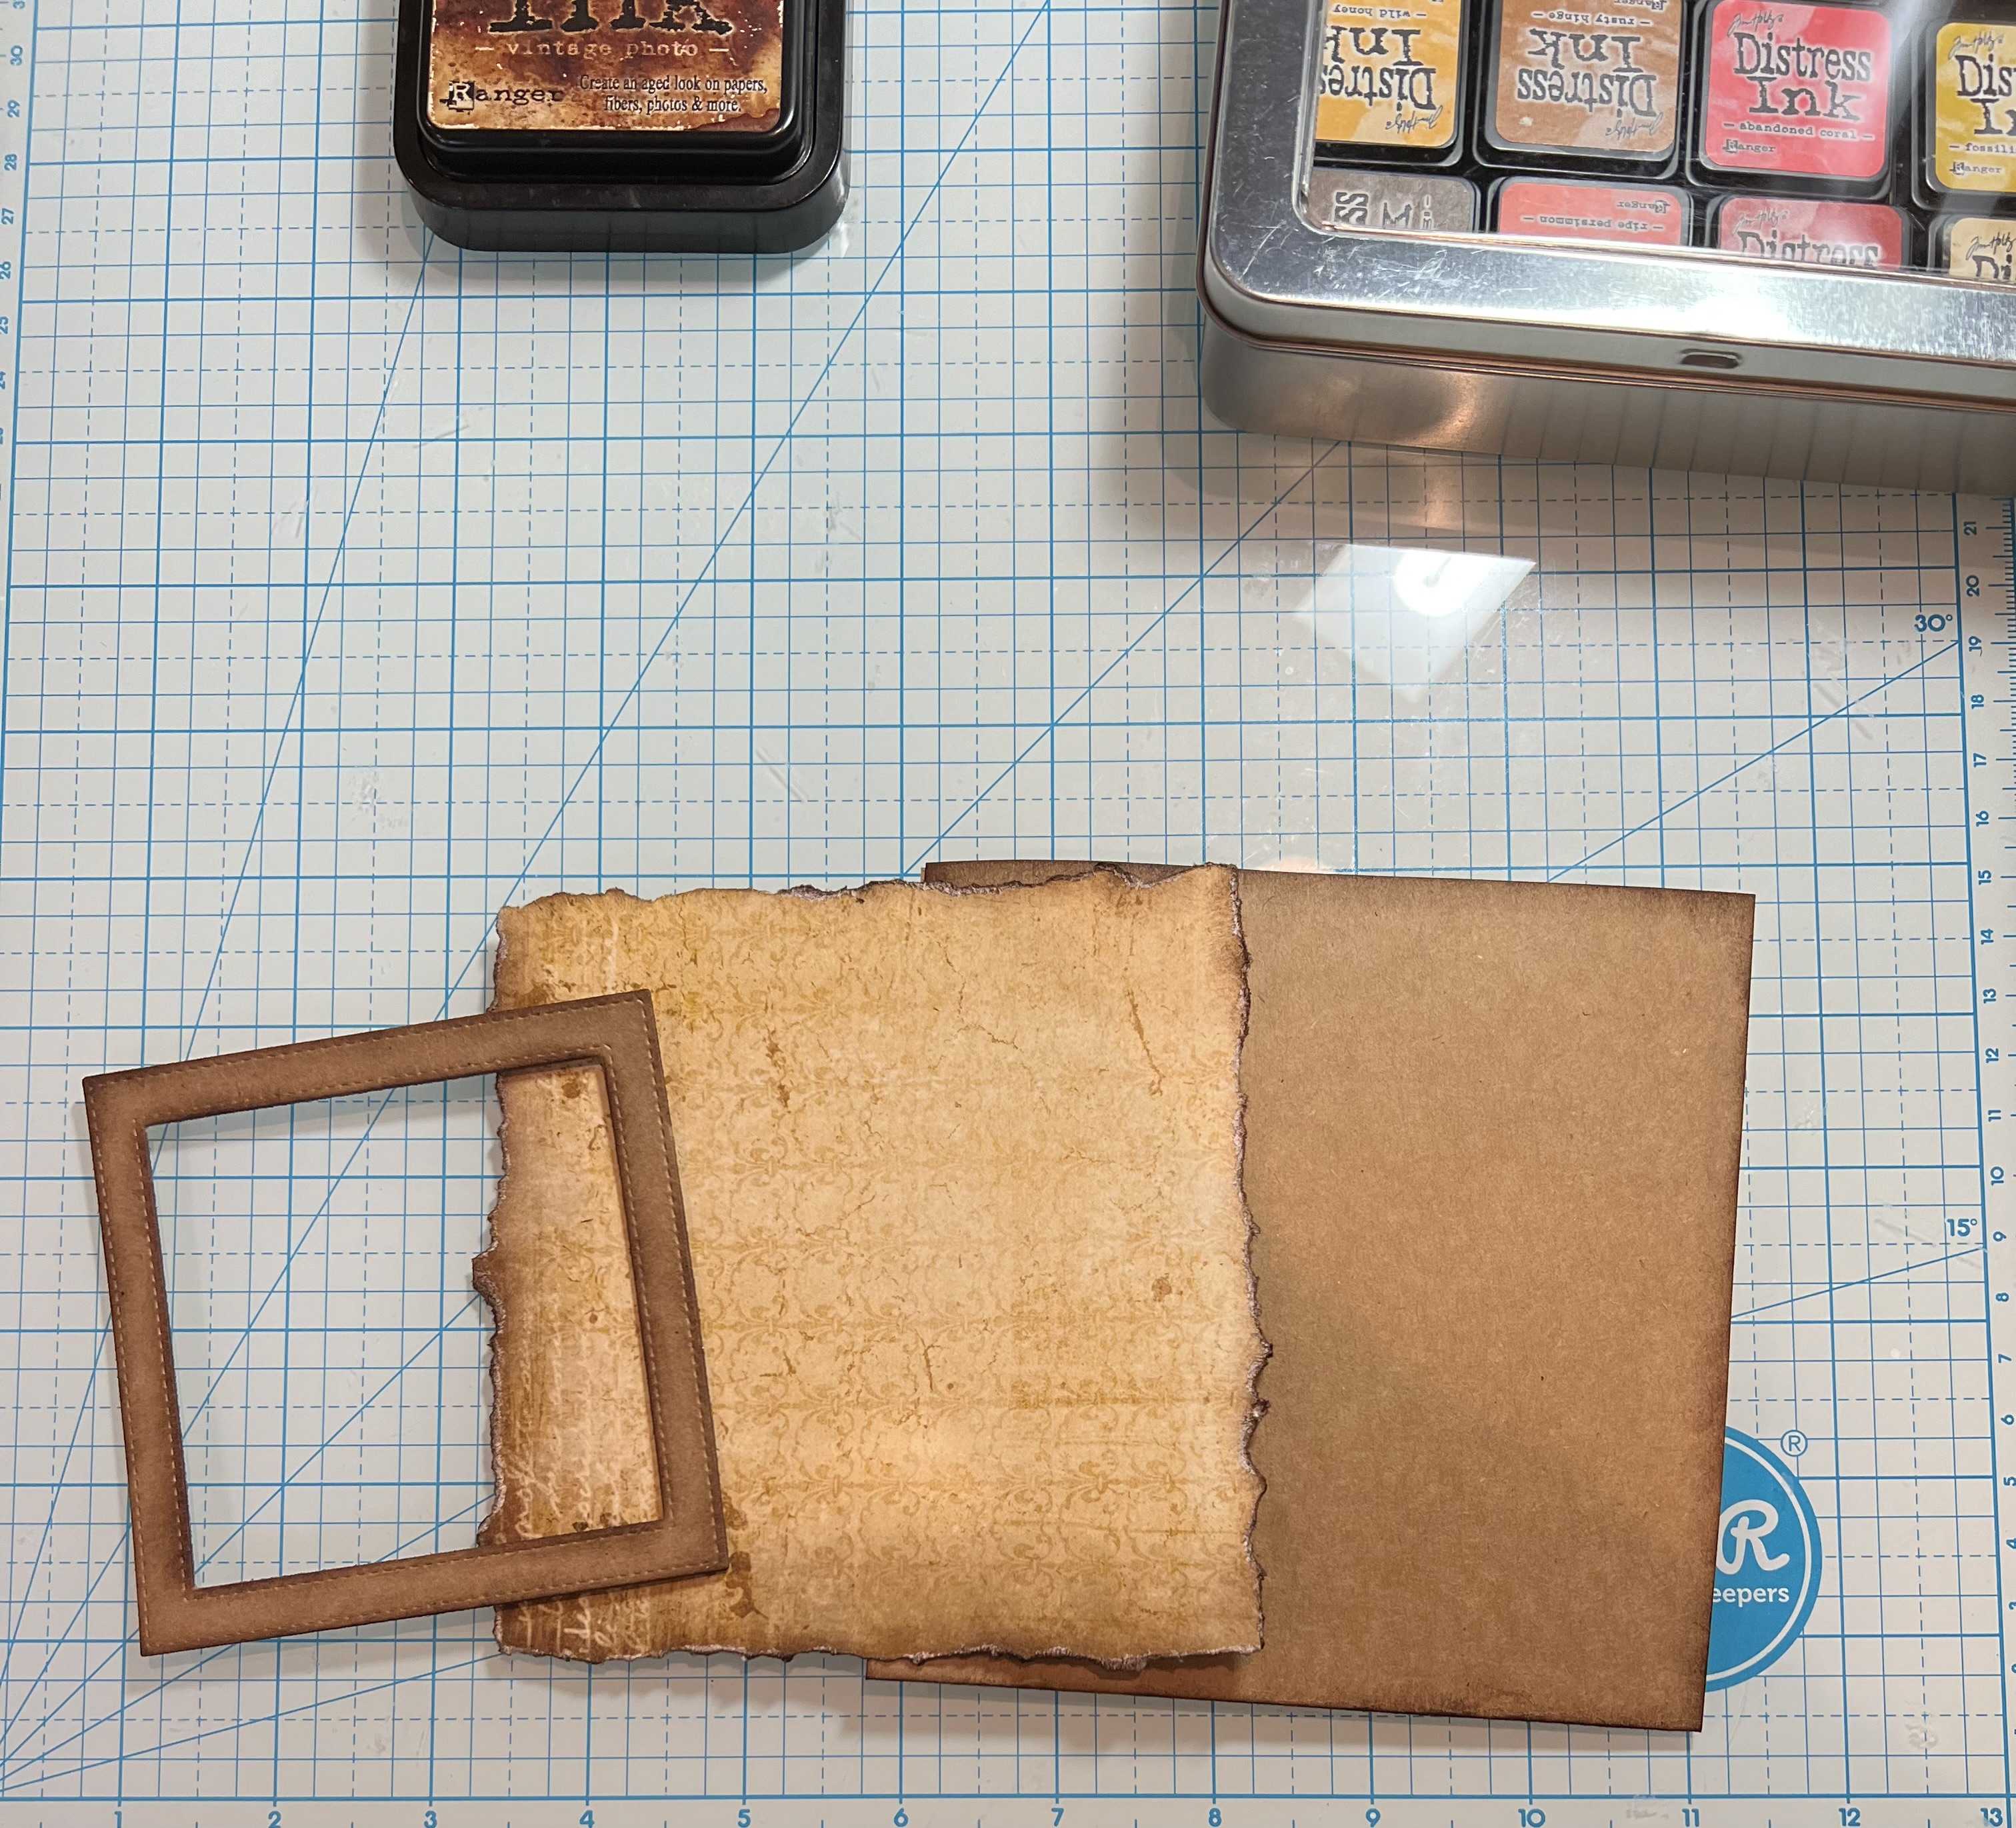
I began by die cutting all of the images using white cardstock. I die cut them twice and I ink blended them with Distress Ink. I used a combination of "Walnut Stain, Gathered Twigs, Vintage Photo, Antique Linen, Peeled Paint, Twisted citron, Forest Moss, Barn Door, Crackling Campfire, Spiced Pumpkin, Fossilized Amber and Peacock Feathers." Since I had die cut each piece twice, I adhered the two layers together before assembling the images for dimension.


Next, I cut a white piece of cardstock to 3.75"x 5" and used a mask stencil with an oval cutout, from my stash, to create grounding for my scene. I used a combination of "Peacock Feathers, Tumbled Glass, Mowed Lawn" and Forest Moss" for the background.


After adhering my 4.25" x 5.5" pattern paper to a top folding A2 card base. I built my animal scene. The only place I added foam tape was to the back of the fox and pumpkin.


That completes my card. Thank you so much for joining me today. Until next time..... Marla


Head over to Cottage Cutz and do a little shopping today!

Get Social With Cottage Cutz


Monday, August 19, 2024

Hello Fall

Hello Friends,

So glad you stopped by today!  I am so excited about starting my fall cards.  Autumn colors are my favorite and so is the season! Today I am sharing a Fall card using a number of different dies: Mushroom Fairy Garden (Mushrooms),  Fall Centerpiece (leaves), Spring GreeneryGreenery and Botanical Garden 2.  

 Background Photo by FreePiks

Design Steps:
1.  Use a Kraft card stock base measuring 5 1/4 x 5 1/4, DP 5 1/8 x 5 1/8 and cut 3 kraft frames using the Large Stitched Wide Square Frame die
2.  Glue the frames together and ink edges, tear around the DP and ink the edges, and finally ink the edges of the square card base

3.  Glue the DP to the front of the card and then add frames
4. Cut out the greenery, mushrooms and leaves using the following dies: Mushroom Fairy Garden (Mushrooms),  Fall Centerpiece (leaves), Spring Greenery, Greenery and Botanical Garden 2.  Ink the edges.  For the extra texture I dyed a piece of cheesecloth brown.  Lay out your cheesecloth and then to tack down put a little exta glue on the backs of your greenery
5.  Place your leaves, mushrooms and acorns as shown above
6.  Cut out the hello fall 3 times using the Fall Phrases in dark brown card stock.  Glue together add the phrase to the upper right hand corner and your card is complete


We have more inspiration on our YouTube Channel check it out HERE

Thanks so much for stopping by! 

Blessings and Take Care


Head over to Cottage Cutz and do a little shopping today!

Get Social With Cottage Cutz

Monday, August 12, 2024

Card Design Secrets Using Dies


Happy Monday!  It's Marla here with a new YouTube video tutorial.  Today, I am sharing my design tips for using dies that have multiple images.  

I used Botanical Garden 2 paired with Happy Birthday Sentiment on my card today.  I have linked the products for easy shopping.


Head over to Cottage Cutz and do a little shopping today!

Get Social With Cottage Cutz