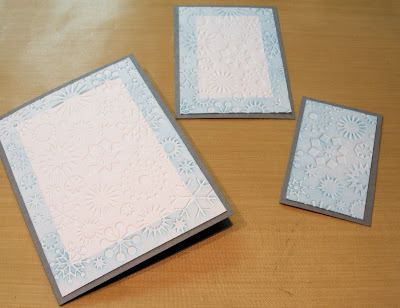
To start my card, I cut several layers of cardstock:
Gray - 5 1/2" x 8 1/2" (scored at 4 1/4"), 3 1/4" x 4 1/2", 2 1/4" x 3 1/2"
White - 4" x 5 1/4", 3" x 4 1/4", 2" x 3 1/4"
Using repositionable tape, layer the white pieces of cardstock, centering each piece on top of the next larger one. This stack of cardstock will be placed in an embossing folder.
I ran the embossing folder though my Cuttlebug, being careful not to move the various pieces.
I then separated the panels and adhered them to the coordinating pieces of gray cardstock.
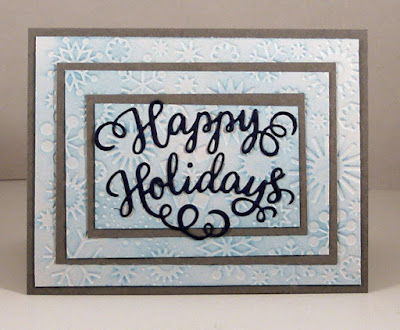
I didn't want to take away from the embossed/inked pattern on the panels, so I decided to add just a sentiment. I cut the sentiment "Happy Holidays" from one of the new Christmas CottageCutz dies, Happy Holidays Greeting.
I layered the panels together (lining up the embossed areas), glued the die cuts to the center of my card, and I was finished. You can see how the various snowflakes transverse the panels. One of them (the large one on the far right) actually is on all three panels.
I really like the result achieved on my card and will definitely use this technique again. The CottageCutz die used on this card is:


6 comments:
Love all the layers of embossing so pretty!
Gorgeous! I love all of the layers and the embossing you did!
I like your triple embossing Lois-creative and makes a great impact -and the happy holiday sentiment is a perfect accompaniment
Hi Lois. That's a great technique and a wonderful way to make the sentiment have the most impact. Super idea. -Janet
Love this technique. I've never seen it before. It is very striking!
So simple, but so elegant. Great card, Lois.
Post a Comment