Hello Friends!
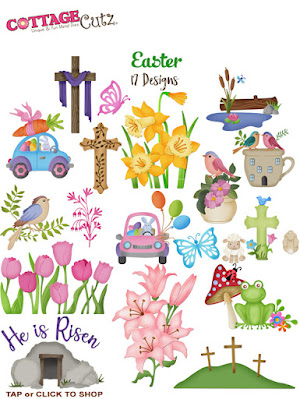
It is NEW RELEASE TIME! The collection is called EASTER and it has 17 incredible pieces! They are so perfect for Easter and Spring. Right now you can save up to 65% on these dies if you buy the bundle and believe me you are going to want the bundle. If you purchase the dies individually they are 30% off. This sale will not last so stop by the store today right HERE!
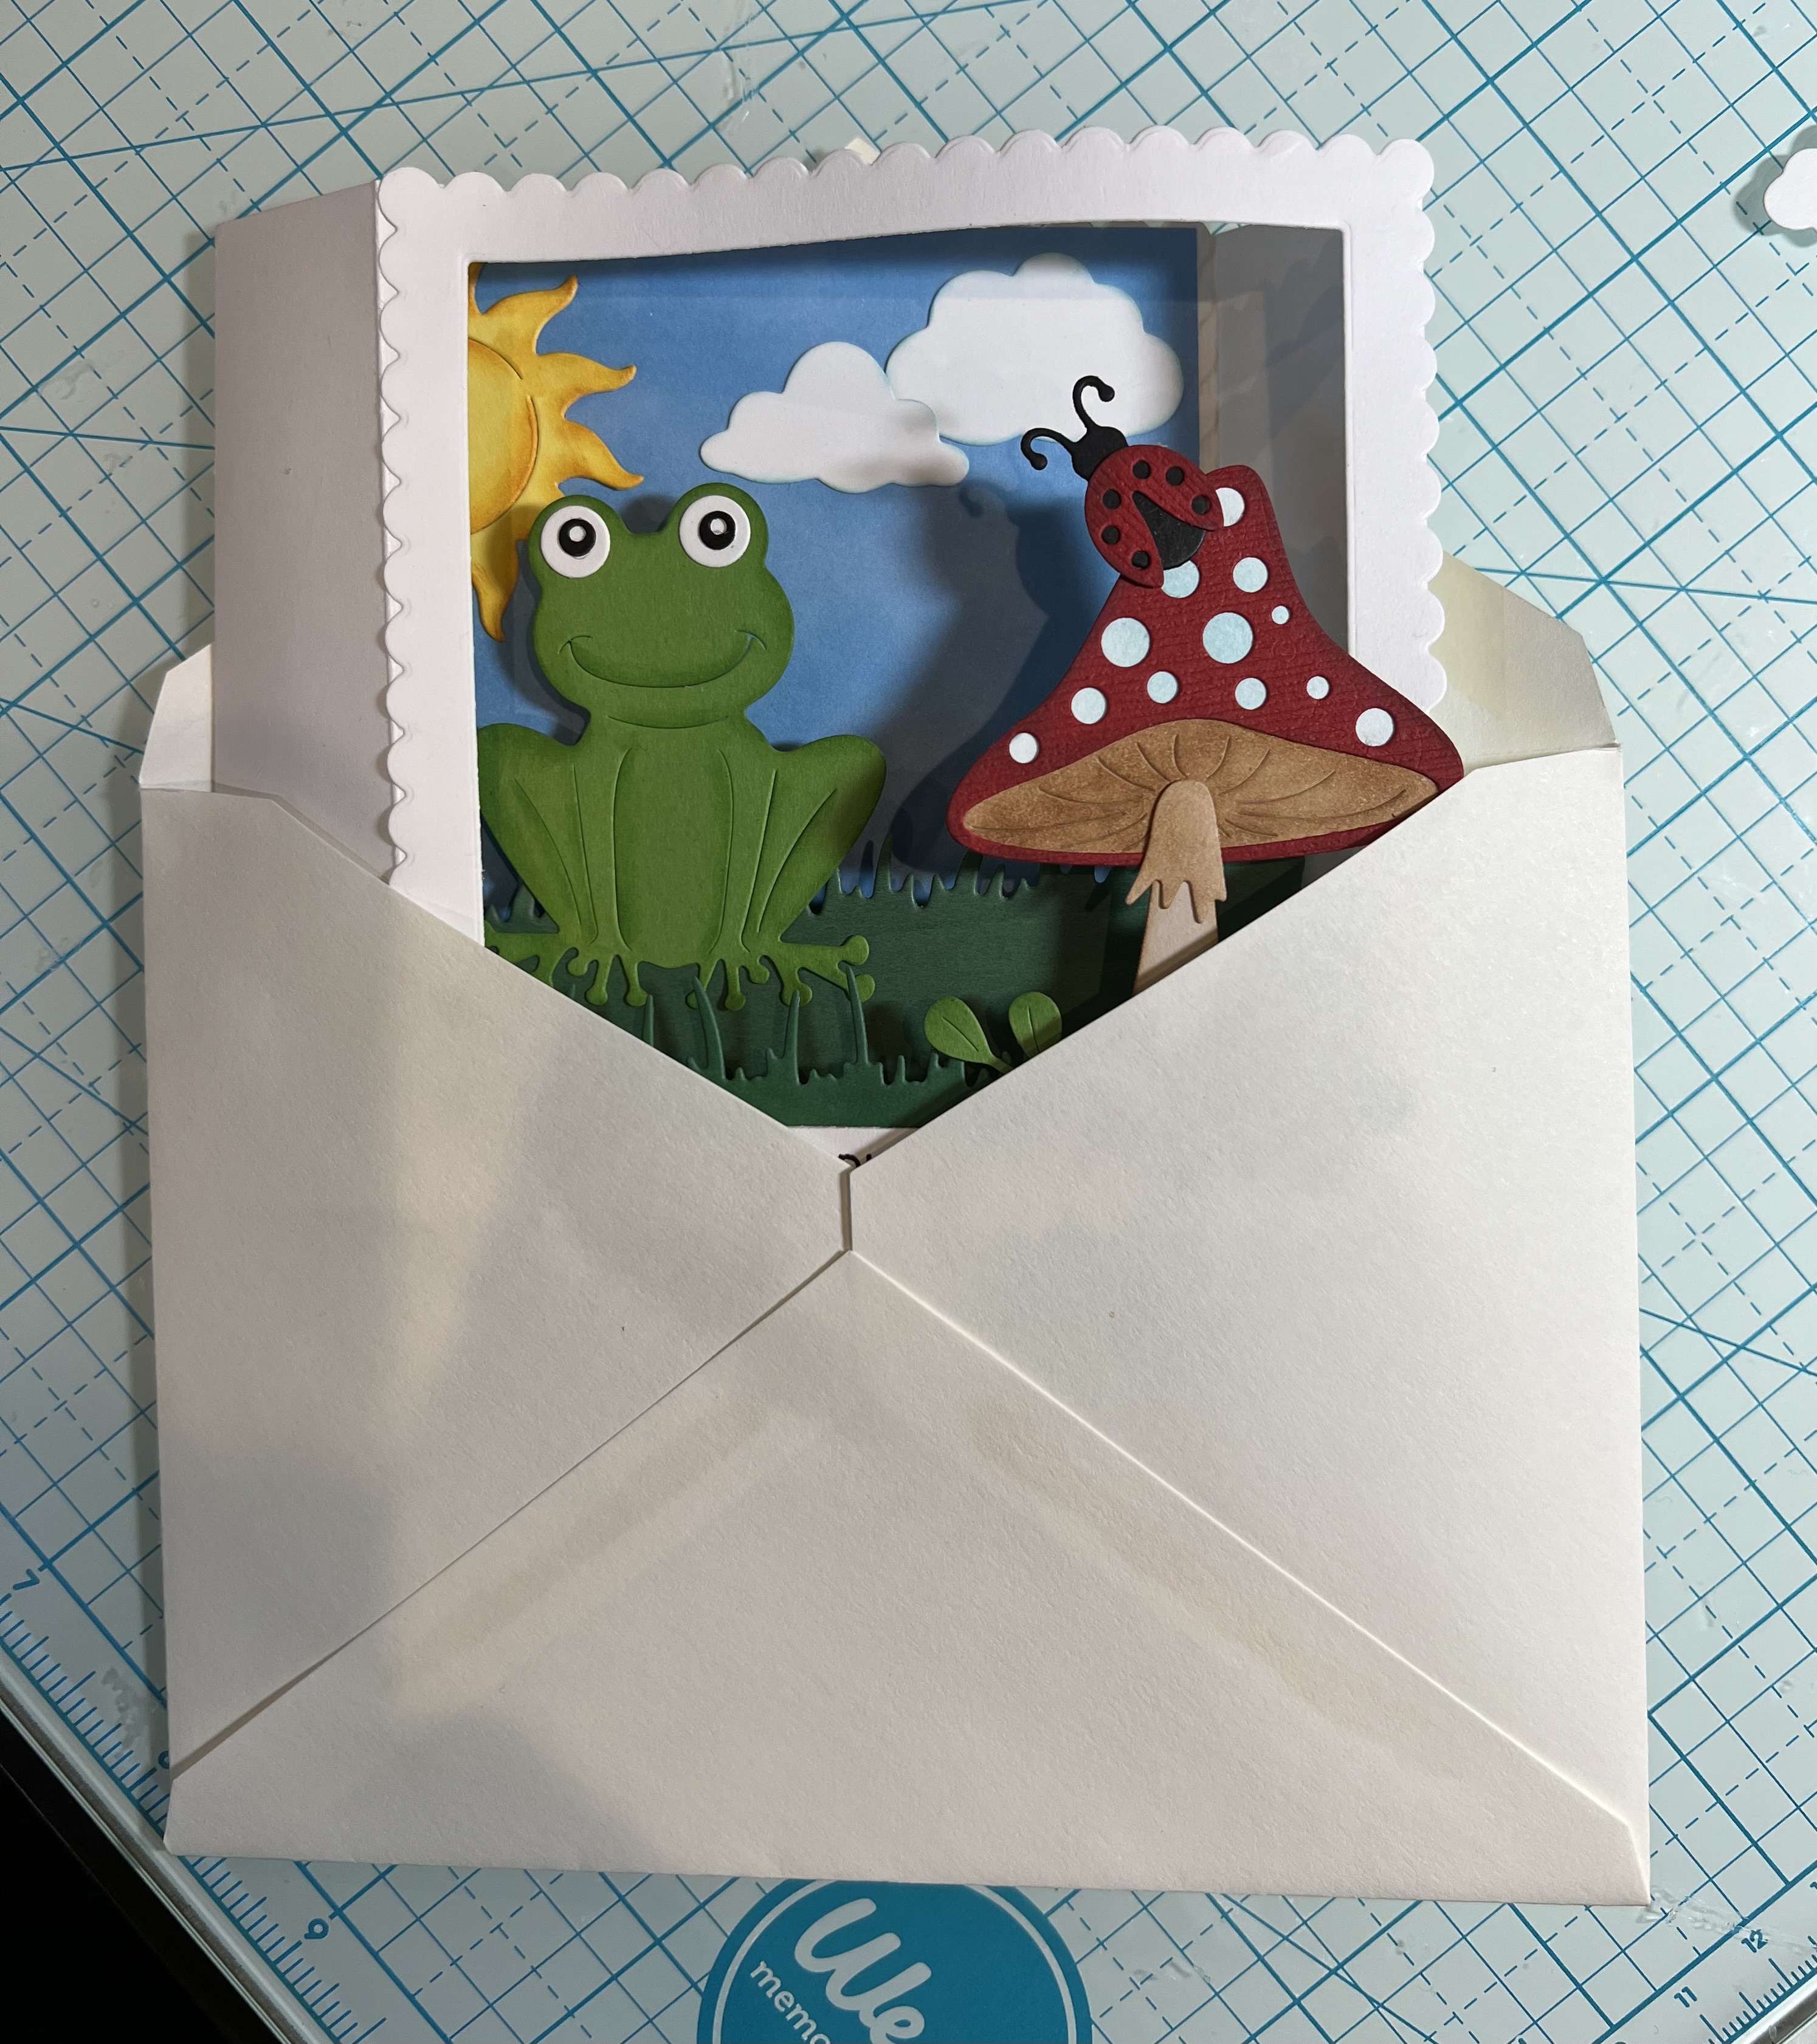
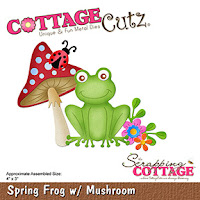
I am making a Shadow Box card today. This card features the Spring Frog w/Mushroom. I love that the card will fold flat for mailing.

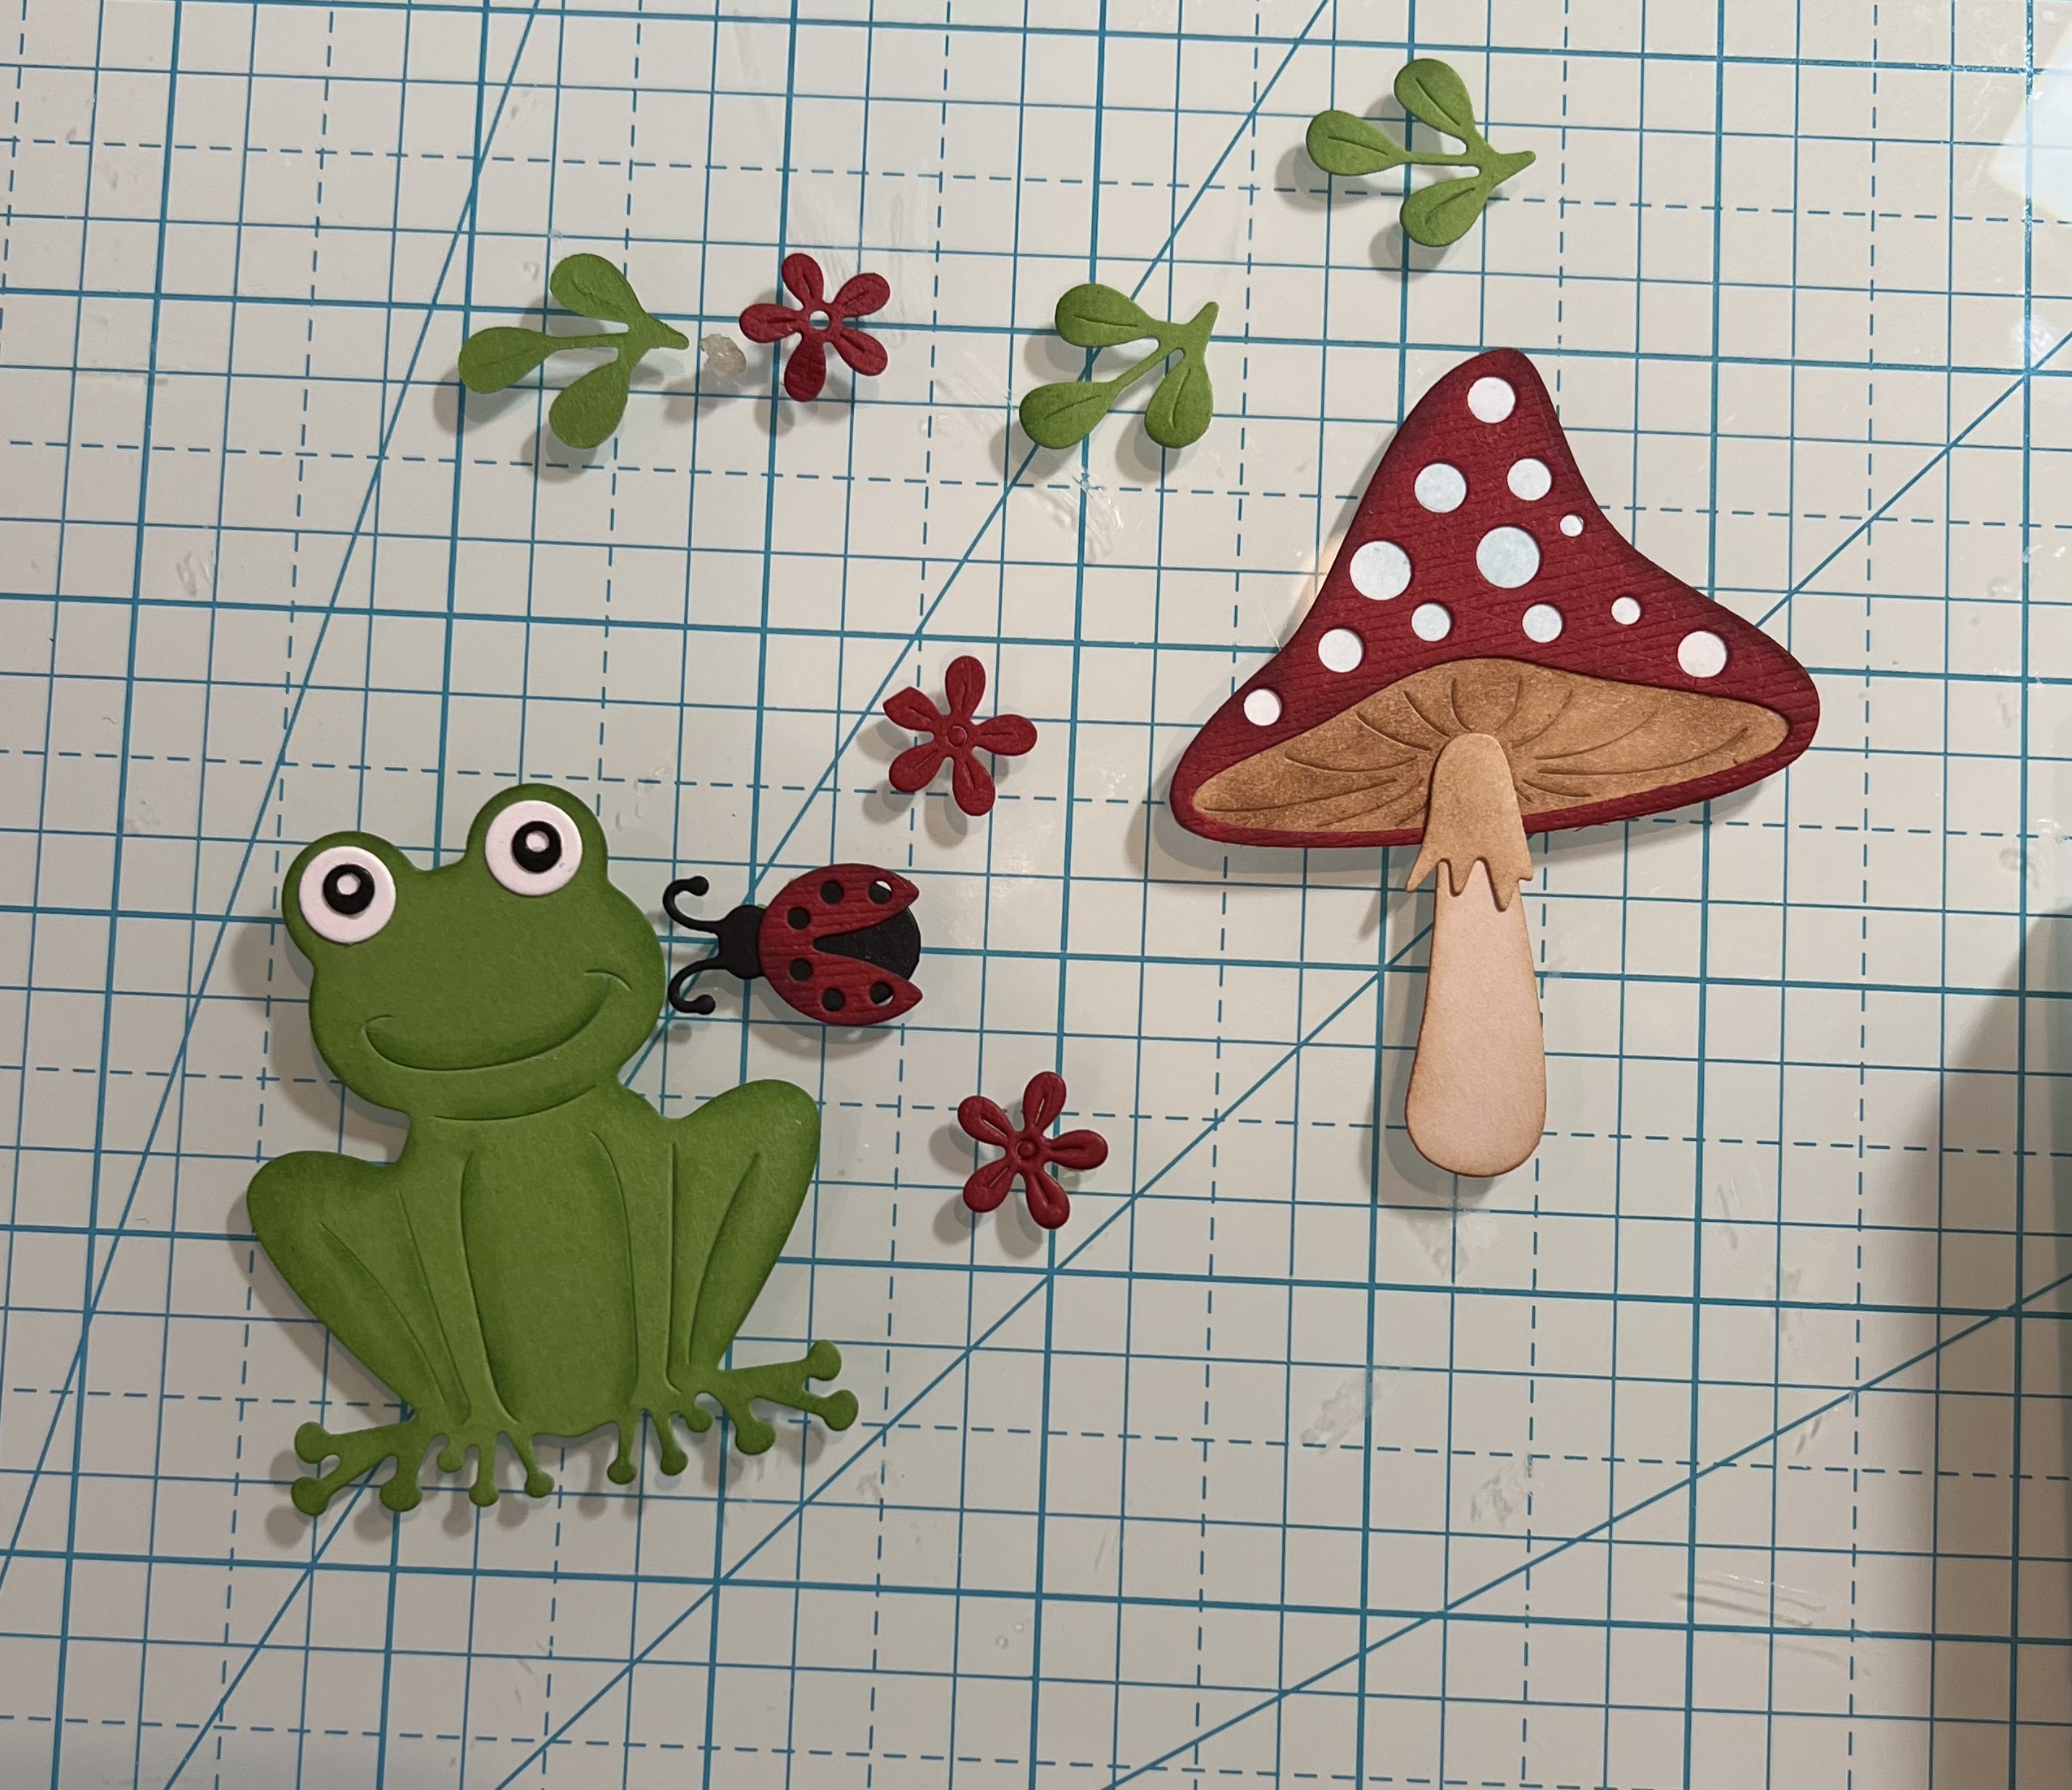
I started by cutting all of my pieces, inking and then gluing them together

Next I created my shadow box which has three layers of dimension. The back is the sky, middle is long grass and the front layer is the shorter grass

The final step is to place the sun and clouds on the background blue. The middle layer has the frog glued to the long grass. And the front has the mushroom, flowers, ladybug and sentiment glued to the short grass
CottageCutz Products
I think this is one of our most beautiful collection so don't miss out! I think it will sell out fast!

We have more inspiration on our YouTube Channel check it out HERE
Thanks so much for stopping by! And I will see you next Thursday.
Blessings and Take Care