Thursday, April 22, 2021

Flowers for Mom

Hello Scrapping Cottage Friends

It is Pam sharing with you today!

Our design team is continuing to highlight the fantastic new Slimline die release.  There are 9 slimline designs in this release that I consider basic essentials!  I am using the Rounded Rectangle Slimlines today.  The card on the left is a Mother's day card for my mother-in-law and the one on the right is a hello card for just an everyday any occasion.  


Design Steps:

1.  I did two slimline card bases one in cream and one in kraft.  Next using the 2nd to the largest Rounded Rectangle Slimline die cut two white and two kraft.  Next using the 3rd from the largest rounded rectangle cut one kraft and one cream.  Finally using the 4th from the largest rounded rectangle die cut one white and one kraft 
2.  Using the 4th from the largest Pierced Circle die cut out 3 cream circles and 3 kraft circles.  Next using the Spring Flowers in a Jar 1Spring Flowers in a Jar 2 and Spring Flowers in a Jar 3 cut out a set in white and kraft.  I also cut one extra white and kraft for the inside of the card
3.  Use the cream colored card base and glue down one of the largest kraft rounded rectangles to the front of the card.  Next glue down your cream circles (I did the top and bottom one first and then placed the center circle).  Last glue down your flowers add your bow and little tag
4.  For the next card use the kraft colored card base and glue down one of the largest white rounded rectangles to the front of the card.  Next glue down the three kraft circles.  Last glue down your flowers add your bow and little tag
5.  For the inside of the cream card glue down the last large kraft rectangle.  Next glue down the smaller cream colored rectangle and lastly glue down the smaller kraft rectangle.  Stamp Happy Mother's Day in brown ink and then glue down the remaining cream flower vase as shown
6.  For the inside of the kraft card glue down the last large white rectangle.  Next glue down the smaller kraft colored rectangle and lastly glue down the smaller white rectangle.  Then glue down the remaining kraft flower as shown

CottageCutz Products


Thanks so much for stopping by!  These two cards were quick, easy and fun to create!  

Blessings
Pam


Wednesday, April 21, 2021

Celebrate

Hello!  This is Sukie and today I'm sharing a celebratory card which is perfect for a young child's birthday or even anyone who is just a kid at heart.  The new slimline dies were perfect for this fun card.

I used the Nested Stitched Rectangles Slimline dies for my card base pieces and just trimmed them to size. The other dies used on my card are the Circus Lion, the Celebrate Phrase, the Pierced Oval and Oval.
The first step in creating my card was to assemble the 3 pieces for the card background.The largest piece was adhered on a white card base with the other 2 pieces layered on top.

Next, the oval die cut was nested inside the pierced oval die cut and adhered in the center of my card.

The adorable circus lion was centered inside the double ovals as the focal point of my card.

The celebrate sentiment was affixed above the ovals on a curve for a whimsical appearance.

Here are the die sets used on my card, available in the store:

Monday, April 19, 2021

Flock of Flamingos

Happy Monday!  It's Jeanne today starting off the week with a card perfect for family or friends.  I love the new Slimline dies since the give so many great design opportunities.

My card today uses the new dies with a few flamingos from the Tropical release.  I thought this flock looked like the plastic ones you see on lawns and they make me smile.

I used the largest of the Stitched Rectangles as my base.  After picking three coordinating green patterned papers, I used the Stitched Rectangles and the Hills Slimline to create a landscape for my flamingos.  The Hills are wonderful - they vary from a gentle slope to quite hilly giving you a variety of options!

My birds are cut from colored cardstock and I used Distress Oxide ink and a blending brush to create my sky.  The Lift Flaps Stitched Slimline has several design element dies and I used the cloud one here.  It was the perfect size for my sentiment!


This card is the perfect way to say "I'm so very happy to have you in my life!"

Dies used:


Thanks for visiting today!  I hope you have a wonderful week!


Sunday, April 18, 2021

Missing You

Hi!

It's Anja here. I have another card for you today where I used one of the Springtime Release dies.

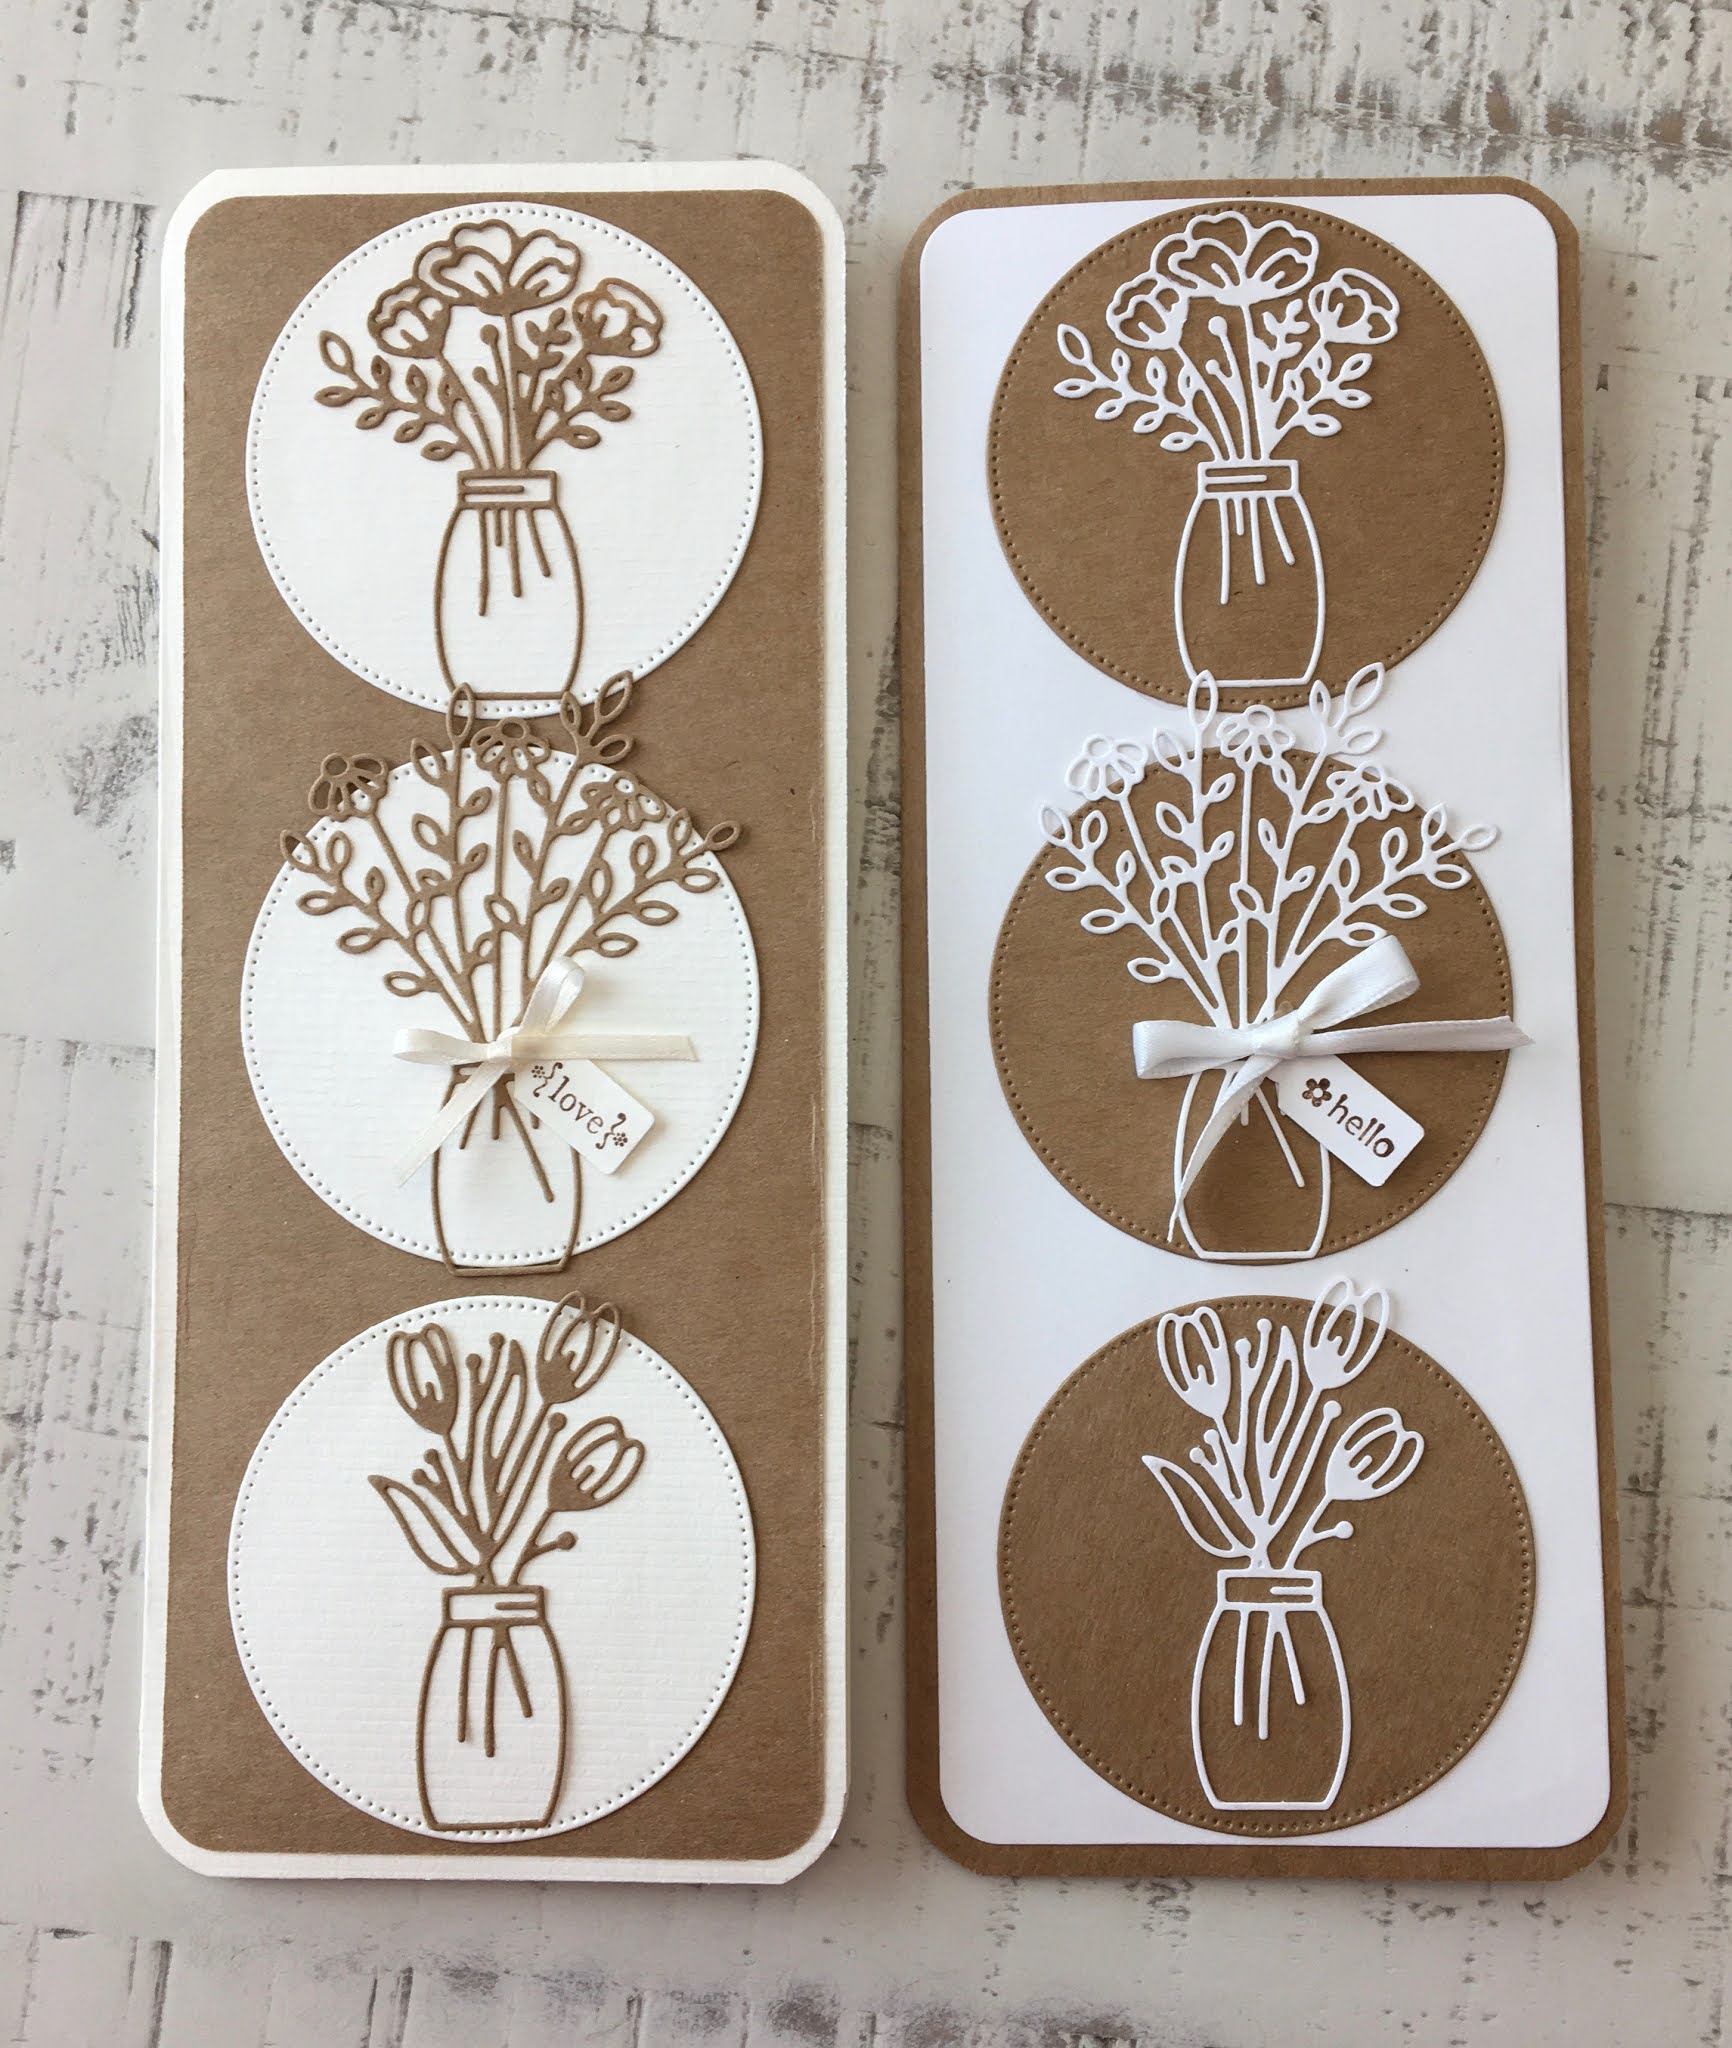
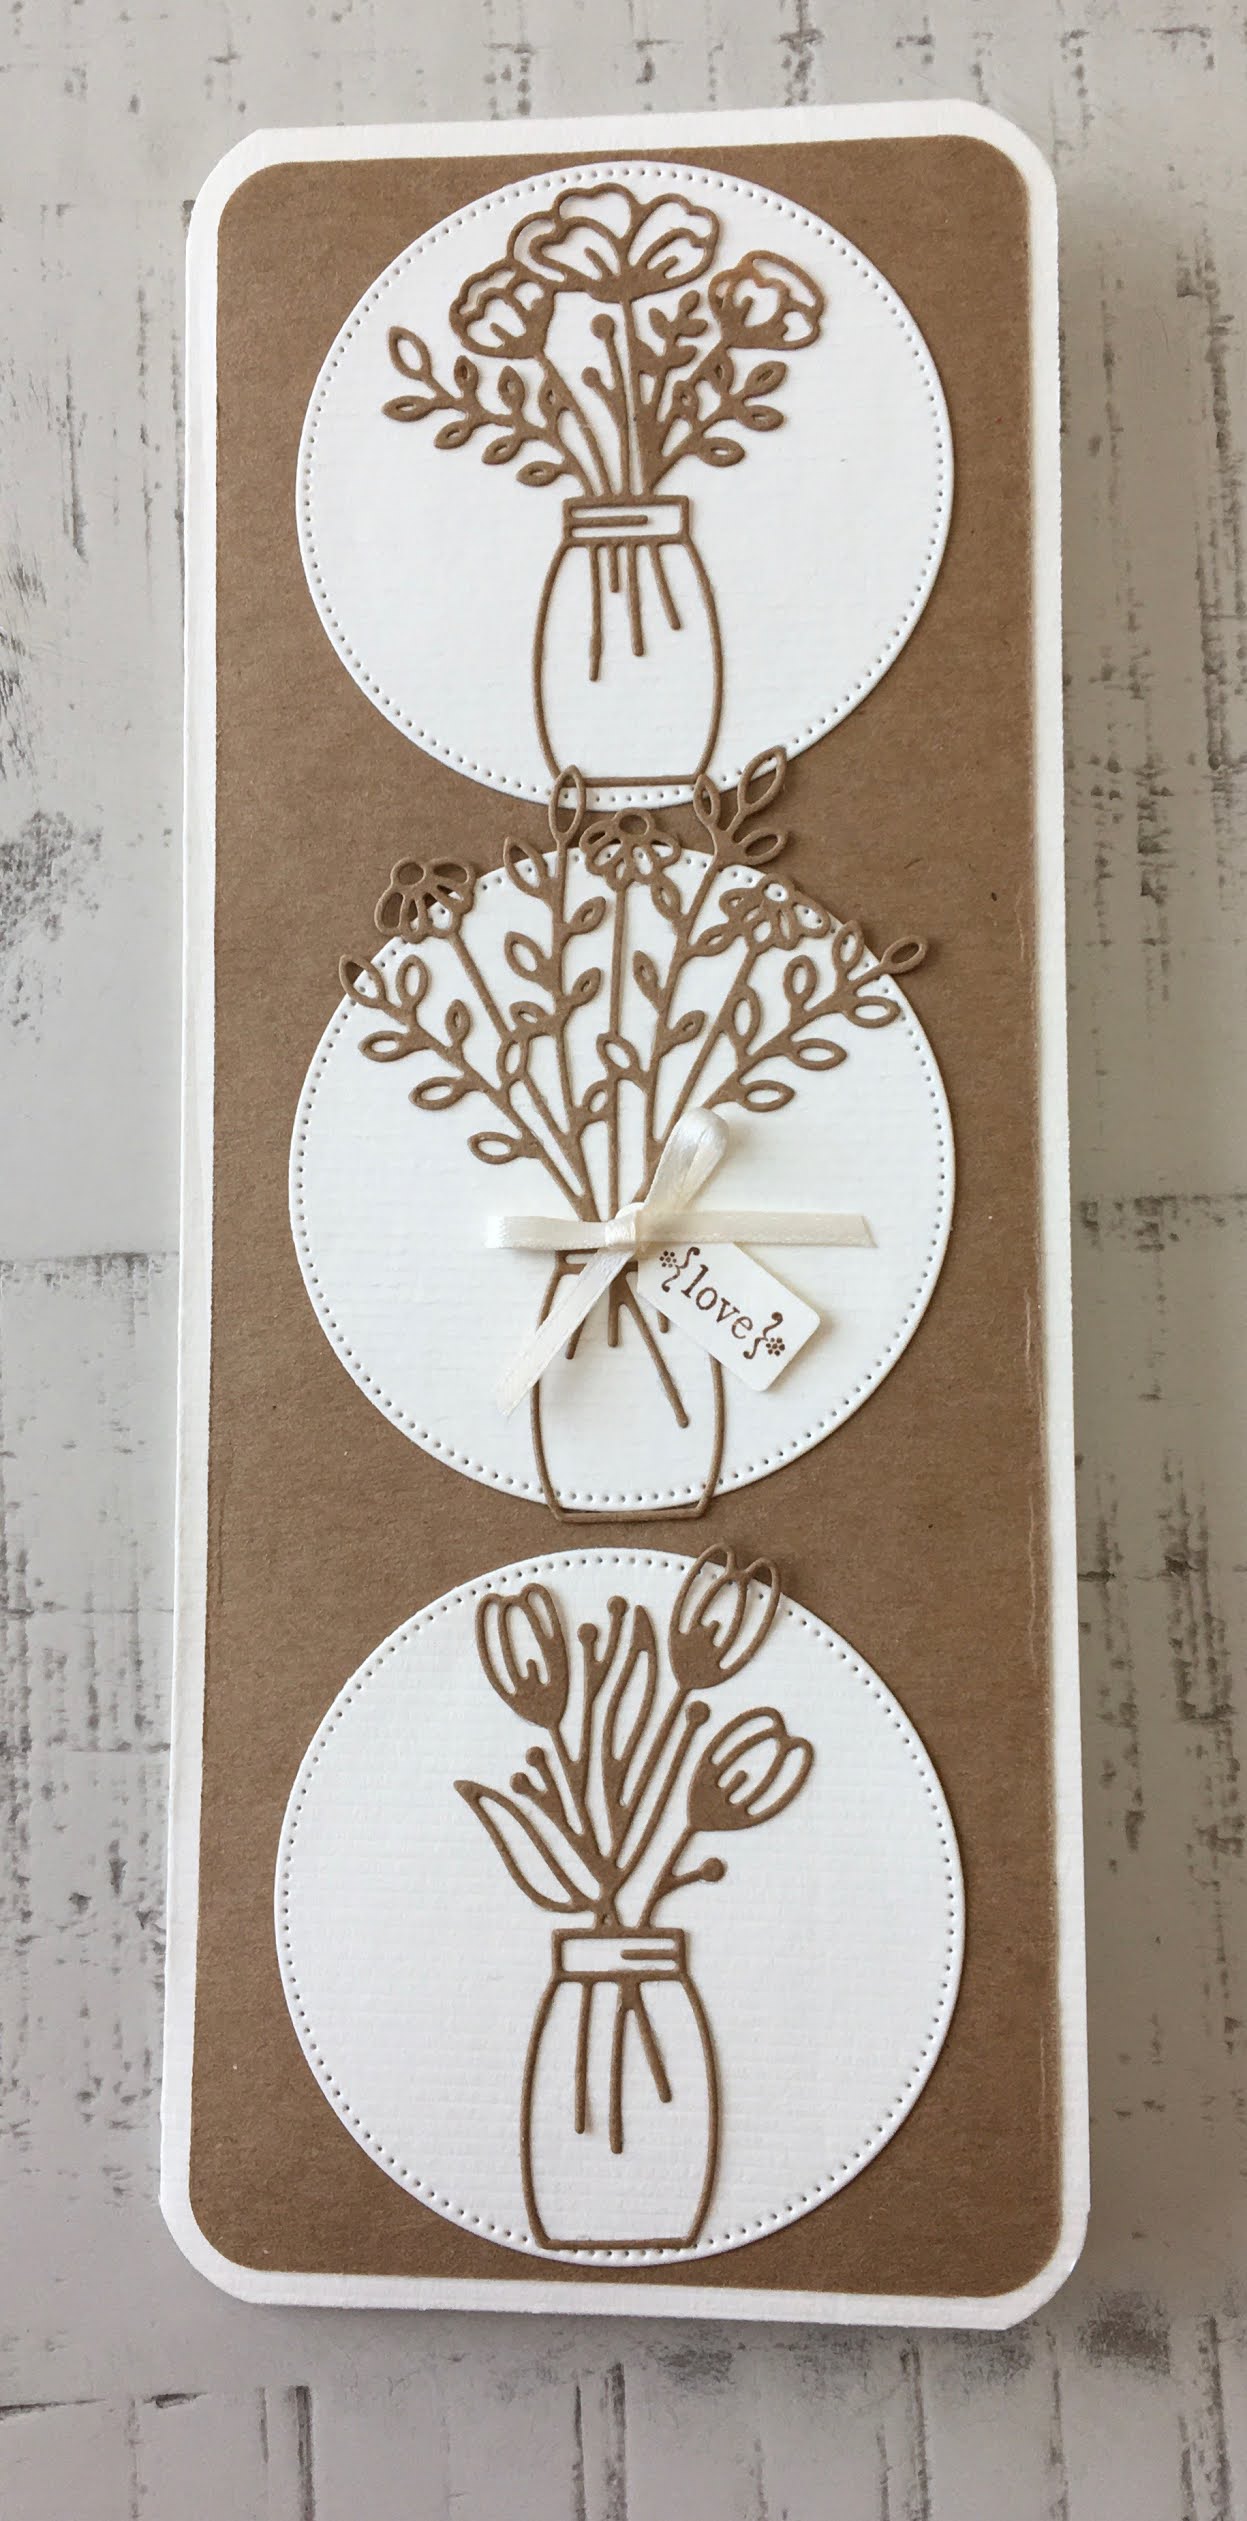
For this card I used:

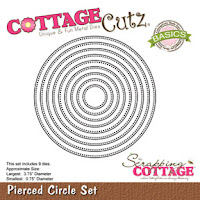
- Cottage Cutz die (Cat in Spring Window),

- Distress Inks and Oxides,

- craft card base (15x15 cm),

- water color paper for background (14x14 cm),

- white card stock for die cuts,

- black pen,

- embossing ink,

- white embossing powder,

- clear stamp (bricks),

- acrylic block,

- heat gun,

- brush,

- scissors,

- pencil,

- sentiment stamp,

- black pigment ink,

- paper glue. 


First I cut and colored the cat and the window.

Then I started on the background. I embossed bricks on the water color paper using white embossing powder.

Next I colored around the bricks using grey Distress Oxide. I dried the paper with the heat gun.

Then I used scissors to distress the edges of the background paper.

I also cut a piece of white paper in the size of the window. I used a pencil and scissors to cut the right size.

Last I did the sentiment. I stamped it on the white paper with black pigment ink and cut it out with the scissors.


 Last I combined all the pieces on the card base and my card was done.


Have a nie Sunday and see you again next week.

Anja Z.


Cottage Cutz die I used: 


Saturday, April 17, 2021

Father's Day "in the spotlight"

Hello Scrapping Cottage friends! Thanks for taking the time to stop and visit with us today. It's Mary Marsh here bringing you the Saturday edition of the Blog.

We have a brand new release of dies in the online store. Your slimline cardmaking is going to get a lot easier. We have 9 Slimline designs and they are on a 25% off sale. These are wonderful, basic dies that should be a part of every card maker's collection especially if you are liking the new slimline style.

Today for your viewing pleasuring,  I am using the Rounded Rectangles Slimline die + Nested Stitched Rectangles Slimline and the Circus Ringmaster, and I created a Father's Day card. This one is going to my hubby. So let's get started with some details on how I created my card.

Design Steps:
I started my card by cutting the Rounded Rectangle Slimline shape using the 5th largest die in this collection. It measures 2 1/2" x 7 1/2".
I used a stencil to put my image in the spotlight. Stencil work is done with wild honey distress ink. After I took the photo I realized the spotlight was up to high so I redid it and moved down a bit. 
Next, I stamped my sentiment at the top of the image panel. It's a single line sentiment but a little too long for this panel. So with the help of my MISTI I turned it into a 2 liner. I will stamp my Father's Day sentiment on the card inside. 
I cut the Ringmaster image in the packaging colors. I thought they would work well for a Father's Day card and they are good masculine colors.  For the face, hands and nose I cut in white and then colored with Copic markers- E00 skin white and E11 barley beige.  For his hair, moustache and eyebrows I cut in white cardstock and colored with a cool gray 70% Prismacolor pencil and gamsol. 
I wanted some background designer paper behind the image panel. I found this paper in my collection and used the 2nd largest Nested Stitched Rectangle Slimline die to cut. The die measures 8" x 3". I cut my white card base the same 8" x 3" size and secured the designer paper to the panel.
Now that all the elements are prepared I am ready to start card assembly. I used dimensional adhesive and attached the Ringmaster inside the spotlight.  Then attached the image panel to the designer paper base. 
To complete my card, I cut some stars and scattered them on the card. I hope I have given you an idea for a slimline card using the Circus Ringmaster die. See you next Saturday. 

Dies I used to create card: