Hi!
It's Anja here. I have another card for you today. This time I made it with a window and a cute lion on the other side.
For this card I used:
- Distress Inks,
- white card base (15x15 cm),
- white card stock for die cuts,
- watercolor paper for background (14x14 cm),
- pencil,
- paper cutting knife,
- black pen,
- white pen,
- scissors,
- plastic foil,
- folding bone,
- plastic stencil (clouds),
- sentiment stamp,
- acrylic block,
- black pigment ink,
- adhesive foam pads,
- paper glue.
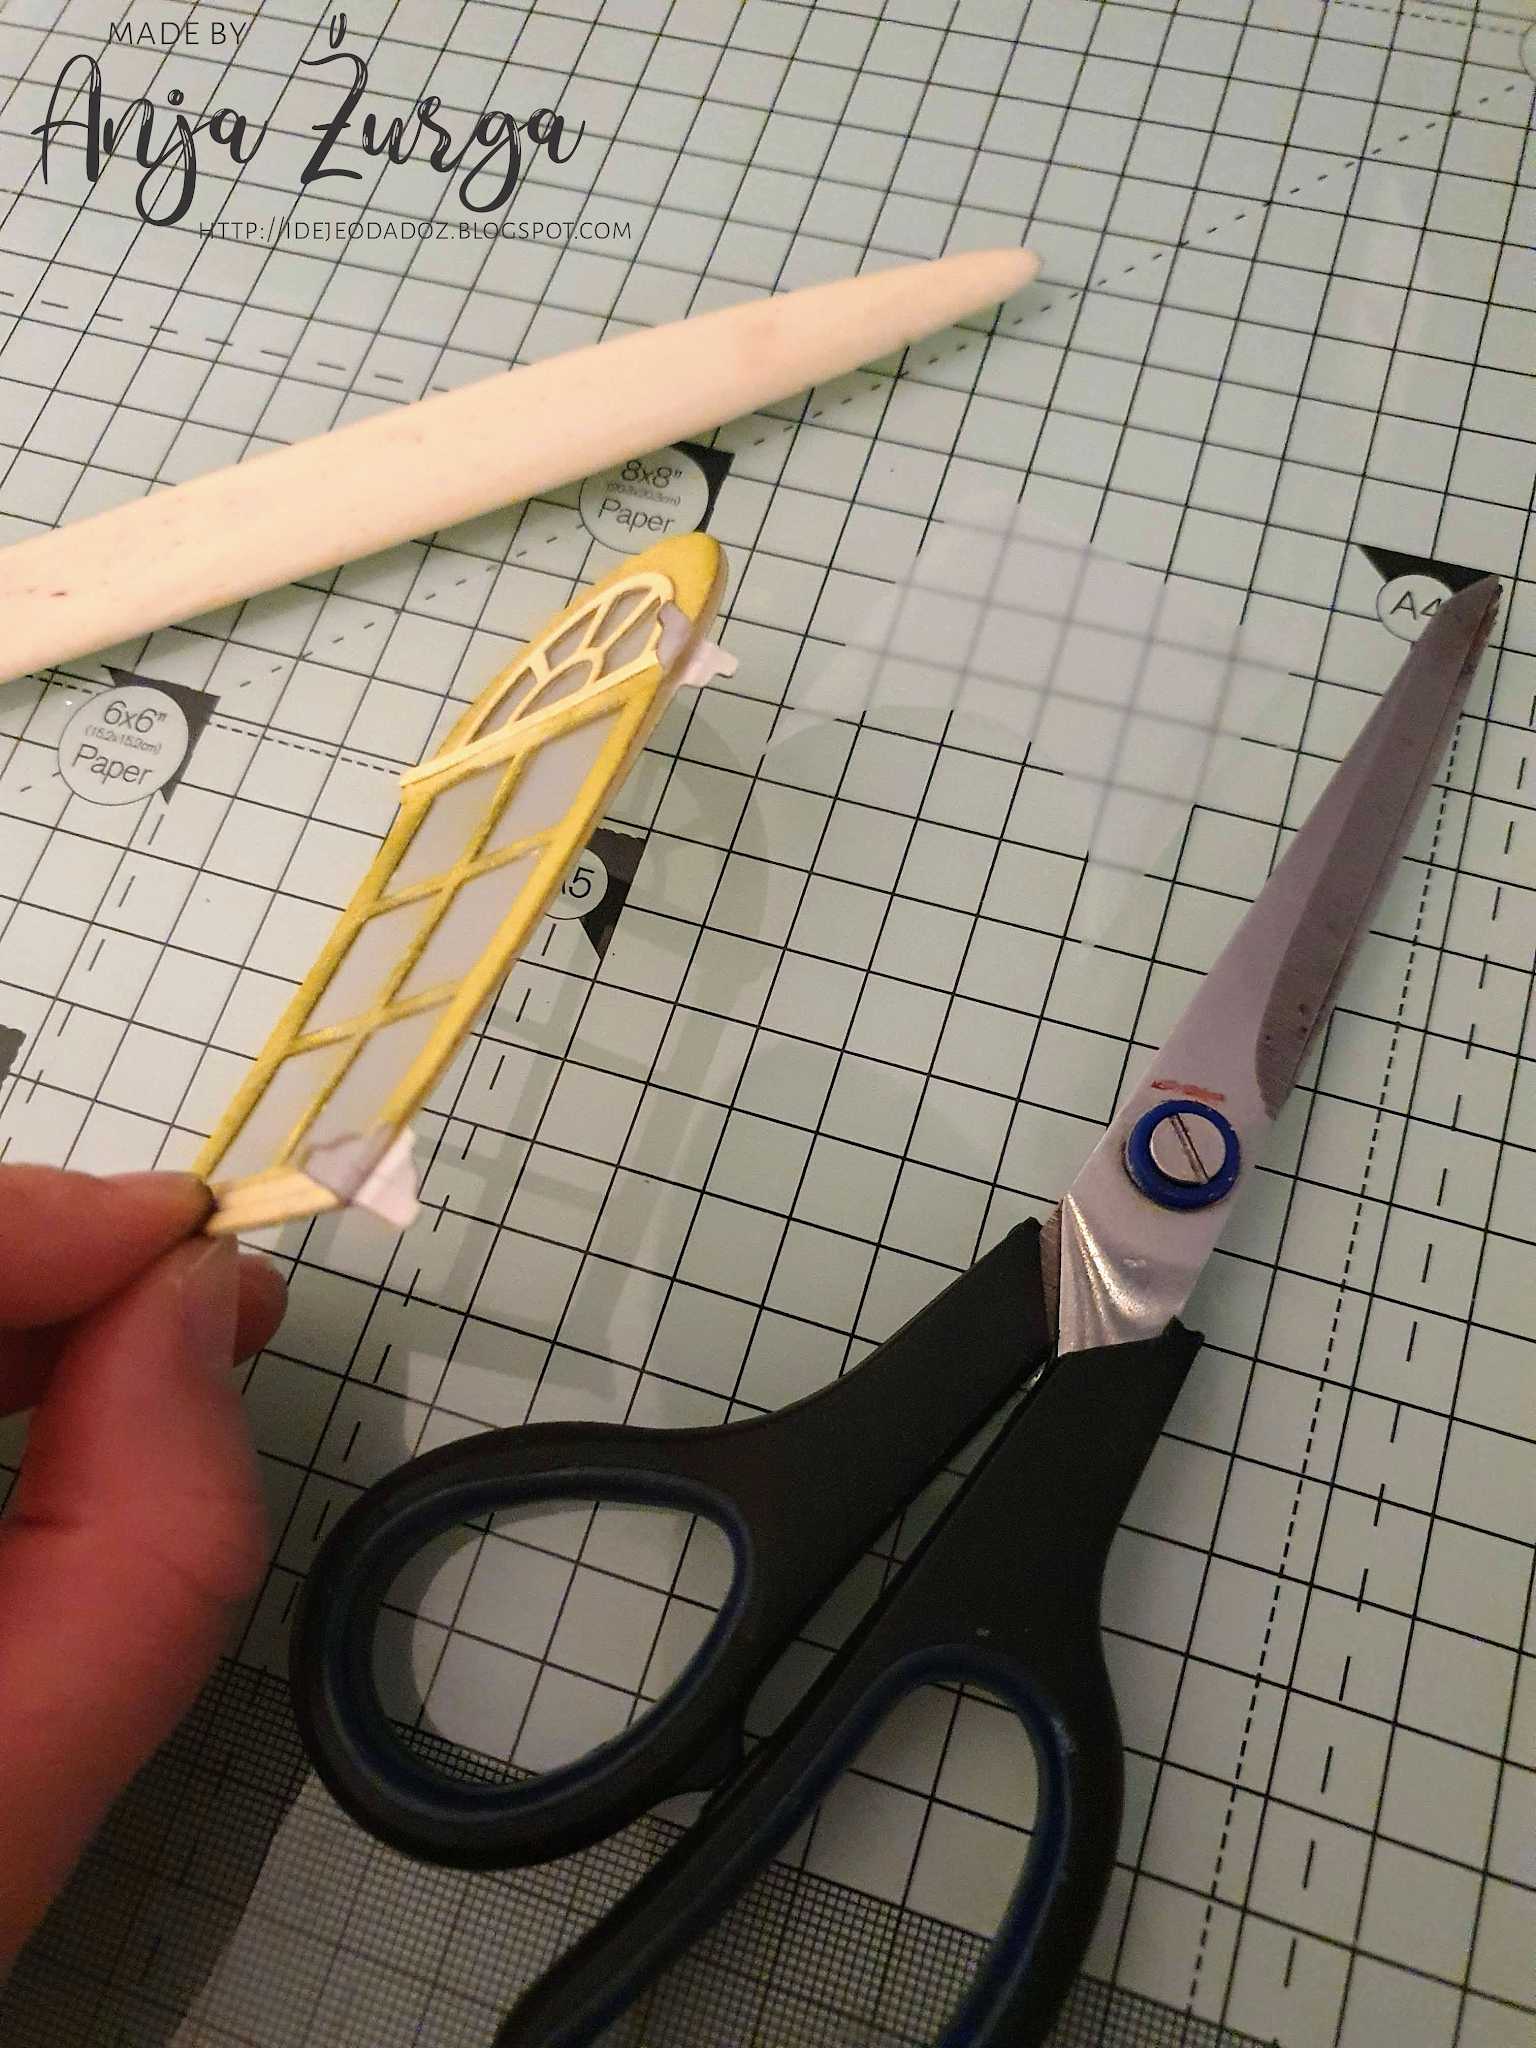
First I cut the window with the die. I used scissors next and straighten the edges. I used this as a stencil to draw the shape of the window on the watercolor paper I trimmed in advanced.
Next I cut another two windows and the lion. I color all the pieces and glued it together.
Then I cut out the window using a cutting knife.
Then I put a piece of foil between two windows and glued it together. Before that I folded the smaller parts of the window so that I can glued the window to the background.
Next I colored the background directly to the card base. I used a plastic stencil to color the sky.
Then I used a bit of color to emphasize the edges of the background. I also shaded around the edges of the open window.
After that I added the sentiment.
And then I just put all the pieces together on the card base. I used adhesive foam pads to glue the background on the card base. Last I added the lion. And my card was done.
That's all from me for today. Have a nice Sunday and see you again next week.
Anja Z.
Cottage Cutz dies I used: