Friday, October 09, 2020

Which Way to the Candy?

Happy Friday Cottage Cutz fans!  It's Jeanne today and I have a fun Halloween card featuring an adorable ghost trick-or-treater from the new Halloween release!  I love this new release - there are some really sweet Halloween images and I'm a cute Halloween (as opposed to scary Halloween) kind of gal.

This card features the Trick or Treat Ghost die and along with a few previously released dies.  I started by cutting all my pieces from various colors of cardstock.  I took my candy colors from Halloween candy themed paper I'm using for behind my ghost.

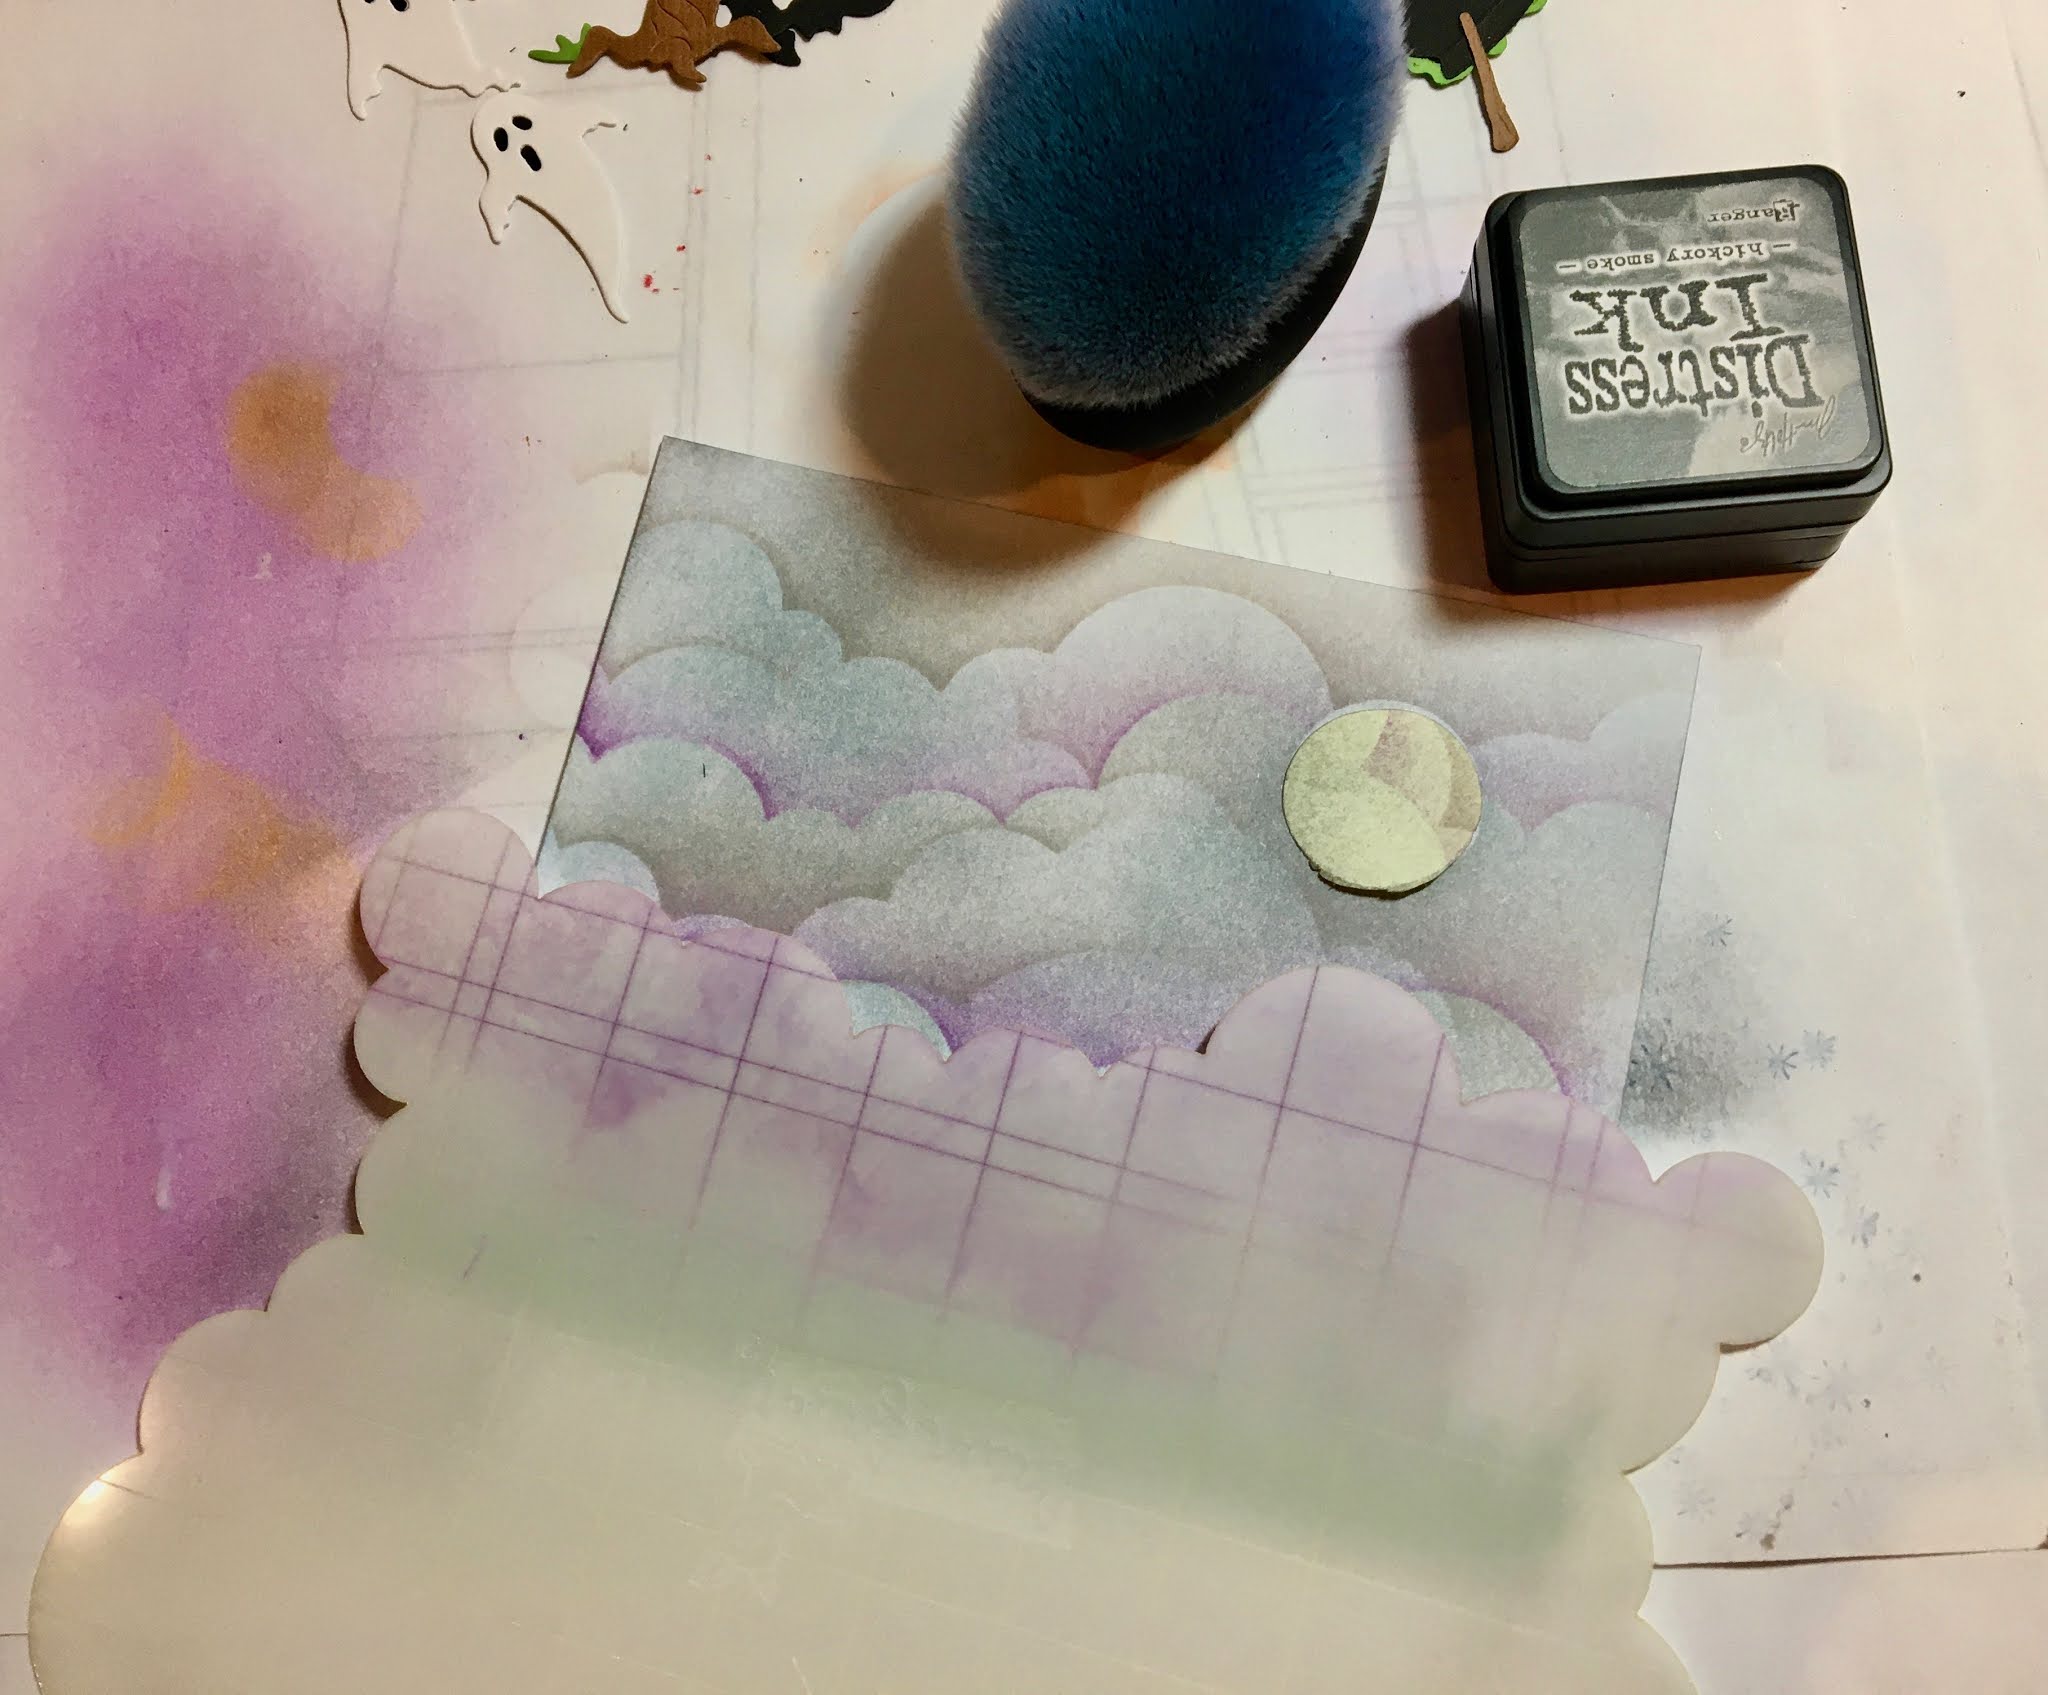
I cut a panel 4 1/4 x 5 1/2 inches from a coordinating Halloween text paper, a panel 1 3/4 x 5 1/2 inches from black cardstock and a circle from the candy paper using the third largest of the Stitched Circles dies.

I adhered the black panel to the right side of the card front and glued the candy randomly down the side.  The sentiment is placed in the lower left with the top of the "T" in "Trick" 1 1/2 inches from the bottom and 1/4 inch from the left.

Next I adhered my ghost to the circle leaving most of his balloon above the circle.

I cut the circle and placed the ghost so you could see the candy corn in the paper since that ties in the die cut candy colors.

I used foam dots to pop the circle up off the card front and glued the bat in the upper left.  (I love those big eyes on the bat!)

Finally, I added sequins as a little "eye candy" and sparkle!

I hope you enjoyed my card today.  Be sure to visit the online store for the Columbus Day Sale where these and other dies are on sale for a limited time!  There is a brand new release a Christmas dies as well!

Dies used:


Thanks for stopping by.  Have a fun and creative weekend!


Thursday, October 08, 2020

Spooky Witch House

Good Morning Scrapping Cottage Friends,

It is Pam creating with you today.

I am making one last Halloween card today using the Spooky Witch House.  It is an amazingly detailed die and the card turned out spooktackular!  The Halloween dies are 25% in our online store today.  We also have 2 new releases of Christmas dies.  They are adorable. So you can get a jump start on your Christmas cards.

Background Photo by Annie Spratt on Unsplash
Design Steps:

1.  Cut all of the pieces out using the Spooky Witch House and gray, black, green, purple, brown, yellow, dark yellow and orange card stock
2.  Shade the pieces using a variety of ink colors and a small applicator.  Assemble the pieces using a fine tip glue
2.  For the background cut a piece of white card stock 4 1/2 x 3 1/2.  Mask off a little moon using a 3/4 punch.  Use a cloud stencil and some gray and purple ink to create the sky
3.  Use an A2 black card base and cut a piece of green slightly smaller then the base.  Then cut a piece of purple DP 4 x 5 1/4. 
4.   Glue the green to the black card base and then add the purple DP.  Next die cut green grass using the Spring Grass die.  Also cut a brown fence using the Old Farm Fence die.  On the stenciled cloud panel glue down the fence and the grass.  Next pop up the Witch House on top of the fence and grass
5.  Using black card stock and the largest Stitched Wide Rectangle Frame  die cut ou the frame.  Place strips of dimension tape on the back of the frame and pop onto the top of the cloud panel

6.  Glue the little tombstone flat next ot the house on the left side. Next on the same side pop the tree up and glue to the black frame.  On the right side of the house pop up the caldron and also glue to the frame.  Add the ghosts and the bats glued flat to the back cloud panel and your card is complete

CottageCutz Products


Thanks so much for stopping by today and I hope you enjoyed learning how to make this fantastic Haunted House!  It was so detailed and fun to make.

Blessings

Pam

Wednesday, October 07, 2020

Halloween!

Hello!  This is Sukie and today I'm sharing this slimline Halloween card.  This card features several awesome dies from the Cottage Cutz Halloween die release.

These adorable dies are from the Witchy Jack-O-Lantern, Trick or Treat Ghost and the Spooky Ghost & Crow die sets. I used black and white card stock for all of my die cuts and then simply shaded the pieces with some Oxide Inks.  The moon was splattered with some black paint.
My background was also created with Oxide Inks.  I love using Oxide Inks for all of my projects since they blend so beautifully.  The hills were hand cut, shaded with ink and splattered with some paint.  I glued the 2 pieces together to add some height to the bottom portion of my card.
Once the hill was attached to my card base, the Witchy Jack-O-Lantern was centered on top of the hill.  
The adorable ghost was affixed above the Jack-O-Lantern as if he's floating into the night sky.
Next, I adhered the moon in the corner of my card.  The bats were flying around the entire scene on my card.
A simple heat embossed sentiment was added at the bottom of my card.  A couple of little pumpkins were used as embellishments to highlight the sentiment.
Several more sentiment tags were added to my card.  The sentiments work perfectly with the variety of die cuts on my card.
Here are the dies used on my card, available in the store:

Tuesday, October 06, 2020

Hooray, It's Halloween Time!

Hello!  This is Sukie and today I have a sweet Halloween card to share.  I went with a non-traditional card bringing in a variety of dies.  The little puppy from the Christmas Pets die set is one of my favorites with his adorable pirate hat which is borrowed from the Pirate Monkey.  He's definitely ready for a night of Halloween!  

My card panel was created with a combination of ink colors and layered on a Nested Scallop Rectangle.  The polka dot background adds a pop of color to this card.  The embellishments were cut from the Spooky Witch House making for a fun addition on my card.  The ghosts floating above the puppy add to the spooky but cute scene.  
Here are the dies used on my card, available in the store:


Sunday, October 04, 2020

Witch's Brew

Hi!

It's Anja here. Today I have a Halloween card for you today. I used the Witch's Brew die from the latest Halloween Release

For this card I used:

- Cottage Cutz dies (Witch's Brew, Circle Set)

- Die Inks,

- craft card base (12,5x12,5 cm),

- white card stock for die cuts,

- black card stock for background (11,8x11,8 cm),

- orange card stock for background (12x12 cm),

- white acrylic paint,

- baby wipes,

- heat gun,

- scissors,

- paper glue.

First I cut and colored all the witch's pieces.

Next I trimmed the paper for the background.

Then I started on the night sky. I used white acrylic paint and baby wipe to color the background. I used a bit of black ink to color around the edges.

Then I made a paper stencil using a circle die. I used the same technique of coloring to make the moon.

Then I cut a piece of paper and colored it to make the ground.

And then I put all the pieces together and my card was done.


This is all from me for today. Have a nice week and see you again next Sunday.

Anja Z.


Cottage Cutz dies I used: