Saturday, June 20, 2020

Christmas Wishes from the Cardinals

Hello Scrapping Cottage friends! Thanks for taking the time to stop and visit with us today. It's Mary Marsh here bringing you the Saturday edition of the Blog. Happy first day of summer to all of you in the northern hemisphere!

It's Father's Day weekend and time to celebrate all the great Dad's and Granddad's. The team has shown a lot of Father's Day card ideas using our new Gardening dies. So hopefully you got some fresh inspiration when you created a card for your special guy. 

Today, though I am going in a different direction with my card. I am featuring an older Christmas die - Cardinals & Birdhouse and I created a Christmas card. So let's get started with some details on how I created this card.

Design Steps:

My inspiration to create a Christmas card came from the color challenge #796 on Splitcoaststampers. When I saw the colors just I just thought of Christmas. 

When I started thinking about my card, I remembered I had a pack of beautiful frosty winter themed designer papers. I chose this pine tree one that was covered in snow and ice and knew it would be perfect for a scene with cardinals in it. And, my card was born!

The navy color is considered a neutral in this challenge so that color was a go. I took a photo of the entire 6 x 6 piece of cardstock because I wasn't quite sure at this point where I was going to cut the paper.  

White card base: 4 1/2" x 5 3/4"
Navy blue layering panel: 4 1/4" x 5 1/2"
Designer paper layer: 4 1/8" x 5 3/8"
I cut the birdhouse and cardinals in the challenge colors. I used a navy panel as an accent on the birdhouse. The branch is cut in a soft brown cardstock a neutral shade.

My Christmas wishes sentiment is stamped in garden green ink to satisfy that part of the challenge. 

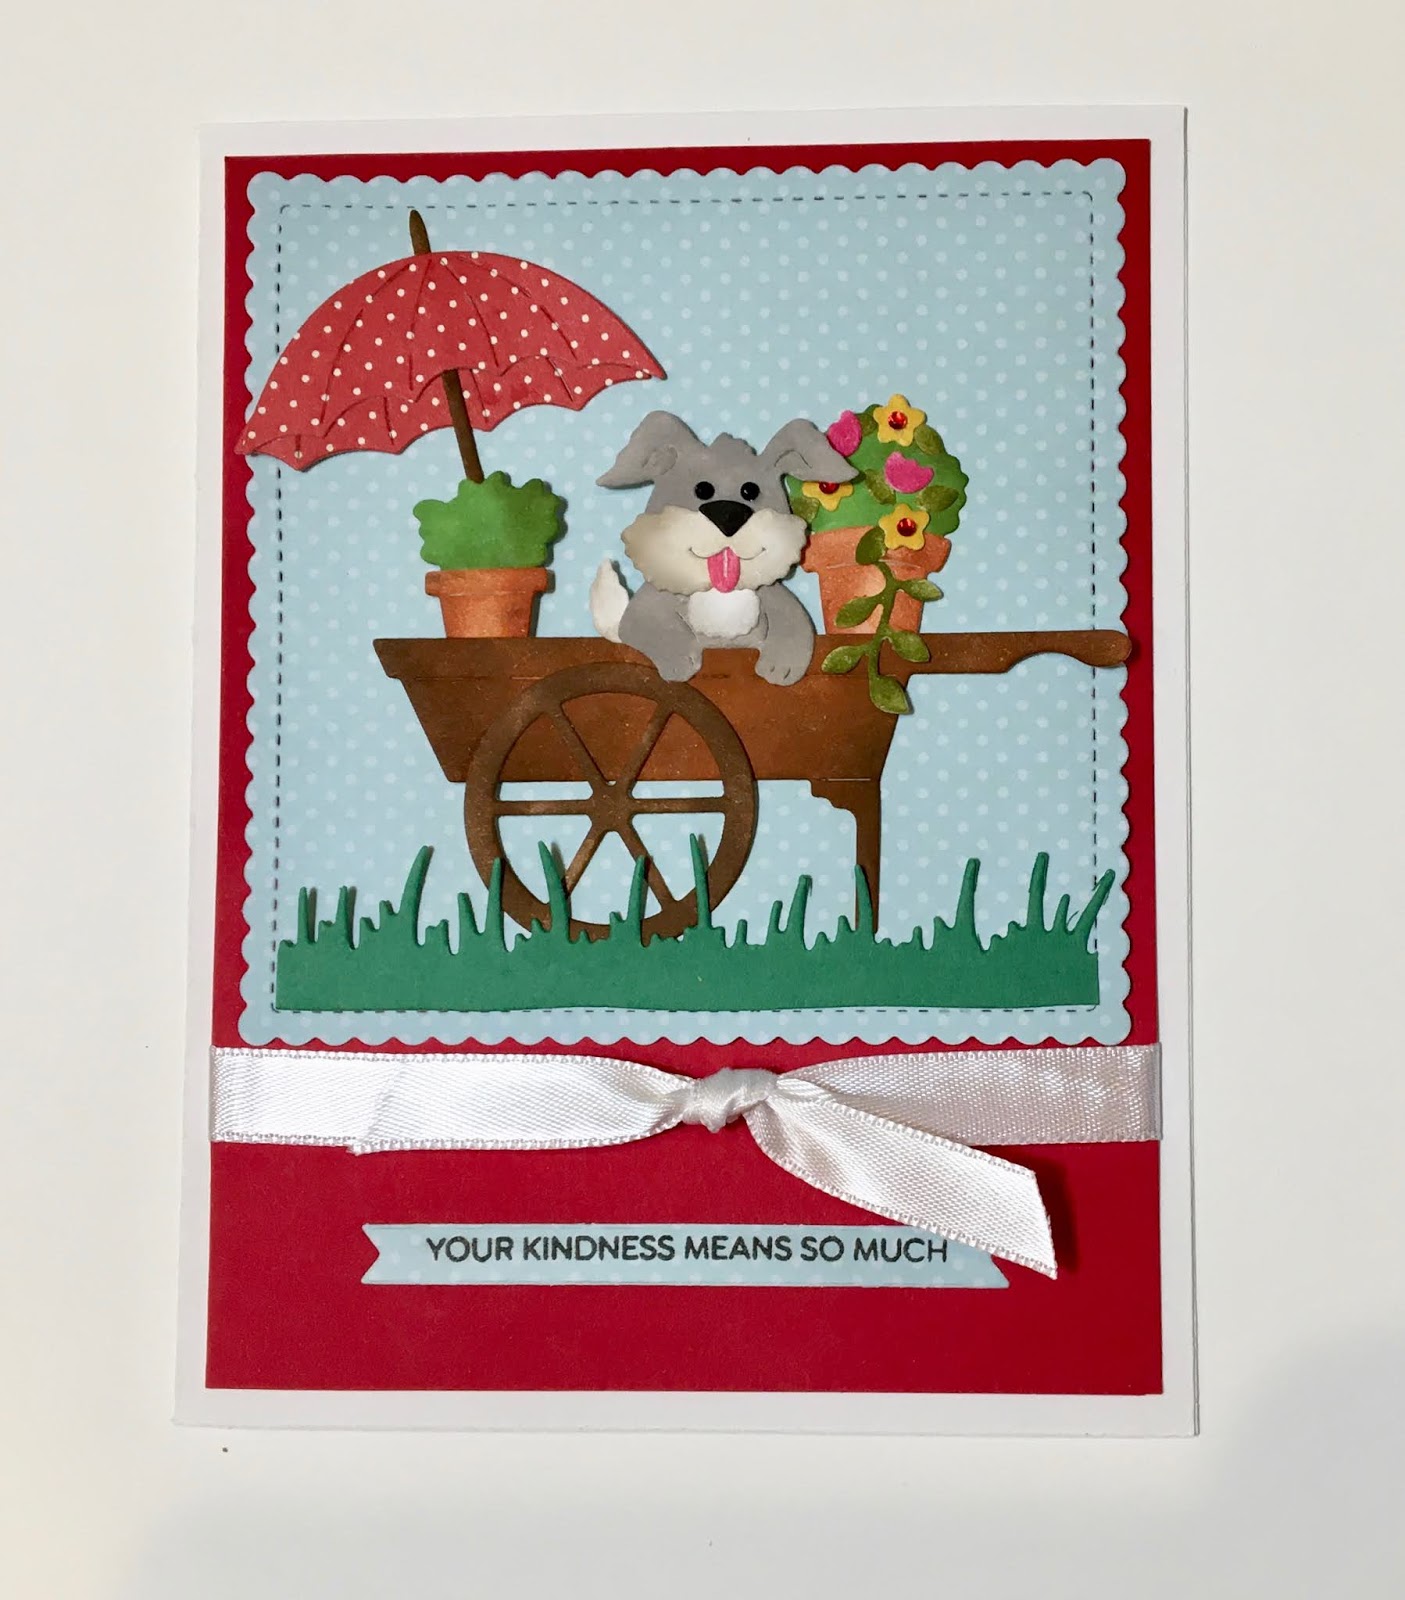
My elements are cut and I am ready to start card assembly. I attached the designer paper to the layering panel first using double sided tape.
Next, I attached the die cut images using a combo of glue dots and ranger multi medium matte. This one dries clear so I like using it on diecuts.
For the sentiment I cut the banner and used dimensional adhesive to secure it to the top of the card. 
To finish off my card, I attached the image panel to the card base. Added a couple of red glitter enamel dots to highlight the sentiment. And, then scattered a few more and my card is finished. A  Christmas card ready for the December stash.

Well, that's it for me for this post. See you next Saturday! 

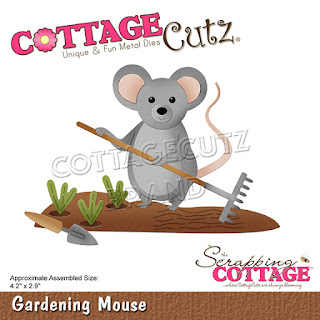
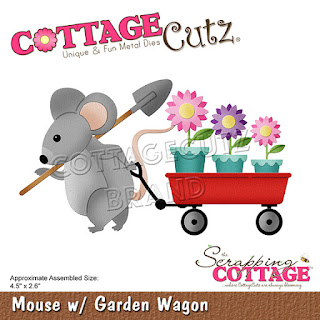
Dies I used to create card:


Friday, June 19, 2020

Gardening Mice Slimline Card

Happy Friday!  It's Jeanne sharing today.  I've been seeing slimline cards everywhere and I've been wanting to make one.  So I thought I'd combine some of the mice in this release and create a fun gardening scene.
I did some research into sizes of slimlines and there are slight variances.  I went with a card that is 8 1/2  x 3 1/2 inches.  It is easily made by using an 8 1/2 x 11 inch piece of card stock, cutting it at 7 inches and then scoring it at the 3 1/2 inch point.  I cut 1/2 inch off the remaining 4 inches of cardstock, giving me a panel 8 1/2 x 3 1/2 inches that I could use to stencil and assemble my dies on.  When finished it gets adhered to the card base.  One sheet of card stock gives you one card with little waste.
I cut my pieces from the Gardening Mouse, the Mouse w/ Garden Wagon and the Gardening Cat w/ Wagon dies in white cardstock and then colored them with the inks shown below.
I used Distress Oxide ink for the animals, dirt and wagon.....

...and Stampin' Up! dye ink for the flowers and stenciling.

The stencil I have for grass is double edged, so that after you have colored the grass, the opposite side can be used to mask off what you have just colored.  It works quite well and I was even able to align it to repeat since it is not as long as the slimline panel.
I used a cloud stencil for the sky.  This one was a bit trickier to get to line up to the extended length, but much of the sky is covered by the mice and sentiment.
I worked from left to right to lay out the elements.
The flowers are tucked into the holes in the garden bed.
The hedgie looked like he needed something, so he got his own flower to hold.  The wagon in this die can be made to go either left or right!

I love the bright colors of this card and used sequins in matching colors for sparkle and whimsy.  My daughter said they look like seeds so I'm going with that!

Dies:
http://www.scrappingcottage.com/cottagecutzgardeningmouse.aspx

http://www.scrappingcottage.com/cottagecutzmousewgardenwagon.aspx
http://www.scrappingcottage.com/cottagecutzgardencatwwagon.aspx

 Thanks for joining me today!  I hope you have a fun and creative weekend!


Thursday, June 18, 2020

Peeking Pup!

Hello My Scrapping Cottage Friends!

Today,  I have a sweet pup just peeking out of a lovely garden cart!  I decided to make it into a thank you card but it could easily be a birthday, just because or a hello card!

Background Photo by Joe Woods on Unsplash

Design Steps:

 1.  Using white card stock and the Puppy in Garden Cart die cut out all of the pieces.  I did use a piece of red polka dot DP and recut the umbrella pieces
2.  Using Tim Holtz inks and a small sponge applicator color and shade all of the pieces.  Next assemble them using a fine tip glue
 3.  Use a white A2 card base, a piece of red card stock cut 4 x 5 1/4, a piece of polka dot blue DP cut with a Stitched Scallop Square and a piece of green card stock cut with the Spring Grass die
4.  Attach the ribbon toward the bottom of the red card stock and add your sentiment
5.  Next add the grass to the bottom of the polka dot blue scallop square.  And then glue your garden card to the square as shown.  Pop the blue square to the red panel just above the ribbon and then attach to the white card base.  Lastly add the tiny black rhinestones to the pup's eyes and some tiny red rhinestones to the yellow flowers and your card is complete


 CottageCutz Products

Thanks so much for stopping by today! And I will see you next Thursday!
Blessings
Pam


Wednesday, June 17, 2020

All Things Grow with Love

Hello!  This is Sukie and today I'm sharing this all occasion card for my design team post.  I used one of the fun dies from the Gardening die release.
My card features the Garden Ladder, the Pierced Circle Set and a little arrow from the Retro Alphabet die set.
I incorporated a couple of different patterns for my card base on a solid white card panel.  The sentiment was stamped on a strip of solid card stock.
The base of my card came together quickly with the different layers which were topped off with the circle.
The ladder was adhered to the left side of the circle.  The neutral background allows for the gardening elements to pop even in the softer colors.
The sentiment strip was adhered along the top edge of my card.  I added the arrow inside the circle as an embellishment.
Here are the die sets used on my card, available in the store:

Tuesday, June 16, 2020

Beach Huts

Hi Janja here with you. Welcome to the blog today.
In the beginning, I intended to prepare a greeting card on the topic of gardening.
However, since summer is almost here, I changed my mind and turned the garden shed into a beach hut.


- CottageCutz dies: Potting Shed, Puppy in Garden Cart (parasol), Fairytale Castle (flags), Camping Trailer (flags garland), Seagull (sand dunes)
- blank card: 5 7/8" x 5 7/8" (15 x 15 cm)
- white cardstock: 5 1/2" x 5 1/2" (14 x 14 cm)
- patterned papers
- different colors of brush markers
- different colors of ink pads
- glue, double-sided adhesive tape, self-adhesive foam pads

Cut the beach huts out of striped papers. Also cut out three parasols.


Use white cardstock for the background. Shade it with different colors of ink pads. For a sandy beach, use a stamp or simply add dots with a marker.


Now attach all the elements to the prepared background with glue and self-adhesive foam pads as shown. Attach the parasols to small sand dunes.


Thank you for stopping by.
Janja