Saturday, March 21, 2020

Juggling Spring Bunny


Hello Scrapping Cottage friends! Thanks for taking the time to stop and visit with us today. It's Mary Marsh here bringing you the Saturday day edition of the Blog.

The new release of Spring dies are available in the online store and 25% off for a limited time. There are 27 new dies in the release and each one is cuter than the next. They are perfect for your Easter and Spring card making.

Today, I am featuring the new Juggling Spring Bunny and created another Easter card. With all that's happening in the world right now, I am going to send more cards this year. I think it will help brighten someone's spirits to receive some happy mail. So let's get started with some details on how I created my card. 

Design Steps:

This week I started my card with a sketch. As I have said so many times before, having a layout in mind at the start of my card is always a big boost for me. It jump starts my creative thought process. I love working with the sketches that are out there in the online world. That way I just choose the colors and designer paper and I am good to go.

I liked this week's sketch #793 from Splitcoaststampers. It is a bit different of a layout, but I thought my bunny would look cute sitting atop the half circle #3.
I wanted a fun background paper for the bunny and chose this one from my collection. I thought the pattern would be broken up enough with the 2 half circles of the sketch.

Rich Razzleberry Card Base: 41/4" x 5 1/2"
Designer Paper: 4 1/8" x 5 3/8"
Circle & Stitched Circle dies: 5 & 6th largest
Element 4 of sketch: 5/8" - used bermuda bay cardstock


Next, I cut the bunny and eggs in cardstock colors to match the designer paper. 
I decided to use a punny sentiment and stamped in rich razzleberry ink. I started card assembly using double sided tape as my adhesive.. 

I attached the bunny to the top semi-circle using double sided tape and the eggs are attached with glue dots. 
To complete my card I added some bermuda bay enamel dots. And I have another Easter card for the stash. 

Well that's it for me for this week. Hope you get some craft time in this weekend or even during the week if your job is considered non-essential and your required to stay at home. It's definitely a way to relax and take your mind off all the corona-virus stories. See you next Saturday!

dies I used to create card:


Friday, March 20, 2020

Egg Hunt!

Happy Friday everyone!  I hope today finds you well and safe.  Here in California we're on mandatory stay at home orders.  I know many will take this time to craft.  This is a great time to send cards to friends to let them know you are thinking about them.

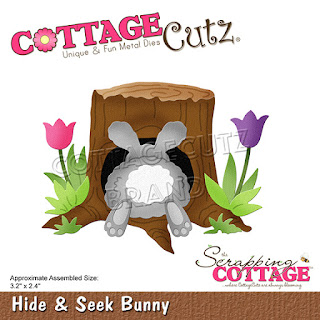
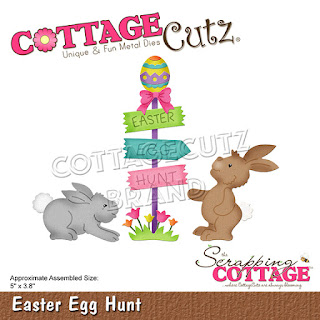
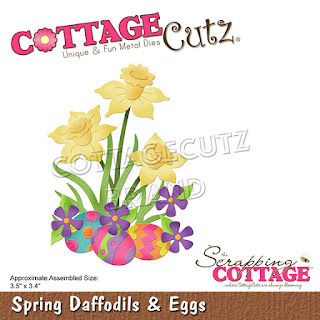
My card today is for Easter and features three new dies from the Spring release.
It is also for the color challenge this week at Splitcoaststampers - Highland Heather, Purple Posy, Balmy Blue and Soft Sea Foam.

To start I cut all pieces from white cardstock.  I colored my tree stump, sign post and bunny using neutral Distress Oxide inks.
I then colored the eggs and signs using the colors specified in the challenge.  I also added Mossy Meadow since that is considered a neutral and is allowed by the challenge rules.
I used a fine multi-liner pen to trace over the lines on the signs and emphasize the words.

Next I cut a piece of polka dot paper 4.25 x 5.5 inches and a frame using the largest of the Stitched Wide Square Frames.
I centered the frame die on my polka dot panel and cut it out.  Then I adhered the panel to a white card base.
This allowed me to add my frame flush with the polka dot panel.  This card is very flat and would make for easy mailing.
Finally I added all the elements to the card.
This is a super fun and quick card to make.  By coloring all the pieces (rather than using different colors of cardstock) I was able to make one pass through the die cutting machine with each die!

Be sure to visit the online store where the new Spring release is on sale for a limited time!

Dies used:
http://www.scrappingcottage.com/cottagecutzhideandseekbunny.aspx
http://www.scrappingcottage.com/cottagecutzeasteregghunt.aspx
http://www.scrappingcottage.com/cottagecutzspringdaffodilsandeggs.aspx

http://www.scrappingcottage.com/cottagecutzstitchedwidesquareframesetbasics.aspx


Thanks for stopping by today - I hope you have a fun and creative weekend!


Thursday, March 19, 2020

Buzzzzy Bee!

Hello Scrapping Cottage Friends

It is Pam sharing with you on the blog today.
In South Carolina all the Azaleas are beginning to bloom!  The pink, white and red flowers are gorgeous.  Along with the flowers comes the bees.  So with that being said this wonderful time of the year is my inspiration for this cute card.

Design Steps:
1.   Using the Busy Bee die cut out the pieces in white,  yellow, and black card stock

2.  Use a clear Wink of Stella to give the wings some shimmer
 3.  Shade the bee parts and then assemble.  Use tiny rhinestones for the bee's eyes
 4.  Cut out a black oval using the Scalloped Oval second from the largest.  Cut out a DP oval using the Pierced Oval die.  Use an A2 white card stock base, a piece of yellow card stock just slightly smaller then the card front by an 1/8 inch,  next cut a striped black and white piece of DP 4 x 5 1/4
 5.  Using the Spring Blooms die cut out 3 yellow flowers and 2 green leaves. Shade the flowers
6.  Glue the striped black and white DP to the yellow card stock.  Glue the black oval down and then the DP oval. Next add the black ribbon and then mount to the card base

7.    Pop up the bee and the flowers and add the rhinestones

CottageCutz


Hope things are going well for you and just think Spring is almost here!!
Blessings
Pam

Wednesday, March 18, 2020

Hello Spring

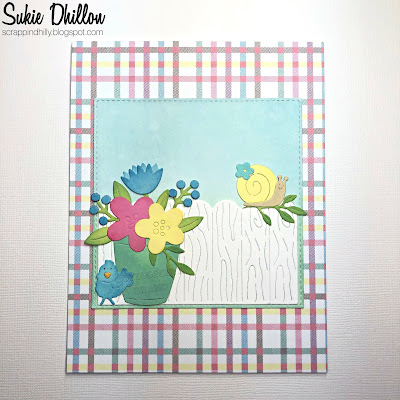
Hello!  This is Sukie and today I'm sharing this card for my design team post.  This card is perfect for welcoming the Spring season which is right around the corner.
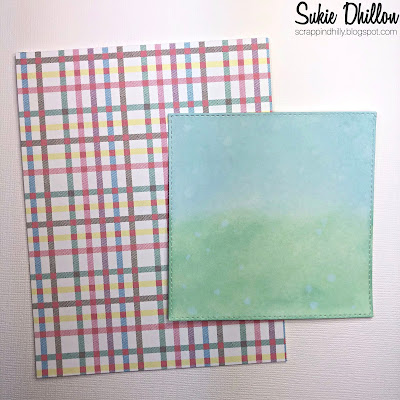
My card was inspired by all of the colors in the plaid card base.  I inked up a die cut from the Stitched Square Set and splattered it with some water for a softer appearance.
The die cuts are from the Hello Spring Bloom and Springtime Pals die sets.  I opted to leave the handle off of the pail so that it would look like a flower pot.  An extra fence panel was cut so that the fence would stretch across the square panel.  All of the die cuts were shaded with some Oxide Inks.
The square was centered on the card base with the fence layered inside.  The flower pot was adhered on top of the fence.
I continued to build the Spring theme by adding the tiny bird next to the flower pot. The snail was added to the top of the fence.
The "Hello Spring" sentiment was adhered on top of the square panel giving the card a whimsical appearance.
 Here are the dies used on my card, available in the store:

Tuesday, March 17, 2020

Duckling with Kite

Hi, Janja here with you. For my post today I have a card with a lovely duck that could be used for many occasions, including Easter holidays.


- CottageCutz dies: Duckling with Kite, Spring Buddies (flowers), Stitched Square Set, Stitched Wide Square Frame Set
- blank card: 5 5/16 x 5 5/16" (13,5 x 13,5 cm), folded
- patterned paper: 5 x 5" (12,7 x 12,7 cm)
- colored cardstock
- colored ink pads
- glue, double-sided adhesive tape, self-adhesive foam pads

First I cut a duck and flowers out of colored cardstock. For extra shading I used colored ink pads.


I cut the paper with tiny flowers to the desired size. I then cut out a white frame and a square of patterned paper. I used the largest die from both sets.


Completed card.


Have a nice day.
Janja