Sunday, November 10, 2019

Pup Whishing You A Happy Ho Ho Ho


Hi!

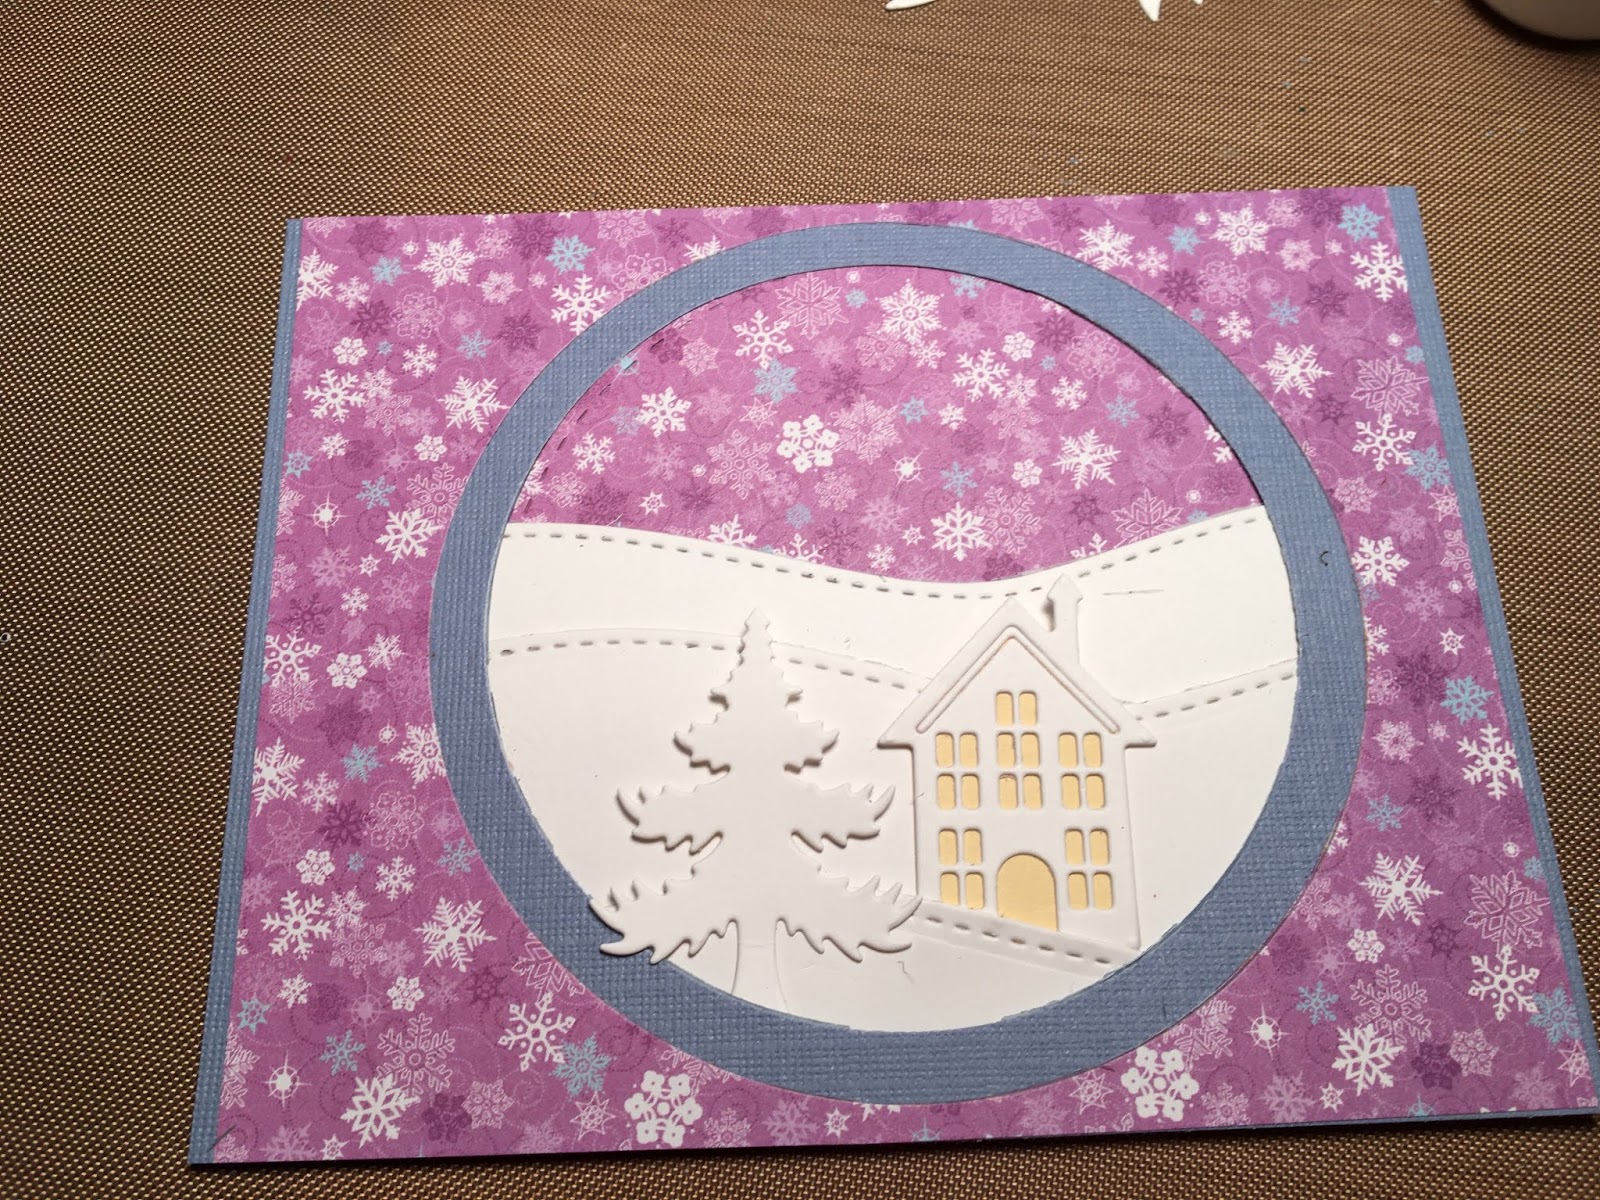
It's Anja here. Again with another holiday card. This time in traditional red and green tones.


For this card I used:
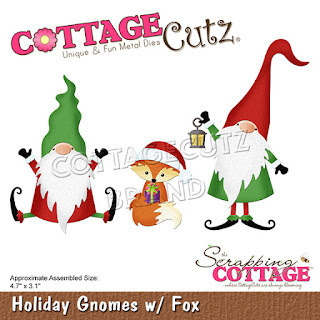
- Cottage Cutz dies (Happy Ho Ho Ho, Holiday Pup),
- Distress Inks,
- white card base (21x10 cm),
- green cardstock for background (20,6x9,6 cm),
- patterned paper for background (20,4x9,4 cm),
- red cardstock for background (17,4x6,4 cm),
- white card stock for die cuts and background (17x6 cm),
- white foam,
- white pen,
- black pen,
- adhesive foam pads,
- paper glue.

First I cut and colored the pup and the sentiment.


Then I trimmed green card stock and patterned paper for the background.


I cut additional two rectangles for background. One from red and another from white card stock.


Next I cut another sentiment, this time from white foam. I adhered the colored sentiment on top of the foam for dimension.


And then I just put everything together and my card was done. I used adhesive foam pads to glue the pup on the base.


I wish you a nice Sunday and stress free start of the new week. See you again next Sunday.

Anja Z.


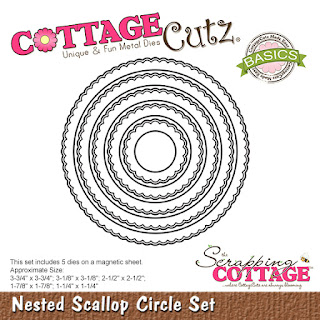
Cottage Cutz dies I used for this card:


Saturday, November 09, 2019

Moose in Forest

Hello Scrapping Cottage friends! Thanks for taking the time to stop and visit with us today. It's Mary Marsh here bringing you the Saturday edition of the Blog. 

We have the new release of Christmas Part 2 in the online store and they are all in stock and available for delivery. There are 34 new designs in this release. 

This release has something for everyone. So if you prefer a more religious tone to your cards- we have you covered. If you like a more whimsical design featuring Santa, reindeer, gnomes, moose or even a hot chocolate theme you will find some really cute dies.

I actually do a combo of religious and whimsical for my Christmas cards. Today, for your viewing pleasure, I am going whimsical with the new Moose in Forest die. So let's get started with some details on how I created this card. 

Step 1:  As I have said so many times before, having a layout in mind at the start of my card is always a big boost for me. It jump starts my creative thought process. I love working with the sketches that are out there in the online world. That way I just choose the colors and designer paper and I am good to go.

 I had this sketch pinned to one of my Pinterest boards and I thought I could make it work with this moose image. 
Tranquil Tide card Base: 4 1/4" x 5 1/2"
Designer Paper: 4 1/8" x 5 3/8"
Kraft Angled Rectangle: 3rd largest Cross Stitched Rectangle die 
Kraft Designer Paper Square: 3rd largest Square Set die. 
I cut the Moose and Pine Tree from cardstocks that matched or coordinated with the designer paper. 
I decided to stamp some trees on the kraft rectangle panel, just for added interest. I used tranquil tide ink.
Step 2: My card elements are prepared and I am ready to start card assembly. I attached the panels with double sided tape. I used burlap ribbon for the long rectangle panel on the sketch. I thought it gave a more woodsy type look. 
Next, I attached the trees to the square panel. I originally cut a small and large tree but that didn't work on the square, so I changed to 2 smaller trees. The moose is attached with dimensional adhesive. 
I wanted to stamp a sentiment on the designer paper, but I wasn't sure if it would be prominent enough. Then I remembered the Noel banner from the Christmas Car & Trailer die. I used it and placed it across the pine trees. I like the touch of Christmas red that it added to my card. 

To finish off my card I added 3 rhinestones and attached the image panel to the card base. And, that's it for me for this week. I hope I have given you an idea for a way to use this cute new die. See you next Saturday!

dies I used to create card:


Friday, November 08, 2019

Foxy Fall

Happy Friday Cottage Cutz fans!  It's Jeanne today with a cute fall card made with one of the new Christmas dies!  I made a small notecard size card using the cute fox from the Holiday Gnomes w/ Fox die set.  This card is also for this week's Clean and Simple challenge at Splitcoaststampers.  The challenge this week is to make a CAS card with an element that begins with "F".  Fall and Fox - I have this one covered.
I first cut all the pieces from fall colored card stock and patterned paper.  I'll admit that the leaves were some that I had left over from a previous card.  If I have left over die cuts, I store them in the envelope with the die so I'll have them handy if needed.
I used a sponge dauber and added some shading to the fox, then assembled him.
Using the third smallest circle from the Stitched Circle set, I cut three Pumpkin Pie and one white circle.  From the plaid paper I cut one circle using the second smallest of the Nested Scallop Circles.
I stacked the plain circles with the white on top and then glued those to the plaid scalloped one.  The fox was glued on top.
I added the medallion, some foliage and the sentiment to a 3.5 x 5 inch note card.
For the finishing touch I added a few matching rhinestones.  I love my bling!  This little fox is so versatile.  Without his hat he is perfect for fall, but add his hat and he's great for Christmas!

Be sure to visit the online store - the new Christmas dies are wonderful!

Dies used:
http://www.scrappingcottage.com/cottagecutzholidaygnomeswfox.aspx
http://www.scrappingcottage.com/cottagecutznestedscallopcircleset.aspx
http://www.scrappingcottage.com/cottagecutzstitchedcirclesetbasics.aspx
http://www.scrappingcottage.com/cottagecutzfallphrases.aspx
http://www.scrappingcottage.com/cottagecutzpumpkinpieandlatte.aspx


Thanks for stopping by.  I hope you have a fun and creative weekend!

Thursday, November 07, 2019

Winter Village


Good Morning Scrapping Cottage Friends!

Hello it is Pam creating with you today!

The Design Team is continuing to show samples from the Part 2 Christmas release.  Today I selected the Winter Village die to create with.  This die is just loaded with trees and little buildings super fun to work with.
Design steps

 1.  Using the Winter Village die cut out all of the pieces in white card stock
 2.  Using the second to the largest Circle die and a piece of blue card stock cut to 5 1/4 x 4 1/8. Cut out the center of the card stock. Next cut out a slightly smaller piece of purple DP and use the largest circle die to cut out the center of the DP.  Glue the two pieces together
3.  On the circle that was cut out from the DP arrange the snow banks then glue to the back of the opening
4.  Start to arrange the village scene by tucking in the pieces behind the snow banks.  I lined the backs of the houses and church with light yellow card stock to give them a warm glow
5.  After your have finished arrange your pieces glue them down to the card.  Then glue the whole panel to a A2 white card base and your card is complete


CottageCutz Products


I hope you are well under way in creating your special Christmas card.  These new dies sure make creating them so easy!
Blessings
Pam

Wednesday, November 06, 2019

Joy to the World

Hello!  This is Sukie and today I'm sharing this holiday card.  The scene on this card has me eager for one of my favorite holidays.
I combined dies from the Christmas Part 1 and Christmas Part 2 die releases.  I used the Farm Truck w/Tree, Joy To The World Tree and the Polar Bears w/Birch Trees for the scene on my card.  The hill was fussy cut and inked on the edges.
The snowy background was created by blending some Oxide Ink on white card stock, splashes of water and white paint splatters.
To create the joyous scene, I added the hill along the bottom edge of my card and tucked in the birch trees on the right and left sides of my card.
The Farm Truck w/Tree was centered at the bottom edge of my card overlapping a couple of the birch trees.
The sentiment was placed between the birch trees in the empty space. I sprinkled in some iridescent sequins throughout the base of my card.
Here are the dies used on my cards available in the shop: