Thursday, June 20, 2019

DT Samples w/Magic Garden Dies (Day 2)

Hello Scrapping Cottage friends! Thanks for taking the time to stop and visit today. We are sampling DT cards for the next week from our brand new Magic Garden release.

There are 14 new dies in the Magic Garden release. And for a limited time the individual dies are on sale at 25% off.  If you love fairies, fairy gardens, gnomes and flowers, you will love these dies.

We want to give you some creative ideas for using the dies. So let's get started with the cards for today.

Sample 1:  Our first sample today is from Pam MacKay. She used the Tire with Tree Swing die to create a fun card that reminds you of the lazy, hazy, crazy days of summer. Her background was created using distress inks. She framed the design with the Wacky Stitched Rectangle & Pierced Wide Rectangle dies to bring the focus to the die cut. A great way to let someone know you are thinking about them.

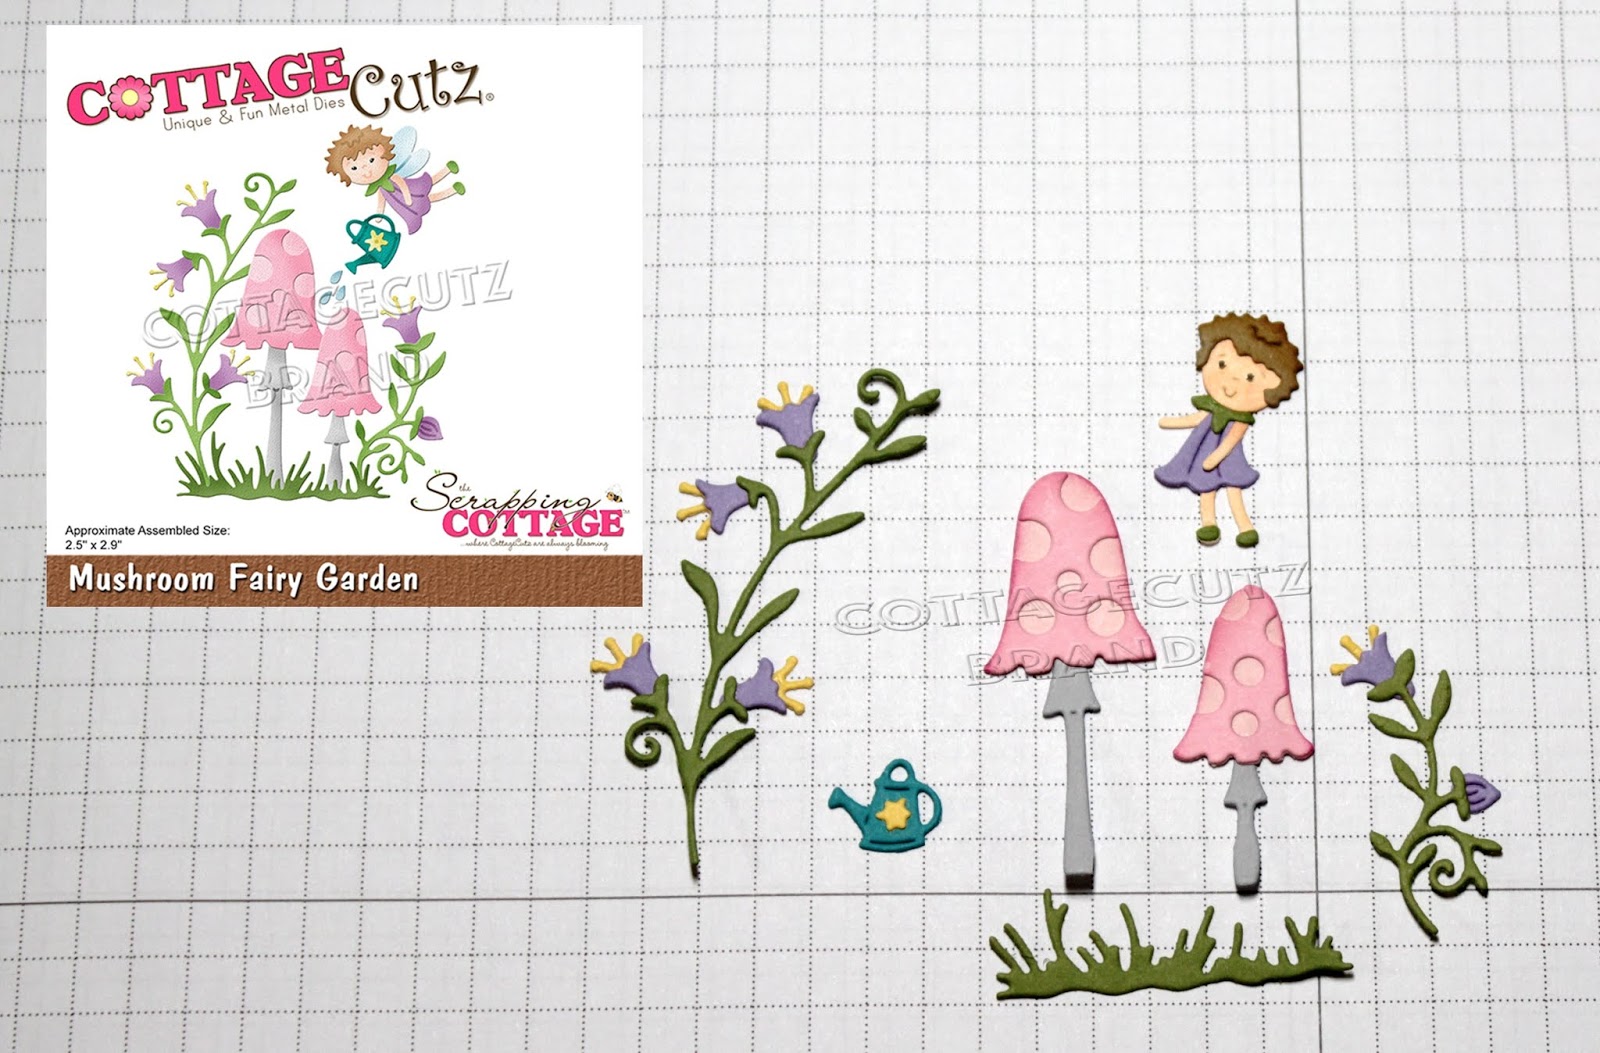
Card 2: Our next sample today is from Janja Albreht. She used the Wishing Well, Mushroom Fairy Garden and Fairy Garden Flowers to create a beautiful card to send best wishes. This would be so perfect for a bridal shower or even a wedding card.  The sweet little fairies and color scheme just add to the whimsical appeal of the card. The detail in the wishing well is one of the great features of CottageCutz dies.

Well, that's our samples for today. I hope the team has given you some fresh ideas for a way to use the dies. Stop by the Blog again tomorrow for more amazing samples.

dies used to create cards:


Wednesday, June 19, 2019

DT Samples w/Magic Garden dies (Day 1)

Hello Scrapping Cottage friends! Thanks for taking the time to stop and visit today. We are sampling DT cards for the next week from our brand new Magic Garden release.

There are 14 new dies in the Magic Garden release. And for a limited time the individual dies are on sale at 25% off.  If you love fairies, fairy gardens, gnomes and flowers, you will love these dies.

We want to give you some creative ideas for using the dies. So let's get started with the cards for today. It's all about the gnomes!

Card 1:  Our first sample today is from Sukie Dhillon. She used the new Gnome on Tree Stump die to create this awesome card. The card features a gingham background and a jolly gnome looking so cozy sitting on his tree stump. The white picket fence just adds to the appeal of the card.
It would be a sweet way to send a welcome home greeting for a special friend, neighbor or family member. You could also send a card like this as a congratulations on a new home card. The possibilities are many so let your imagination run wild.


Card 2: Our next sample today is from Jeanne Knobbe.  She used the Sleepy Gnome w/Mushrooms, Magical Unicorn Dreams and Spring Mushrooms dies on this creative shaker card. She is giving us a little peek into the gnomes dream. And, of course its about mushrooms (LOL)! Iridescent sequins are the shaker elements and just add to the charm of her card.
This would make a good all-occasion card or one for someone who needs encouragement to take a chance on their dreams.
 Well, that's our samples for today. I hope the team has given you some fresh ideas for a way to use the dies. Stop by the Blog again tomorrow for more team samples.

dies used to create cards:
http://www.scrappingcottage.com/cottagecutzgnomeontreestump.aspx

http://www.scrappingcottage.com/cottagecutzsleepygnomewmushrooms.aspx
http://www.scrappingcottage.com/cottagecutzmagicalunicorndreams.aspx


Sunday, June 16, 2019

Wedding Card In Gold

Hi!

It's Anja here. Wedding Season is in full bloom. I'm working on a few wedding projects right now. And I made another, using Cottage Cutz dies from previous releases.


For this card I used:
- Cottage Cutz dies (Fancy Doves w/ Ribbons, Wedding Rings, Expressions Congratulations, Victorian Corners),
- Distress Inks (Pumice Stone, Mustard Seed),
- white card base (15x15 cm),
- gold pigment ink,
- black pen,
- Wink of Stella glitter brush,
- adhesive foam pads,
- water spritzer,
- brush,
- heat gun,
- paper glue.

First I made the background. I mixed gold ink with water and spritzed it o the card base.


Next I dried the paper with the heat gun and then colored around the edges with golden ink.


Next I cut and colored the doves.


Then the rings. I used glitter brush for the diamond.


Then I cut and colored both corners and the sentiment.


When I had everything colored I arranged it on the card and glued it together. I used adhesive foam pads for the doves.


This is all from me for today. I wish you a lovely Sunday and see you again next week.

Anja Z.


Cottage Cutz I used for this card:


Saturday, June 15, 2019

A Fairy Happy Day

Hello Scrapping Cottage friends! Thanks for taking the time to stop and visit with us today. It's Mary Marsh here bringing you the Saturday edition of the Blog. 

We have released the new Magical Garden dies. There are 14 new designs and they are currently on sale at 25% off.

If you love fairies, fairy gardens, gnomes and flowers, you will love these dies. We will have several group posts to jump start your creativity starting next Wednesday, June 19th through Saturday June 22nd. The DT has created some really cute cards showcasing these new dies so make sure you check back each day. 

 Today, I am featuring the new Mushroom Fairy Garden die. Let's get started with some details on how I created it.

Step 1: I cut the fairy and the mushroom garden first, using the colors on the packaging. I wanted those colors done first because I was going to sponge the background and I wanted colors that would complement each other.
For the background, I used tumbled glass, broken china, spun sugar and picked raspberry distress inks. When I was satisfied with the color intensity, I misted it lightly with water to get a more muted type look. Perfect for my fairy and her mushroom garden.
I wanted a frame around the scene so I used the largest of the Pierced Wide Rectangle Frame die and cut in white cardstock.

Step 2: I am ready to start card assembly. I attached the garden scene with multi-matte adhesive. I wanted the fairy to lifted slightly from the background so I attached her with dimensional adhesive.
I stamped the sentiment using a grape ink and my MISTI. I did need to ink & stamp twice this time. The MISTI is invaluable for that reason alone.
I die cut the "wish" word in a light purple cardstock. I used the coffee & cocoa warm wishes die. The word was the perfect size for this card and I simply trimmed off the "es". I cut it 3x to give it a bit more dimension.
To complete my card, I attached the image panel to the light purple (highland heather) cardstock. Scattered a few sequins and this card is finished. I hope I have given you some inspiration on a way to use this new die set. See you next Wednesday for the DT group posts.

dies I used to create card:

Friday, June 14, 2019

I think I'll be a Unicorn!

Happy Friday Cottage Cutz fan!  It's Jeanne today with an easy, fun card.  I love this pretty, floral unicorn die and found the perfect sentiment for it in my stash - "Always be yourself (unless you can be a unicorn)".
For this card I started opposite from my usual order of things which is working on the image, then the layout.  I stamped the sentiment in purple ink on a panel of 5 1/2 x 4 1/4 inch lavender cardstock and die cut a circle from mint cardstock using the second largest of the Stitched Circles dies.
Then I freehand cut a curve over the sentiment.
Next I die cut the unicorn from white cardstock.  There are a lot of pieces to this die so I divided them into separate piles for ease in coloring - unicorn pieces, flowers, and leaves.  I opted not to use the stars and moon.


I used Distress Oxide ink to color the mane and just tip the edges of the unicorn.  I left the horn white to be covered later in Wink of Stella.
I took a white A2 panel and adhered the circle unicorn and sentiment panel to it.
I colored my leaves in three shades of green and the flowers in various shades of warm colors.  I just chose whatever seemed to go with the lavender and mint that I had picked.  Then I began to randomly layout and glue the greenery and flowers along the curve that I had cut.  You can see that I had one leaf on the right extend past the panel.  I snipped off the extra when I was through.
I decided to add a few floral elements to the upper right.
My final step was to use several coats of Wink of Stella on the horn and add some rhinestones and pearls interspersed in the flowers and greenery for a little extra sparkle.

Dies used:
http://www.scrappingcottage.com/cottagecutzunicornfloral.aspx

http://www.scrappingcottage.com/cottagecutzstitchedcirclesetbasics.aspx

I hope you enjoyed my card today.  Don't forget to stop by the store and check out all the new dies in the Magical Garden Release!  They are on sale for a limited time.

Thanks for stopping by - have a fun and creative weekend!