Hi, Janja here!
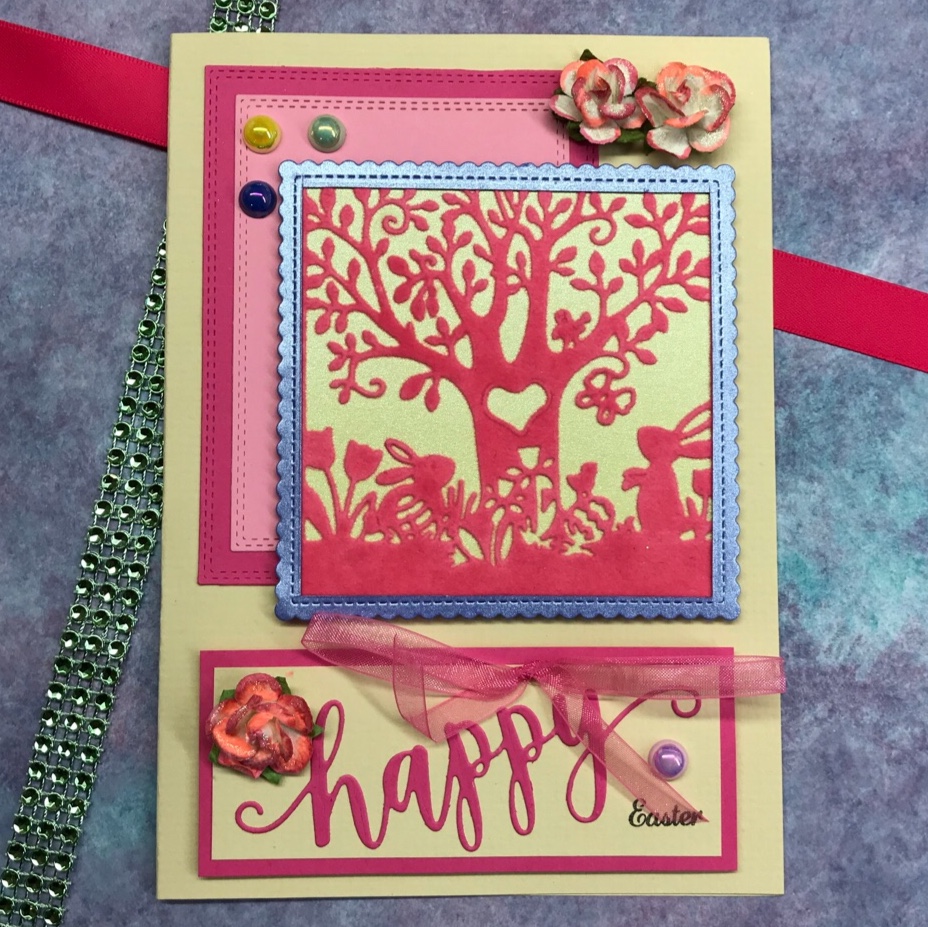
My today's card was made with a set of cute sewing elements.
I have some friends who love sewing. That's why I was especially pleased with the Stitched Sewing Notions die. With this die we can make a few cards or thank you cards, for everyone who loves sewing. I also prepared a matching tag.
The Stitched dies and the new Spring dies are currently 25% off. Check them out in The Scrapping Cottage store.

Supplies:
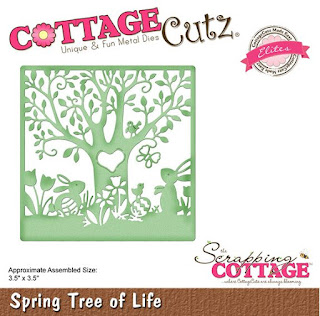
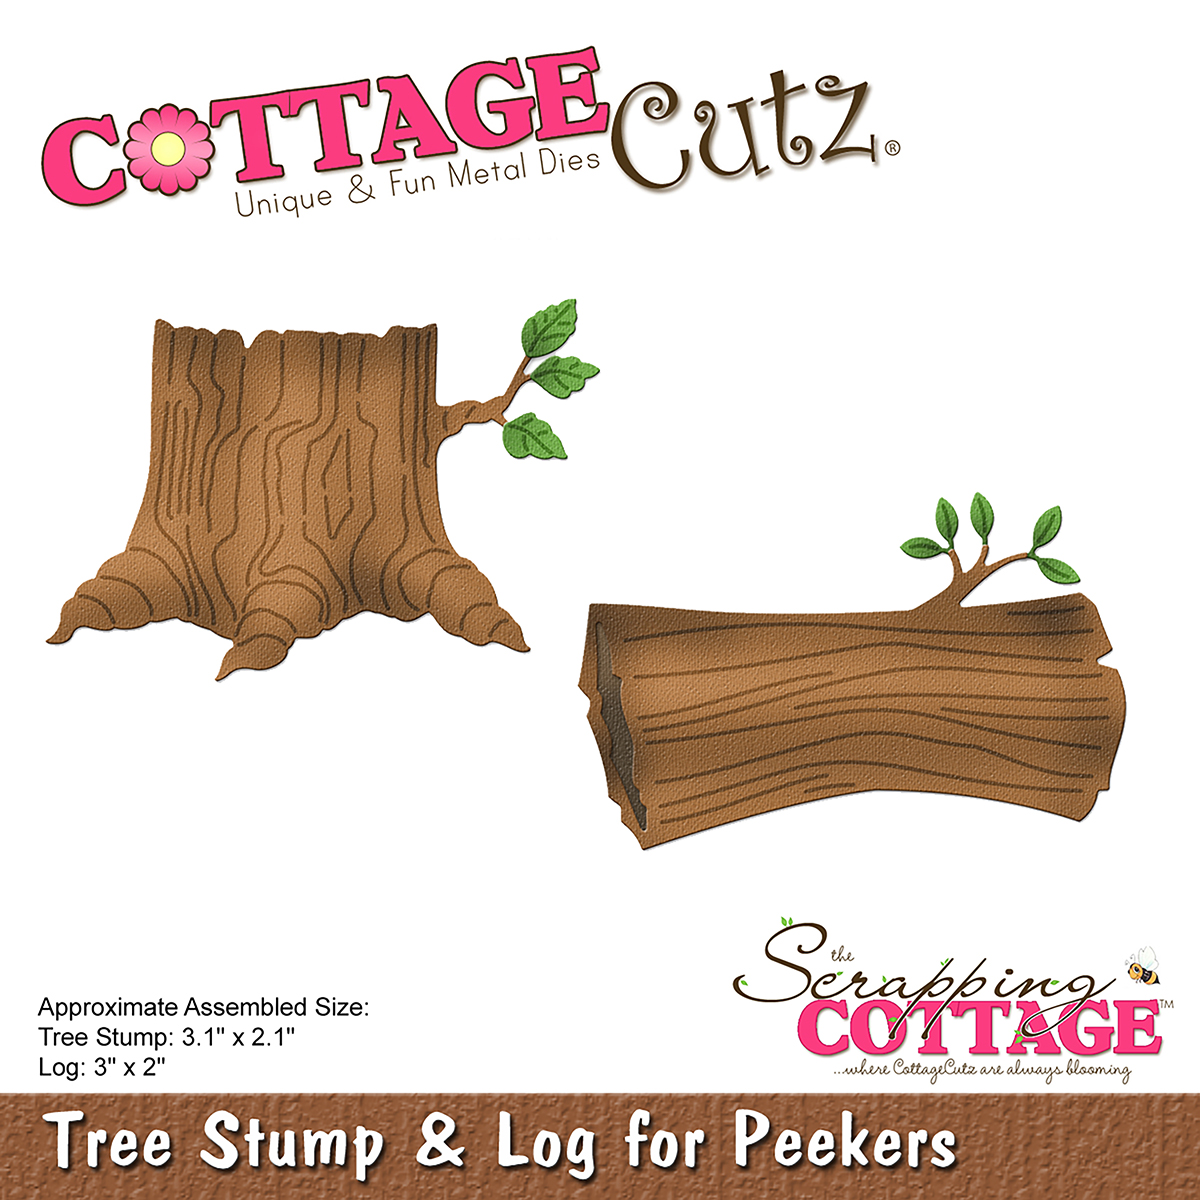
- CottageCutz dies: Stitched Sewing Notions, Girl Christening Gown, Nested Stitched Scallop Rectangle Set, Stitched Recrangle Set, Mail Tag Set
- white card base: 4.25 x 5.5" (10,7 x 13,9 cm), folded
- kraft cardstock: 3.7 x 4.8" (9,5 x 12,3cm)
- patterned paper
- white and kraft cardstock
- Distress ink pads: Festive Berries, Aged Mahogany, Vintage Photo
- glue, double-sided adhesive tape, self-adhesive pads
Prepare a card base from a white cardstock. Cut a smaller layer from a kraft cardstock, and attach to a card base. Die cut two rectangles from patterned paper and white cardstock (the largest die from both sets).
Make a matching tag using the Mail Tag Set die.

Now cut out all the sewing elements. For shading I use bright and dark tones to add a dimension.
Look how cute these cutouts are. Especially the "handmade" label with heart. The perfect end touch to handmade items.


Complete the card and tag.


Thank you for coming over. Have a nice day.