Hello Scrapping Cottage friends! Thanks for taking the time to stop and visit today. It's Mary Marsh here bringing you the Saturday edition of the Blog.
Welcome to November and my favorite upcoming seasons of the year- Thanksgiving and Christmas. I love making Christmas cards and once I start it's hard for me to stop (lol)!!! So you know where my Blog posts will be going over the next several weeks.
Today, I am showing a couple of the new 2017 Christmas dies released by CottageCutz. They are the Snowglobe w/Fawn and the Snowglobe Friends dies. So let's get started with some details on my card for today.
Step 1: I started my card this week with my layout. I found this great sketch on Splitcoaststampers that I thought would work well for my card idea. Using a sketch is a good starting point when you are creating a card.
I look at the sketch design and then think of possibilities that would fit the circles, rectangles etc. It helps me to get my Mojo in gear. In this case, as soon as I saw the circle I thought of a snowglobe. You can see I am in Christmas mode.

Step 2: Since my dies were already chosen, I needed to decide on the card colors as well as patterned paper. Of course, I wanted it to be red and green so I just needed some coordinating papers. Looked through my Christmas papers and found some stripes and dots paper.

Step 3: I decided on a white background for layer 1 of the sketch. But, I didn't want it plain white so I used a falling snow embossing folder. I like the deep embossing I was able to achieve with this folder.

Step 4: I cut layer 2 and 3 of the sketch from cardstock and the patterned paper. Used the CottageCutz Rectangle and Pierced Rectangle dies. On the dotted panel (Layer 2) I used the 2nd largest rectangle die and the 3rd largest pierced rectangle die.
On the striped panel, I used the 4th largest rectangle and the 4th largest pierced die.

Step 5: Now I am ready to cut my snowglobe and penguin. These dies are just too cute and so detailed. Even the snowballs for sale sign has incredible detail. And look at his cute little ice skates. You can click on any picture to make it larger.

Step 6: Time to start assembly of my card. Layered the embossed panel to the cherry red cardstock.

Then layered the patterned paper panels.

And finally, the snowglobe is attached it with dimensional adhesive. I doubled up on the dimensional adhesive because some of the globe was on the patterned paper panel and some directly on the embossed panel. By doubling up it evened everything out.

Step 7: To finish off my card I wanted a Christmas sentiment. I used the smallest CottageCutz oval die and stamped the sentiment.

I hope I have given you an idea for using this new die. Wouldn't it be great as your own Christmas card this year? The die is in the online store ready for ordering.
Remember, we are also on Instagram. Click on the photo below to view our Instagram photos.

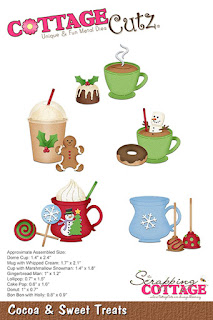
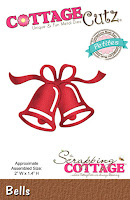
Dies I used to create card: