Hello !!!!
A very Happy Easter to all !!!
I am Anita here and for today's post , I have a layered die cut card that mainly uses different types of oval designs. You can check them out here at the store. There is a whole new range of new baby dies also now available and shipping at 25 % discount so do not miss it.
Here is my card.

To make this card, just follow the picture tutorial below.


Adhere the base oval die cut after distressing the embossed card panel with worn lipstick oxide ink. Distress the oval lightly with Peeled Paint Oxide ink.


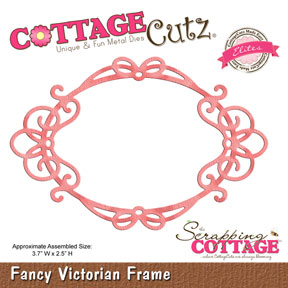
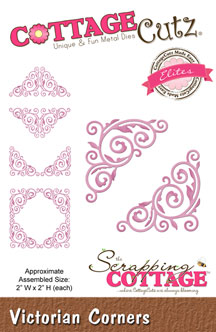
Score a card base 5 inches by 6.5 inches at 1/4 inch interval on the scoring board. Add the green ribbon. Distress with oxide ink. Add the layered card panel. Insert a CottageCutz Victorian corner die cut at the two corners. Add the best wishes sentiment die cut. Add a bow and pearl stick pins.


A very Happy Easter to all !!!
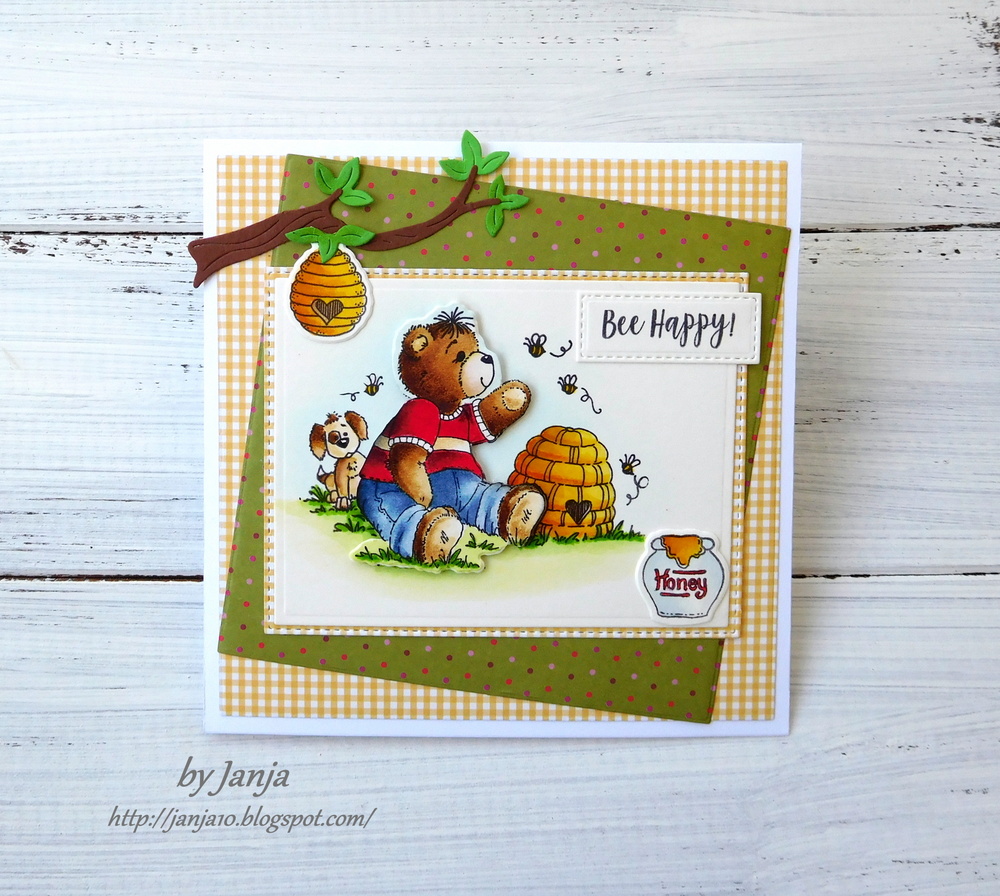
I am Anita here and for today's post , I have a layered die cut card that mainly uses different types of oval designs. You can check them out here at the store. There is a whole new range of new baby dies also now available and shipping at 25 % discount so do not miss it.
Here is my card.

To make this card, just follow the picture tutorial below.
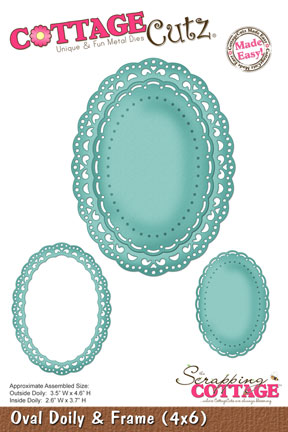
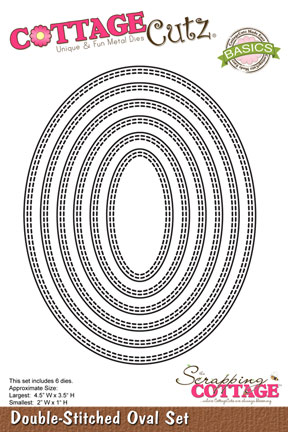
Cut two pieces of die cut in white card stock using these dies.

Adhere each die cut together to add a little thickness to the die cut. Distress with Oxide inks

Cut a card panel 5.5 inches by 4.25 inches and emboss in an embossing folder.

Adhere the base oval die cut after distressing the embossed card panel with worn lipstick oxide ink. Distress the oval lightly with Peeled Paint Oxide ink.

Distress more die cuts and layer them as shown using Foam tape.

Add glitter to the Songbird Die cut

Score a card base 5 inches by 6.5 inches at 1/4 inch interval on the scoring board. Add the green ribbon. Distress with oxide ink. Add the layered card panel. Insert a CottageCutz Victorian corner die cut at the two corners. Add the best wishes sentiment die cut. Add a bow and pearl stick pins.


I hope you liked this card. See you next Friday. Have a good day.