Hello to all!!!!
Its Anita here!!!!
December means Christmas and Gifts . It is always so wonderful to create handmade gift bags and boxes to give gifts to our loved ones.
Here I have created a pretty , dainty and delicate gift bag using CottageCutz dies. It is adorned with tiny flowers and can contain candies, some jewellery or even a small perfume.
Here is my project followed by the intstructional pictures.


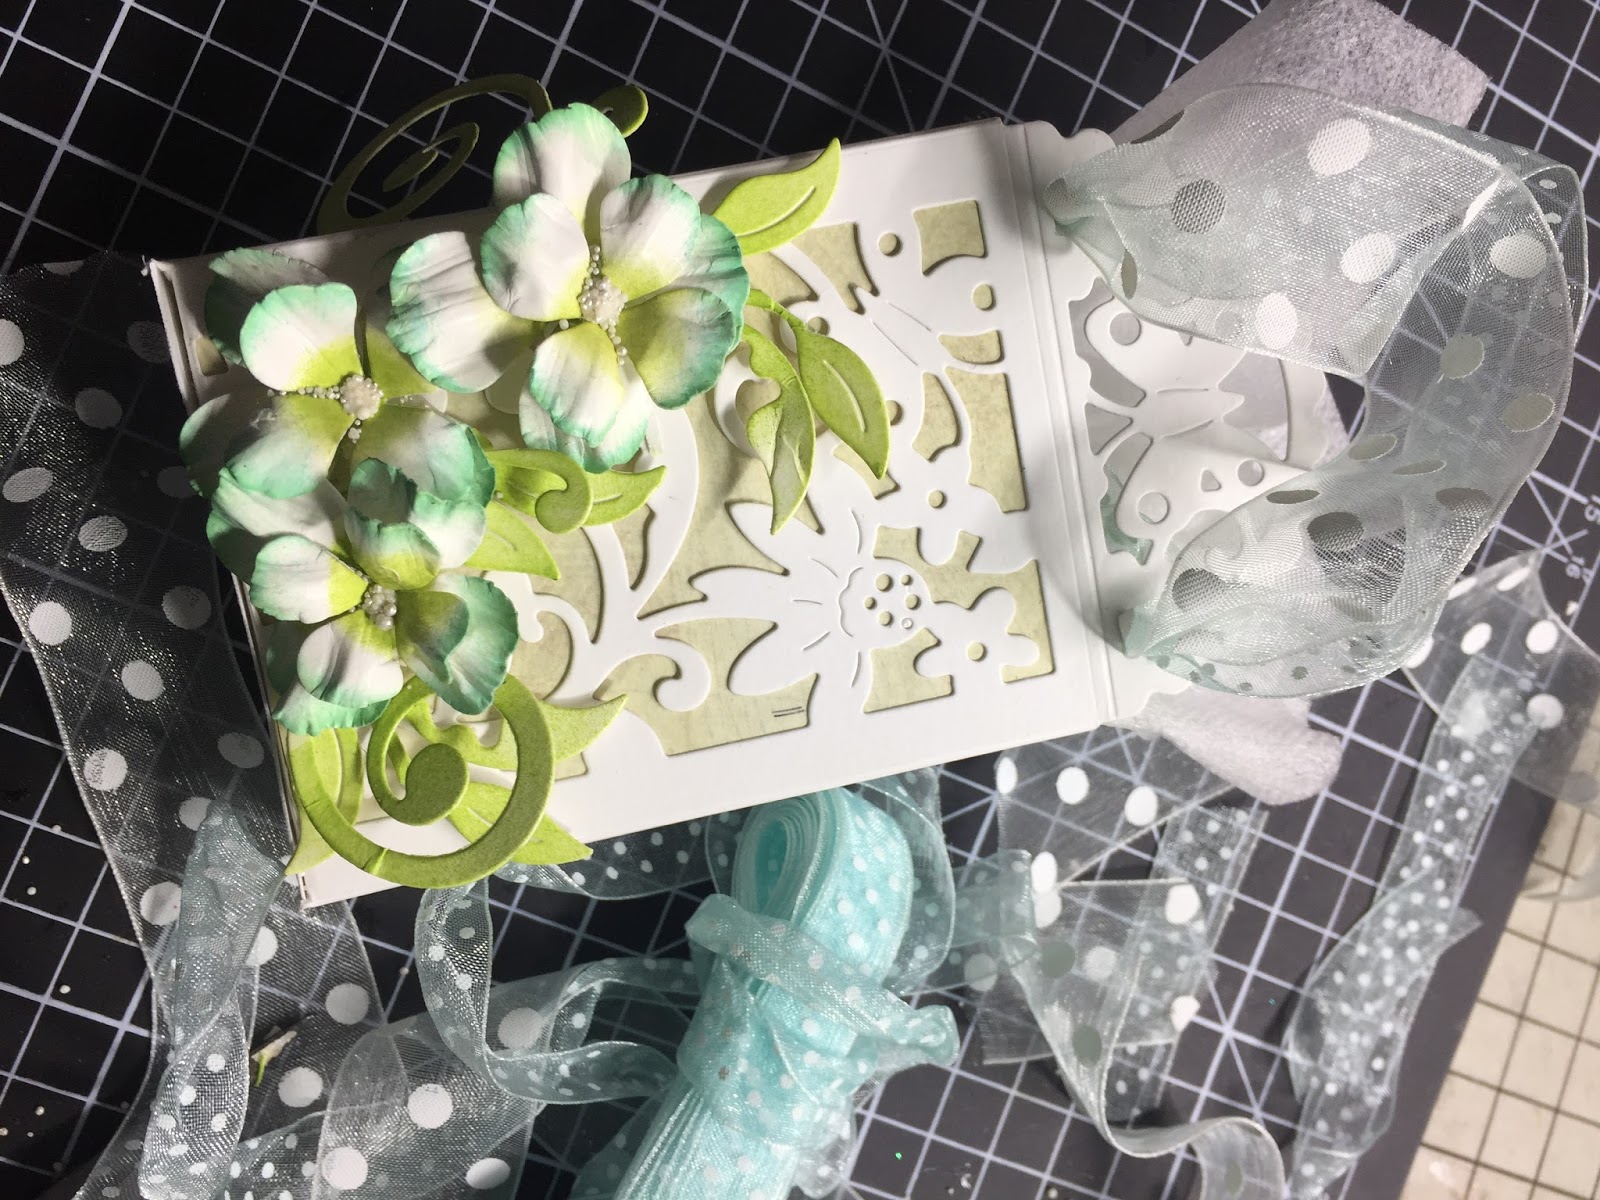
Cut out the die cuts from the CottageCutz Filigree Butterfly Pocket die, Leafy Swirls, and 3D flower# 5. Colour the flower and swirl die cut with Blue and green distress inks.

Score along the lines on the pocket die.


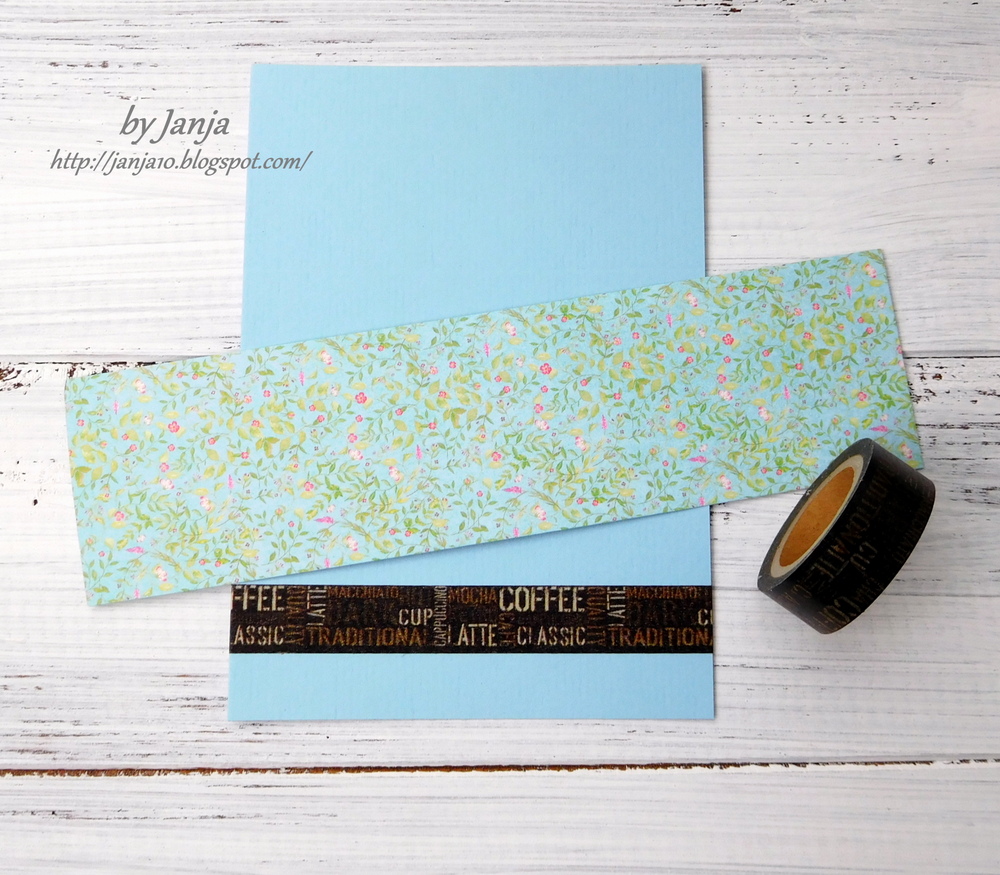
Cut out two pattern papers from measuring 2.5 Inches by 3.5 Inches to add as inserts for both packet dies. Adhere from back.

Add tacky tape on the sides of one die cut.

Secure the tabs to form a box

Add a small flap at the bottom to close the base.

Arrange the flowers and leaves along with ribbons for handles
The finished gift bag


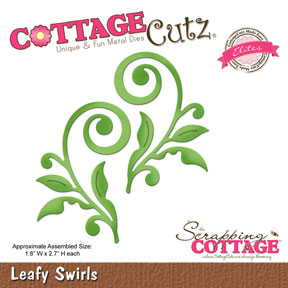
Leafy Swirls
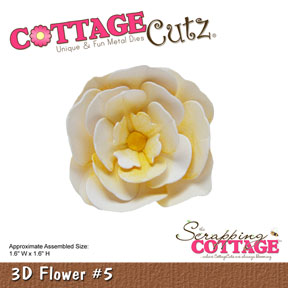
3D flower # 5
Filigree Butterfly Pocket Die
Other products
Distress inks, ribbon, tacky tape, pearl prills.