Hi, Janja here!
When we are moving, it is necessary to do a lot of things and one of them is also to notify our relatives and friends about our new address.
The intent of my today's card-notification, it is to do so.

For the card we need:
- beige color card base: 13 x 4.5" (33 x 11,5 cm)
- patterned paper: 6.3 x 4.3" (16 x 11 cm)
- cardstock in different colors
- string and eyelets
- washi tape
- glossy accents
- Distress inks: Festive Berries, Aged Mahogany, Vintage Photo, Iced Spruce
The base of our card-notification is made as a ticket. In the card base make two folds.

For the background select discreet patterned paper, stamp some postal stamps and add a washi tape.
Cut the paper and attach it to the card base. To look more interesting, use tool for adding eyelets and finally rout string.


- white scalloped card base: 5 x 5" (12,7 x 12,7 cm), folded
- brown cardstock: 4 x 4" (10,1 x 10,1 cm)
- white cardstock: 3.5 x 3.5" (8,9 x 8,9 cm)
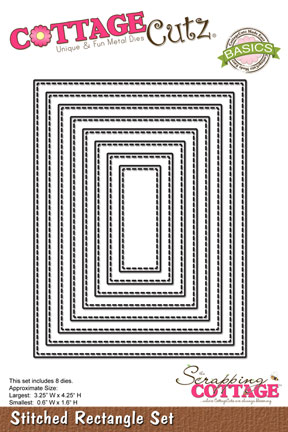
From a white cardstock cut out a square with a cross-stitched square die (the largest die from the set). With the die home sweet home keys we cut out houses. Use only the upper parts of cutouts. Stamp hearts, add a string and an inscription - Welcome.


When we are moving, it is necessary to do a lot of things and one of them is also to notify our relatives and friends about our new address.
The intent of my today's card-notification, it is to do so.

For the card we need:
- beige color card base: 13 x 4.5" (33 x 11,5 cm)
- patterned paper: 6.3 x 4.3" (16 x 11 cm)
- cardstock in different colors
- string and eyelets
- washi tape
- glossy accents
- Distress inks: Festive Berries, Aged Mahogany, Vintage Photo, Iced Spruce
The base of our card-notification is made as a ticket. In the card base make two folds.

For the background select discreet patterned paper, stamp some postal stamps and add a washi tape.
Cut the paper and attach it to the card base. To look more interesting, use tool for adding eyelets and finally rout string.


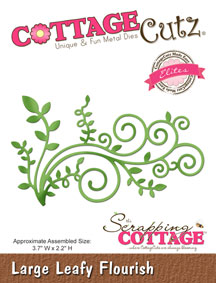
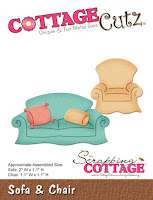
The central motif is a truck loaded with furniture. With the CottageCutz dies cut out: refrigerator & stove, floor lamp and bookcase, which I turned into a drawer.

Shadow cutouts with Distress inks. Apply glossy accents on inscription - We've moved and drawers'handles.

Fix furniture to the truck.


Finally, another simple invitation.

- white scalloped card base: 5 x 5" (12,7 x 12,7 cm), folded
- brown cardstock: 4 x 4" (10,1 x 10,1 cm)
- white cardstock: 3.5 x 3.5" (8,9 x 8,9 cm)
From a white cardstock cut out a square with a cross-stitched square die (the largest die from the set). With the die home sweet home keys we cut out houses. Use only the upper parts of cutouts. Stamp hearts, add a string and an inscription - Welcome.

I would like to remind you on our
Have a nice day.
Janja
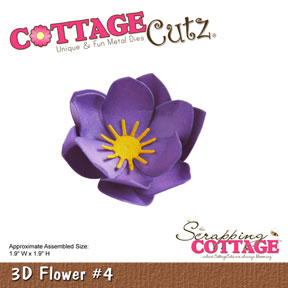
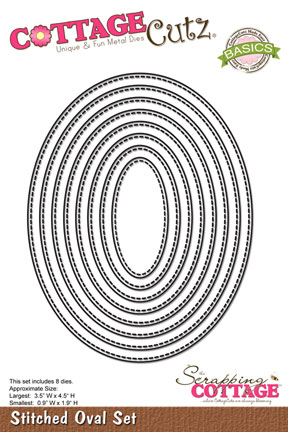
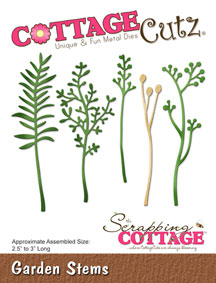
List of dies used: