Tuesday, July 19, 2016

Beach cabins

Hi, Janja here!

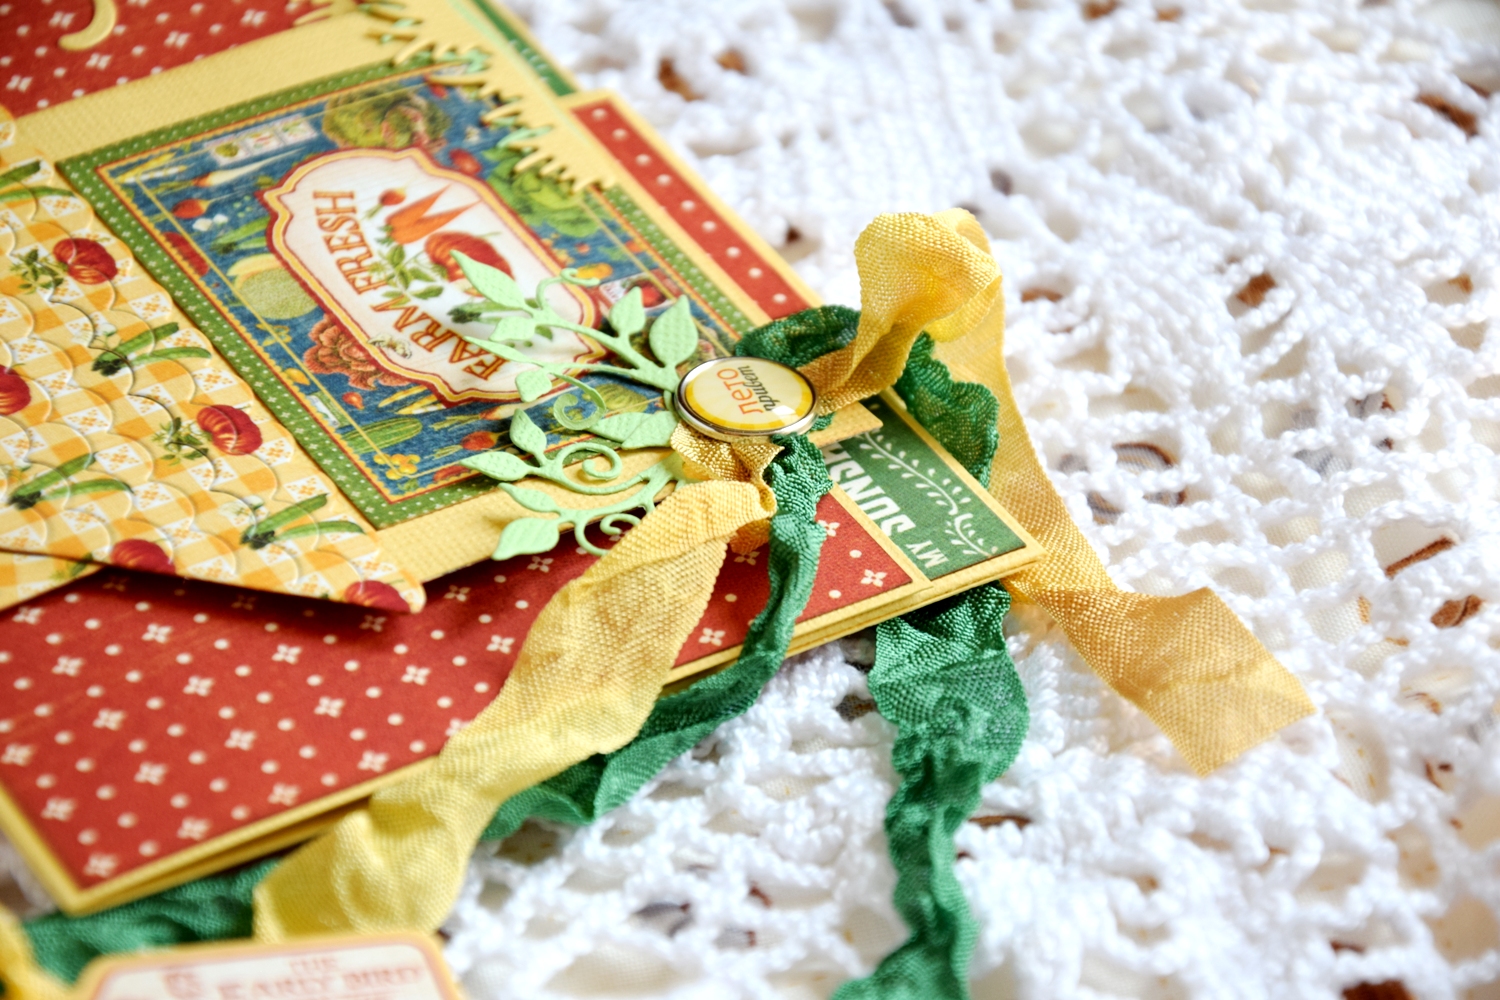
Today I share with you a hello card in vivid colors. Fresh, cute and suitable for creating, even in these hot days. It can also be used as an invitation to a cocktail party, or instead of a postcard from our vacation.


For the card we need:
- brown card base: 5.3 x 5.3" (13,5 x 13,5 cm), folded
- white drawing sheet: 4.9 x 4.9" (12,5 x 12,5 cm)
- white cardstock
- Memento ink: Lady Bug, Cantaloupe, Tangelo, Summer Sky, Pear Tart
- Distress ink: Broken China

Spray a drawing sheet with a brush. This will be our background.


From a white cardstock with the die build-a-house set 1 cut out cabins, roofs and windows. Larger cabins with the die are not cut completely. Complete them with a scissors. Also prepare an inscription and waves.


Paint cutouts with an ink pads so that the entire surface of a pad is being dragged over the cutouts. Choose vivid colors.
 

On cabins, fasten roofs and windows. Paste them to the background.
 

Add the wavy sea, the inscription and for the icing on the cake, a birdie.
 

I would like to remind you on our CottageCutz challenge #4 - greenery. Join us.
Thank you so much for stopping by! 
Janja
List of dies used:


Sunday, July 17, 2016

Envelope for gift certificate Home sweet home

Hello Scrapping Cottage friends!
Yuliya here! Welcome to my new post where I will show you how to make this envelope for gift certificate with the June's release of the CottageCutz dies - Home Sweet Home.


Here is list of all supplies I used:
CottageCutz Dies:
- CottageCutz Build-A-House Set 1 (Includes 2 Dies)
- CottageCutz Home Sweet Home Phrase
Other: Sizzix machine, glue, patterned paper, cardstock, glue, Distress inks, ribbon
Let's get started!
1. Prepare cardstock for base  - 26 cm х 20 cm.  Fold it  as it is shown on the picture.

2. 
3. 
4.
5. Prepare cardstock 22 cm х 4,5 cm

6. Let's decorate with papers! Prepare the details
 7. Note. I add some vintage look to the paper with distress ink – «vintage photo» color.
9.
 10.

11. I hope you enjoy the tutorial and will be happy to inspire you!

We also have a brand new Challenge at the blog-Greenery. So do stop by and play along to get amazing prizes. Have a nice day!!)


Saturday, July 16, 2016

T-LIGHT HOLDER FOR CHRISTMAS

Hello friends !!!

It's Saturday today  I'm Anita here with you with another lovely CottageCutz project. It is raining heavily here in India. The weather is dark and gloomy and kind of little cold. I simply love this climate as I can stay indoors and do all my crafting work to my hearts content.
I have seen that Christmas preparations have already started in some parts of the world. Although December is far away , yet cards have been designed and many new projects have already started taking shape.
To stay in tune with the crafting world, I have thought of something that we all love during Christmas. These are T-light holders made with the CottageCutz dies.
I was myself very excited when I saw the final result. This Lacey Cutwork simple yet dainty holder will surely light up your home during the festival.


To make this T-light holder , follow these pictures as I explain them.

For one holder, 4 pieces of  CottageCutz Filigree Butterfly Pocket die, any die cut  square or round for the base, and CottageCutz Ivy die.


Fold the Pocket die along the score lines.


Cut away the side flaps, leaving about 0.25 inch from both the sides, as shown.
Do this for all four pocket dies.


Apply double sided tacky tape on the base flap with the die facing right side up.


  Apply tape on the inside right flap of each die.


  Join the flaps together like this

  
Remove tape from the bottom flaps and fold inwards pressing on a CottageCutz Stitched Square die. You can also use a doily die.
  
Spray the Ivy leaves with Peeled Paint Distress Spray and dry

 Close the box after you place the T-light , with ribbons or twine, bringing the top of all the four pocket dies together. Arrange leaves and flowers of your choice. Add pearl trims.


The complete project.


I hope you all will surely make this as one of your Christmas projects.
We also have a brand new Challenge at the blog-Greenery. So do stop by and play along to get amazing prizes.