Wednesday, June 01, 2016

~LadyBug Happy Mail + a Giveaway~


Hello Scrapping Cottage friends! Thanks for taking the time to stop and visit today. It's Mary Marsh here bringing you the Wednesday edition of the Blog. Make sure you read all the way to the end of the post for some giveaway information.
 
Today for your viewing pleasure, I am featuring a couple of new dies set from the May release. I have used the "Hello Spring" and the "Garden Friends" dies.  The "hello spring" has 7 other dies besides the Hello word and the "garden friends" has a butterfly, bee and the ladybug in a circle die. Both sets are super cute dies and can be easily used on your project.
 
I wanted to create a card of encouragement for my BFF who is battling breast cancer. Email and phone calls are good but everyone likes to get some happy mail. So let's get started with how I put this card together.
This week I again started with my layout. I came across this sketch on Splitcoaststampers last week. As soon as I saw it, I thought of the garden friends dies and knew I would use it for my card this week.
 
My goal on the Wednesday post is to show you how simple it can be to create a card. By either using a sketch, a color combo or both.
 
Card Base: 4 1/4" x 5 1/2"
Black Layer: 3 7/8" x 5 1/8"
Striped Patterned paper: 3 5/8"  x 4 7/8"
 
This is the layout I used. I changed it up just a bit but the basic sketch is there. A sketch is a starting point and you can always make changes to accommodate your image or available dies. The numbers on this sketch indicate your card layers.
 
I used my red card base for layer #2 and the striped patterned paper for layers #3 & #4. See what I mean about changing it to suit what you are doing on your card?
 
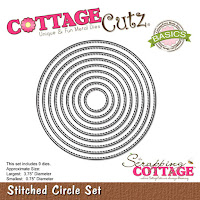
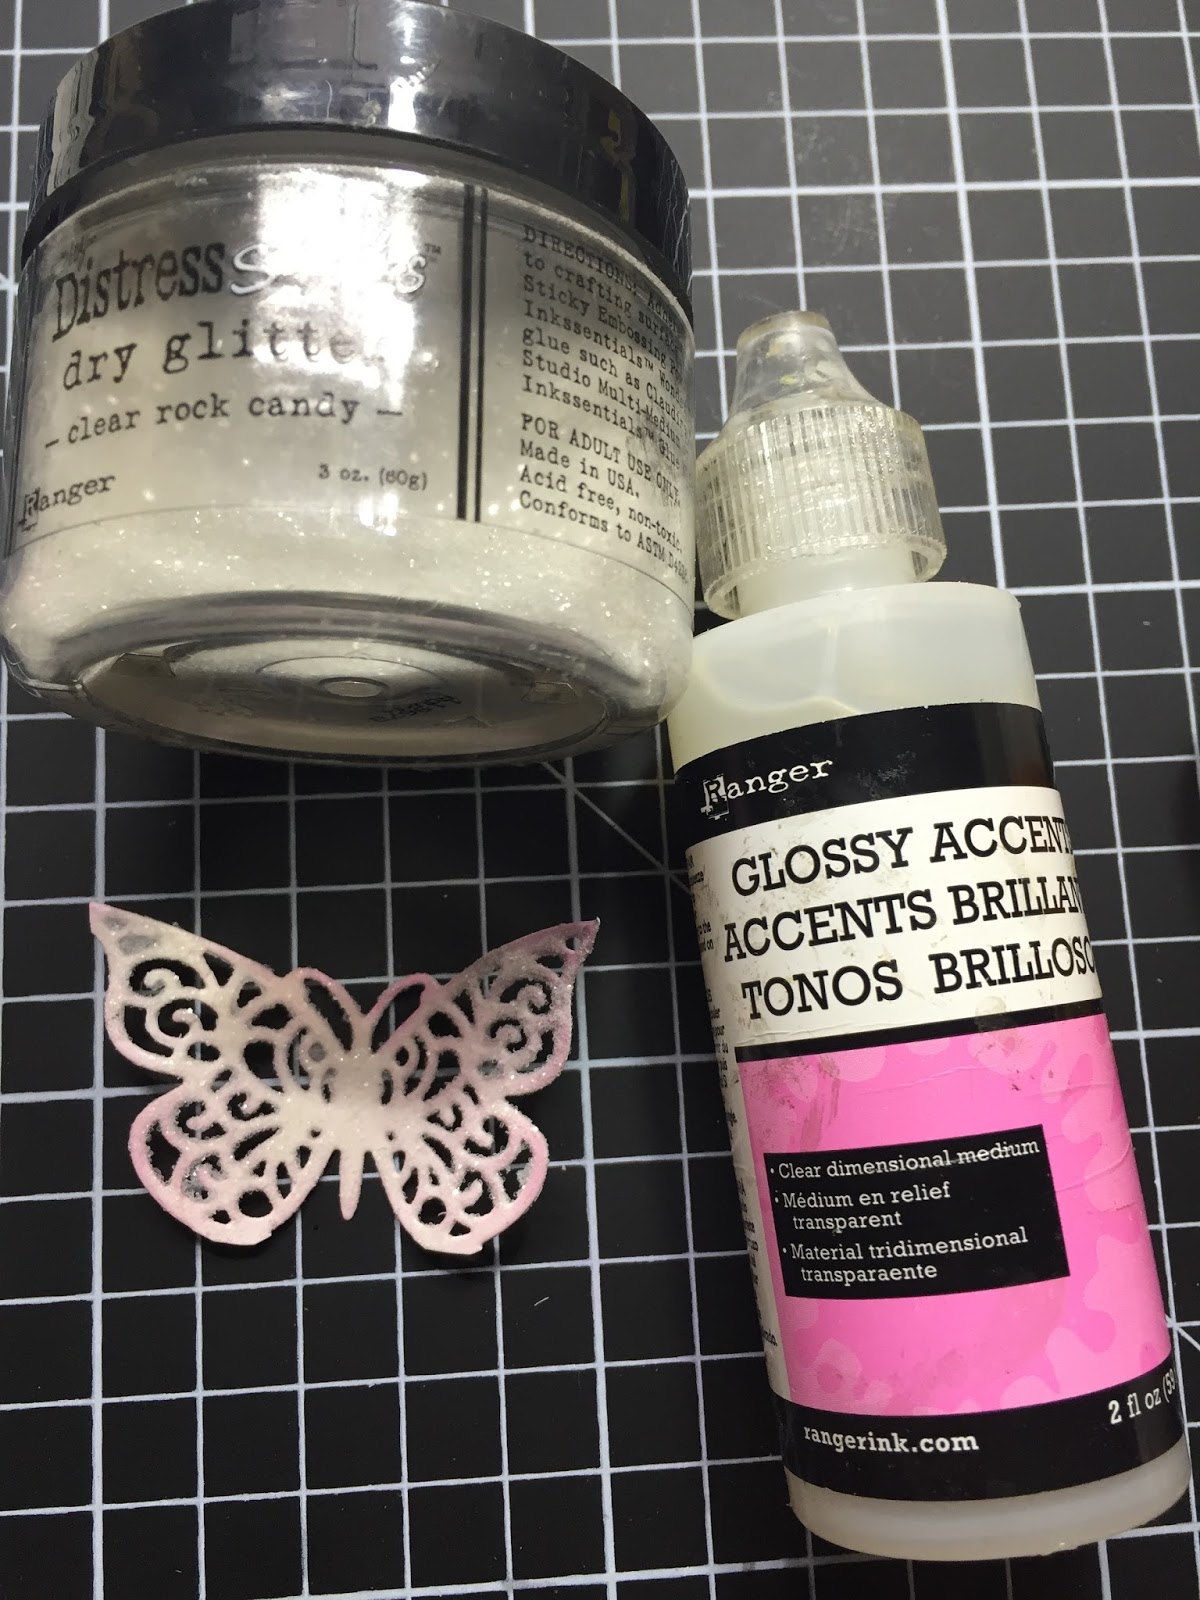
 For the large circle #5 on the sketch, I used the CottageCutz stitched circle die and the Basic Circle die. My greeting is stamped on this layer. For the smaller circles on this layer, I used the Hello Spring die and cut the flower images as well as the hello word. The hello word I cut 3x for dimension and glued together with multi-matte medium from Ranger.
 
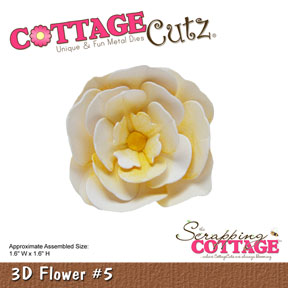
 They were just the perfect size for my card. Its a 3 piece die- the scallop layer, the flower and then the center. I sponged red ink on the scallop to darken it up just a bit. There is a slight contrast in colors. And, for the center I used black cardstock.
 
For the circle #6 on the sketch I used the "garden friends" die and just cut out the ladybug. I cut it out twice. Once in red and then again in black. I used the die inlay technique with the black pieces filling in the red. It makes it stand out on your card nicely.


That's my card for this week.  Thanks for sticking with me to the end.
 
 
 Here is the giveaway info I mentioned at the beginning of the post. How would you like to win all the cardstock pieces to re-create the card I have shown today?  All you will need is some glue and your own stamp for the sentiment. I cut out an extra set of everything I used today and would like to give it away.
 
 Leave me a comment on your ideas for using the "Garden Friends" stamp set besides what I have shown you today. I will select one lucky comment and get it out to you in the mail. You will have until Saturday to submit your ideas.
 
So until next time.........inky hugs!!!
 
http://www.scrappingcottage.com/cottagecutzgardenfriends.aspx
http://www.scrappingcottage.com/cottagecutzhellospring.aspx
http://www.scrappingcottage.com/search.aspx?find=circle+basics
http://www.scrappingcottage.com/cottagecutzstitchedcirclesetbasics.aspx


Sunday, May 29, 2016

Wedding card

Hello friends!
Yuliya here. Today I share with you my new wedding card. I will be sharing how to make this card using the CottageCutz 3 D Flower dies! 


For the card we need:
- ivory card base: 17 cm х 24 cm, folded
CottageCutz Plumeria & Leaves (4x4)
- CottageCutz 3D Flower 1
- CottageCutz Stitched Wide Oval Frame Set (Basics)
CottageCutz Expressions Congratulations

1. Prepare the details for our card: 1 pc ivory card base: 17 cm х 24 cm, folded, 1 pc patterned paper 16,7 cm х 11,7 cm and 1 pc patterned paper 10,5 cm х 15,5 cm
2. With  CottageCutz Stitched Wide Oval Frame Set (Basics) cut the frame out with patterned paper
3. Glued the die-cuts as it is shown on the picture with help glue tape

4. Cut out many pieces from CottageCutz 3D Flower 1 die on patterned paper
Cut out many pieces from CottageCutz Plumeria & Leaves (4x4)
5. I used my special tool to curl the edges to get the fibers lose.
6. Add the Expression  from the CottageCutz Expressions Congratulations

 So! I love my card!)
Have fun and thank you!
Before I go, I just want to remind you on our second CottageCutz challenge with theme Hello Spring. Link button can be found here!


Saturday, May 28, 2016

Hello

Hello everyone,

It's Donna here with another clean and simple card to share with you! I am using the new release "Bird on a Wire" and "Hello Spring" die sets.  These stamps are so adorable, there are so many possiblities. The "Hello Spring" die set has three different flowers and a cute little chick and the "Hello" word that I used on my card.  Please stop by the store and check out the new releases for May, they all beautiful dies!


closer view of the birds

Here is how I put my card together.  I die cut the birds, then I die cut some black foam so when I put the birds on my card it would have some dimension.


I used my Koi watercolors to make the watercolor background.  I love the bright colors.


For the frame around the birds, I cut the frame from the largest rectangle die and then I put foam tape around it, so the birds would sit under the frame.


Also, if you have not had a chance to play along with the newest challenge you still have time. The theme is Spring and you have until May 31st to enter. Get all the details here.

Thank you so much for stopping by, please come back again soon.

Dies used for this project:


\


Floral Tag with Anita Kejriwal

Hello friends !!!

Happy Saturday!! I am really amazed to see how time flies. It's the last week of the month and almost half the year is gone. Sometimes, I want to hold on to time and go on creating the best of my projects. But as it's said that we must go on doing our work, I too forget everything when it comes to crafting !!! How many hours do you craft everyday ? Just a question !!!! I try to spend every waking minute in my craft room.

So let me show you what I have for you today. By now, everyone knows about my passion for flower making . With so many beautiful 3D flower dies from CottageCutz, I want to give shape to a variety of flowers using these dies. I have made sweet roses this time using the CottageCutz 3D flower #5
along with the new release die from This and That Collection-Butterfly tag
Its all about gardens and spring.
So do have a look and follow the photo tutorial below to see how I made this tag.


 Dies used for making the tag

CottageCutz Butterfly tag
CottageCutz 3D flower # 5
CottageCutz greenery die


I have cut all the die cuts in white 160 gsm card stock


Distress the tags with Distress inks


Cut a corrugated piece which is 1/4 inch bigger than the tag on all sides and paint it black.

  
I added some design with stencils on one of the tag.

Cut out the butterfly from one of the tag that has no stencil design and apply Glossy Accents. Then sprinkle some glitter. Let it dry.

Add colours to flowers and leaves using  Distress inks.


To make the rose, choose 5 large flowers and cup on the opposite side.

Roll one petal like a cone and secure with adhesive.


Bring the rest of the petals together like this.


Add another layer bring the petals together.


Add all five layers as shown and curl the petals outwards with a tweezer,


The rose is ready.

Stick the two tags together with the butterfly one on top. Adhere the glitter butterfly on the tag below as shown. Arrange the flowers as shown. 


Do stop by the CottageCutz blog for the new challenge. /the theme is spring and you can win wonderful prizes.