Hello friends!
Yuliya here and today I share with you another project made with the CottageCutz dies. I make magic-box for the Newborn Girl

Let's see how it is made.
Supplies:
Cardstock for base box - 2 pc 12'' х 12''
White cardstock for cut - 1 pc A4
Patterned Paper: 4 pc 12'' х 12''
1. Prepare cardstock for base box - 12'' х 12''. Fold it at 4'' and 8" on both sides. Cut the folded lines as it is shown on the picture.

2. I make the cover for box. Prepare scrapbookpaper for cover 5,59'' х 5,59''
Fold it at 0,78'' on all sides. Cut the folded lines as it is shown on the picture.

3. I glued the cover

4. Let's decorate with papers!
Prepare the details for our Box - cut out 8 details from paper sheets:
10 pc - 3,75''
4 pc - 3,4''
10 pc - 3,75''
4 pc - 3,4''

5. I glue the paper

6. Inside too

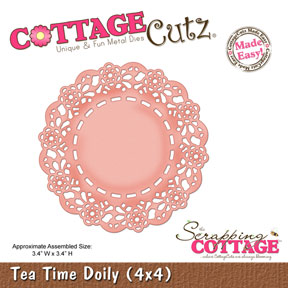
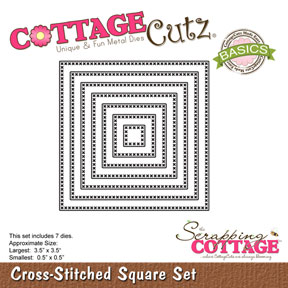
7. Prepare some die-cuts. I use CottageCutz Tea Time Doily (4x4) and CottageCutz Cross-Stitched Circle Set (Basics)

8. Glued the die-cuts as it is shown on the picture with help glue tape


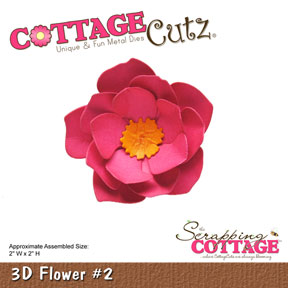
9. Here is how I put the flower together. The flower has 3 pieces. I die cut them out with paper.

10. After the flowers are die cut and inked

11. I used my special tool to curl the edges to get the fibers lose.

12. Here is the finished flowers.

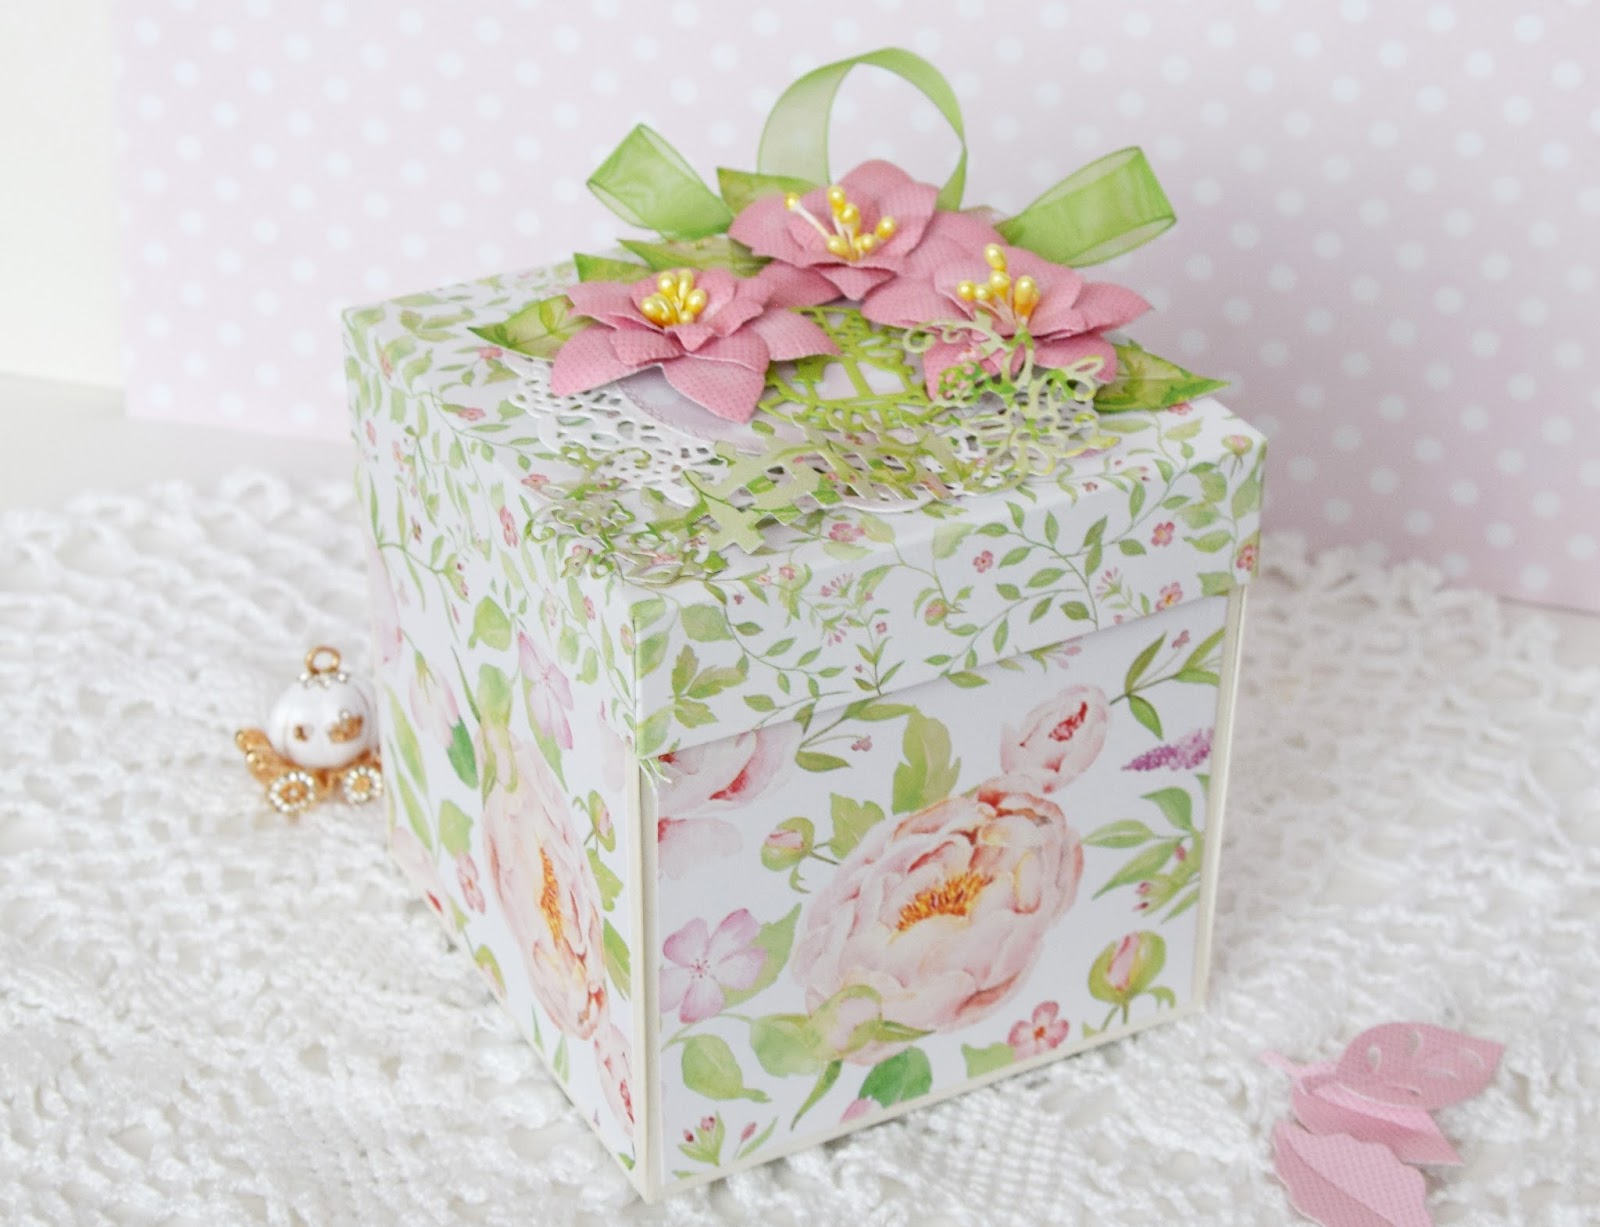
13. Our Box is ready


So cute, isn't it?)

Finally adding some crystals!))

I hope you enjoy the tutorial and will be happy to inspire you!
Also, did you know that we are having a challenge for our fans and followers to display the cards you have made with CottageCutz dies? There are prizes to be won as well.Click here for all the details. I hope you will join in on the fun!