Sunday, April 17, 2016

Thank You

Hello everyone,

It's Donna here and I am sharing with you one of the new release CottageCutz for April.  How do you like all the new "Flourish N Flowers" released this month.  You can see the whole release here. The design team have shared some awesome projects.  I'm sharing another clean and simple card.


Closer look at the card.


Here is how I put my card together:

I used the Stick It by Ken Oliver to put on the back of my paper that I am going to die cut.  This paper is great to use with intricate dies so that you will have adhesive on the back of your die.  I like using this, because when I use glue it can be messy.  I cut the pieces to the size I want and take the film off of one side of the adhesive.  I then die cut my die and then it is already to adhere to my card.


I sponged the ink onto my cut pieces to make my background.


Here are my pieces already for me to die cut my CottageCutz dies. I also used some gold shimmer spritz onto the sponged background and the card base to give it some dimension.  After I cut my dies, I adhered them to the Stitched Rounded Rectange die piece and adhered this to my card base and added some sequins.


I told you it was clean and simple.  Don't forget to join the CottageCutz challenge...click here for all the details.  Please come back and see us again soon!

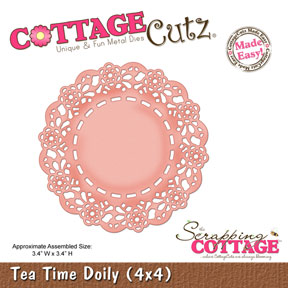
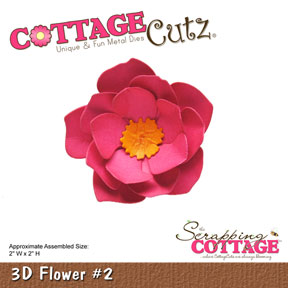
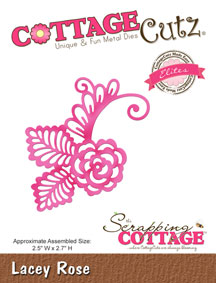
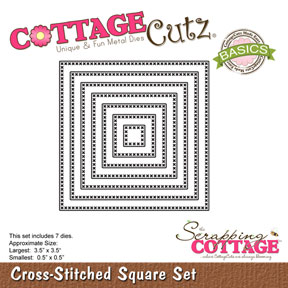
List of dies used for this project:


Saturday, April 16, 2016

3D fLOWERS WITH COTTAGECUTZ

Hello friends,

I am back again with a new project using the CottageCutz dies. I love the new release dies especially the 3D flower dies. One can create such beautiful blooms with them.
Here I have made a double fold card where I have used many CottageCutz  dies to create a lovely floral arrangement . I have also done a video tutorial on how to create the flowers along with a photo tutorial on how to make the base of the card.
Do have a look at this card. The flowers and leaves look so fresh and beautiful. It is very easy to make these flowers and they actually look very realistic.


                                 Here is the video tutorial showing how to make the flowers.


                           Here is the photo tutorial showing how to make the base of the card.

 Cut the base of  the black card stock 12 inches by 6 inches and score at 6 inches and 9 inches on the 12 inch side.

                                             
                                                Fold the card along the score lines as shown.


Adhere the first mat layer using white card stock measuring 2.75 inches by 5.75 inches for the first front and back panel. For the inside panel, use the mat layer measuring 5.5 inches by 5.5 inches. Add ribbon measuring 25 inches  as shown here.


Adhere the pattern paper to the mat layer. The narrow panel measures 2.5 inches by 5.5 inches and the inside layer of pattern paper measures 5.5 inches by 5.5 inches.


Make the center panel by using the CottageCutz Cross stitched square die set . Make it 3D by using foam tape and mount it on black card stock measuring 3.75 inches by 3.75 inches. Stamp a sentiment.


 Cut the CottageCutz tea time doily in half and adhere on to the card as shown.


                                                     Repeat on the inside with same panel


This is how the base should look.


The Final card


Friday, April 15, 2016

Decorated Nautical Frames

Before I start with today´s project I would like to tell, that I'm very sorry that I had to remove some of your projects from our first challenge. Namely some linked projects didn't use only CottageCutz dies (which is the only restriction our Challenge has). You are more than welcome to participate at our challenge, but please, use only CottageCutz dies and not any other dies. Thank you. You still have time to participate till the end of the month. Your project can be linked at the end of this post.

We all collect many photos from our vacations and what do you think about custom frames for such photos? Or to frame the quotes you like. I will show you how to change two ordinary wooden frames into these two:


Supplies:

Two wooden frames for photos size of 4 x 6 inches
Cardstock: White Cardstock for die cuts
CottageCutz Dies: Listed Below
Distress Ink: Brushed Corduroy, Gathered Twigs, Weathere Wood, Rusty Hinge, Fossilized Amber, Hickory Smoked 
Embossing Powder: gold and Distress Vintage Photo, white and grey watercolor paint from a tube or white acrylic paint
Other: Scissors, Paper trimmer, Sizzix machine, VersaMark stamp pad


1. Let's start with first frame. Color the surface with brush and white paint first. Let it dry.


2. Now color the surface gently with grey paint. Apply small amount of color on your brush and be gentle by applying the color otherwise grey will totally cover the white paint.


3. Take the second frame and Gathered Twigs or any other brown distress ink or dye ink ink pad. Apply the color directly with the ink pad on the frame as shown on the photo.


4. With the Anchor and  Maps and Spyglass die cut the Anchor, Map and Spyglass out with some white cardstock. 
5. Apply Versamark stamp pad on the whole surface of the Anchor and  Spyglass die cut pieces and embossed all these pieces with gold embossing powder.


6. Apply Versamark stamp pad, but this time just on some spots:


7. Now embossed all pieces again with Distress Vintage Photo embossing powder.


8. You will get rusted look, because after powder will melt, it will mix up with golden powder.


9. Now cut out all other pieces out of white cardstock. I used following dies: Lantern, Crab and Paddles and Rope Ladder. Rope was colored gently with Weathered Wood distress ink. All orange pieces were colored with Rusty Hinge and Fossilized Amber distress ink. Pedals were colored red and the Lantern were colored with Hickory Smoke and Brushed Corduroy distress ink. Also map was partly colored with Brushed Corduroy and partly with blue distress ink

10. Glue all pieces on both frames.


Now all you have to do is to design some quotes in Word and print them or frame photo from your vacation.

I hope this inspires you to decorate your own frame which you don't like or you just want to give them special look.

Have fun creating!

Thursday, April 14, 2016

Best Wishes

Hello everyone,

It's Donna here with with another card to share with you.  The floral leaves are a new release for April which is called Leafy Swirls.  I just love them, there are so many possibilities for these. The flower is a large 3D flower.  This flower can also be made in many different ways.  I finished off the card with the Best Wishes sentiment.  My card can be for a wedding, graduation or someone leaving for a new job.


Here is a closer look at the flower....


 Here is how I made my card:
  • Card Base: 8 1/2" x 5 1/2" and scored at 4 1/4" to make an A2 card (4 1/4" x 5 1/2")
  • The black layer is 4 1/8" x 5 3/8"
  • The woodgrain pattern paper is 4" x 2 1/4" and the floral is 4" x 2 1/4" 
  • I added the ribbon and flower and 
  • finished my card by adding some clear drops.

Here is how I put the flower together:

The flower has 6 pieces, and measures 2.2W x 2.2H.  I die cut them out with paper.


After the flowers are die cut and inked, I used my bone folder to curl the edges to get the fibers lose.


After the flowers are curled, I started to assemble the flower.  I used a small brad to hold the flowers.  I started putting the smallest pedal on first and then go to the largest.


Here is the finished flower.  I used a wink of stella clear to add some shimmer to the flower.


This is it for today, I hope I have inspired you to try out some of the 3D flowers.  Also, did you know that we are having a challenge for our fans and followers to display the cards you have made with CottageCutz dies? There are prizes to be won as well.Click here for all the details.  I hope you will join in on the fun!

Here are the dies I used: