Hello Friends
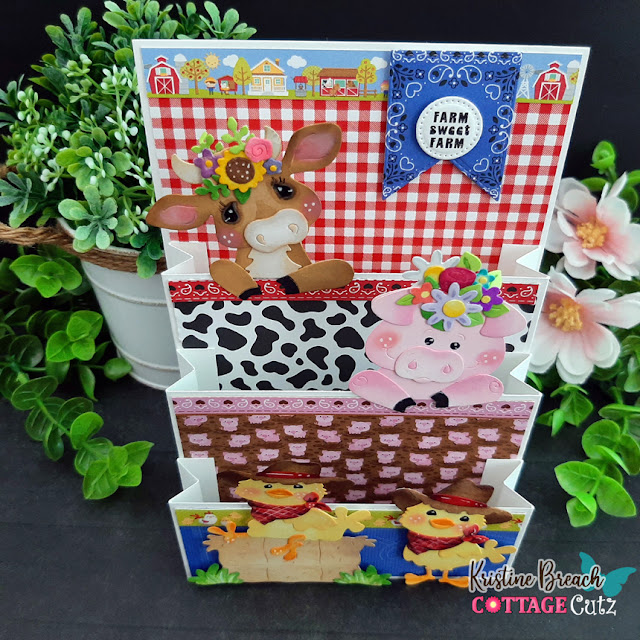
I have a cute card today that I call the Mini Story Book fold. I was inspired by a YouTube video by Karen Titus who demonstrated this fold. I decided to use some cute jungle animals from the Safari Collections to create my fancy fold card. This fun design will probably go to my great niece or nephew! I am featuring two dies Safari Adventure Gang and Safari Phrases.
Background Photo by Freepiks
Designer Steps:
1. Using the Safari Adventure Gang die cut out the animals and leaves using the following color: two shades of green, black, mustard yellow, dark brown, tan, light and dark gray, rust, and light blue. Using the Safari Phrases die cut out the Go Wild and Adventure awaits in black2. Assemble the animals with a fine tip glue
3. Using the largest Pierced Wide Circle Frame die cut out nine circles. Glue 3 circle frames together so you will have a sturdier thicker frame
4. Cut out some cream colored circles to fit behind the frame. And before gluing them to the back of the frame stencil on some light blue clouds
5. After stenciling glue to the back of the circle frame
6. Assemble the three frames as shown above
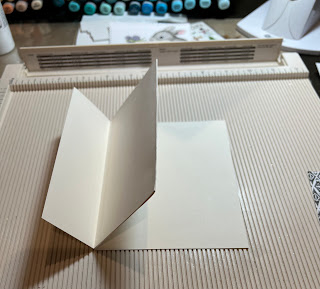
7. To create the base start with a piece of cream card stock 12 x 5 1/2. Score at 1 3/4, 4 3/4 and 7 3/4. Fold valley first score line, mountain next score line and finally a valley fold on the last
8. Flip the card over and place glue on the side right next to the smallest flap and close the fold
9. Your card should look like this after you glue. You will have 3 flaps
10. Cut 1 piece of DP 4 1/8 x 5 3/8, 2 pieces of DP 2 7/8 x 5 3/8 and 2 piece of DP 1 5/8 x 5 3/8
11. Glue the DP pieces to your card base and then add your circles and a few extra leaves
We have more inspiration on our YouTube Channel check it out HERE


