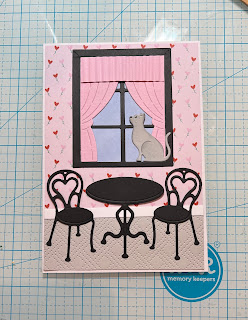
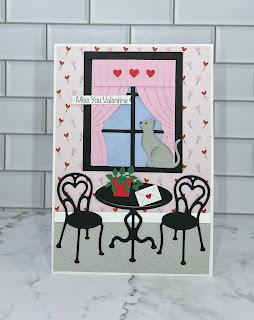
Kris here, sharing with you a 'new to me' fun fold card design called a Pop Out Gatefold Card. I've mostly seen this style where the top and bottom center sections are folded to the front but here's a version where they fold backwards so the center panel takes center stage.
I used the Lovebug Bee die along with the Stitched Hearts set and the Fancy Heart.
Back of card
CREATING THE BASE:
Grey lines = score
Pink lines = cut
I started with a white card base cut at 5-1/2" x 8-1/2". With the 8-1/2" side at top in my paper trimmer, I scored at 2-1/8" and 6-3/8" all the way down. Keeping the long side at top, I also scored at 4-1/4" just down to the 1" mark, and from 4-1/2" to 5-1/2" .
Next, I turned my cardstock so short side is at top and I lined up right edge at 1" and cut between the two full score lines (so from 2'1/8" to 6-3/8"). Repeated on opposite side as shown below.
With long edge at top, I scored just between the two cut lines at 2-7/8" and 5-5/8".
Time to fold and burnish. All score lines are mountain folds except the two short scores in middle at 4'1/4" - those are valley folds.
View from the top:
CUTTING DECORATIVE PANELS:
The papers I used are from the Bee Mine DSP from Stampin' Up!
Petal Pink Matting Layers:
(2) 2" x 5-3/8"
(4) 2" x 7/8"
Bees n Flowers print:
(2) 1-7/8" x 5-1/4"
(4) 1-7/8" x 3/4"
Honeycomb Pattern:
(2) 5/8" x 3-3/8"
Sweet Sorbet Matting Layers:
(2) 5/8" x 3-3/8"
(1) 2-5/8" x 3-3/8"
Honeycomb Pattern:
(2) 1/2" x 3-1/4"
(1) 2-1/2" x 3-1/4"
DECORATE:


.png)


