Happy Monday ~ Guest Designer Kris here with a Baseball card, featuring a POP UP inside! The new BASEBALL & GOLF RELEASE is so perfect for those masculine cards, and the individual dies from this release are 30% off!
I wanted to make the front look like a baseball jersey, then when you open the card ~ SURPRISE! A pop up feature completes the sentiment ☺
...and here's the inside:
HOW I MADE IT:
1. I cut a piece of thick white cardstock at 4-1/4" x 11" - then scored at 5-1/2" for an A2 card base.
2. I cut a royal blue cardstock at 5-3/8" x 4"
3. I cut a blue/white/grey pinstriped card (from an old Paper Pumpkin kit) at 5-1/4" x 3-3/4"
4. I then measured to find the center of that pinstriped card and placed a mark along the top. I then placed the corner of the largest die from the Nested Rectangles Slimline dies (but you could easily use the squares, rounded rectangles etc.) onto the top of the card as shown below. I counted the stripes so I had equal stripes on each side of the die to cut a "V".
5. On my blue cardstock, I measured in 2" and placed a pencil mark along the top. Then I placed it behind the pinstriped layer to get an idea of what size circle die to use.
6. I cut a half circle using the 3rd smallest (from smallest to largest) Pierced Circles Set to cut an almost half circle from the top of the blue cardstock, using that pencil mark as a center guide.
7. I later decided I didn't like how large the shirt opening was, so I used the 2nd smallest circle die to cut an even amount from the blue piece that was cut out from the 1st cut. Then I inserted that smaller piece so it nested just above the rounded blue cardstock and Voila!! It totally looks like a t-shirt hem with those pierced marks from the die! ♥ it!!
8. I attached the blue rectangle layer to the very top edge of my card base (centered) and glued in the shirt hem. Then attached the pinstripe layer on top, aligning at the very top edge of card as well.
9. Next, I cut a strip of my pinstriped card (with stripes going horizontal this time) AND a strip of the solid blue cardstock to 1/4" x 4". I then layered them so the blue is offset to the left a bit and attached them to the center of my card.
10. I die cut 5 (can do just 4) "buttons" which are parts of the wheels of the Ice Cream Truck die and glued them to the placket.
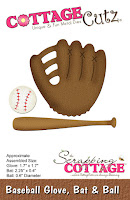
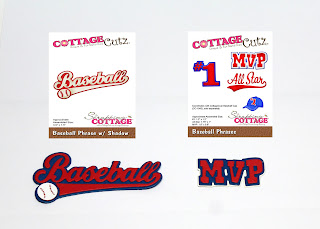
11. Next, I die cut my pieces for the front & inside using the Baseball, Baseball Glove, Bat & Ball, and Baseball Phrases and attached the following to the front of my card...
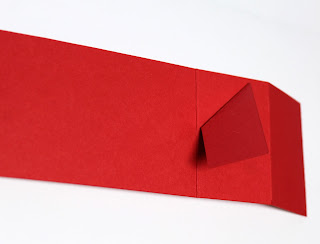
12. For the inside mechanism, I cut a piece of white cardstock that was 3/4" x 4" and scored at 1", 2", and 3" - fold and burnish.
13. I folded the 2 ends in so they meet in the middle. Added glued to the 2 end sections and attached to inside of card so that the spot where the ends meet in the middle goes right over the score line of card base.
14. And last but not least, I added glue JUST to the section of the mechanism closest to the base of card and attached my die cut elements! ☺
I hope you enjoyed my card today!
HAPPY CRAFTING!
~Kristine
PRODUCTS I USED:
See the WHOLE RELEASE HERE!


