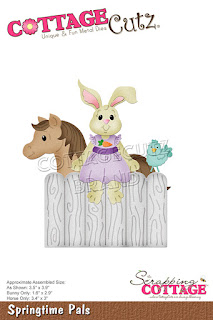
Happy Friday! It's Jeanne today with a card that is a bit complex but totally worth the effort! I used the Springtime Pals die but it will work with any dies where you want a foreground and background. Here is the outside of my card:
And the inside:
There are quite a few steps to this card, but the end result is totally worth it.
I cut the pieces from white cardstock and colored them using Distress Oxide inks and sponge daubers.
For the bunny's dress I used patterned paper edged with some purple ink to give it shadowing. I wanted it to have the same feel as the inked pieces.
Since this is a window card, I knew I needed back pieces for what would be shown through the window. I cut the bunny head, dress and fence from white cardstock. I toyed with the idea of coloring them too, but decided I really wanted them to be unobtrusive so I left them white. To get them totally flat I ran the cut pieces, placed between the cutting plates, through my die cutter. This flattens any edges or score lines a die cut piece may have.
I glued the white pieces to the back of the bunny and kept the fence for later.
The scene was stenciled on the card base and inside. I cut a card base 8 1/5 x 5 1/2 inches scored at the 4 1/4 inch mark and a panel for the inside 4 1/4 x 5 1/2 inches. I did not fold my card to make stenciling easier. The reason that I used a panel for the inside was so that I could get my stenciling to line up perfectly. I laid both panels side by side and used low tack tape to stick them to a craft mat. Then I used computer paper to mask off the back of the card base and the grass. The paper is
2 inches from the bottom.
After using a cloud stencil on the sky, I masked it off and created the grass by sponging and flicking ink on the grass area.
This is what the card and interior looked like after stenciling. Now it's time to cut the window and assemble.
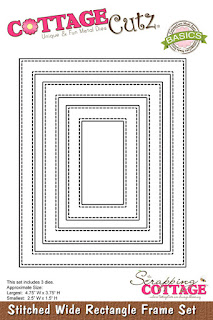
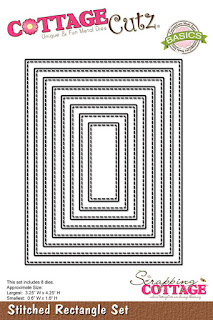
I cut a frame using the middle of the stitched rectangle frames, placed it 2 1/2 inches from the bottom and tacked it down with low tack tape after making sure it was even and centered.
I used a pencil to outline the inside of the frame and lightly mark the outside corners.
I used the 4th largest die from the stitched rectangles to cut the window. This die is between the inside and outside of the frame. I adhered the frame to the cut window using my light pencil marks as a guide then I erased them.
I used the tape to mark 1 3/8 inches from the bottom, making sure it was level, then glued my fence onto the card.
I glued my inside panel to the inside of the card base and added the horse.
I added him before the bunny so he would show nicely through the window (he is 1 1/2 inches from the bottom). I knew I could adjust where the bunny sat on the fence based on him.
For the inside window on the card base, I cut the white fence piece just deep enough to fit into the bottom of the window.
Then I added another white frame and the bunny on the outside of the card. She is stabilized in the window since her bottom is glued to the fence and her ears to the top of the outside frame.
My final steps were to add the sentiments and the bluebird and tulips (from Easter Egg Hunt die). I love how this card turned out. Now that I have made one, I'm not intimidated by this type of card. It really is quite simple - it just requires a bit of measuring and a little planning! I hope you give it a try!
Dies used:
Thanks for stopping by - I hope you have a fun and creative weekend!


