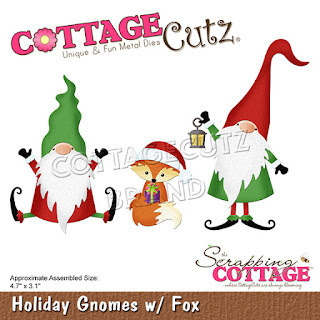
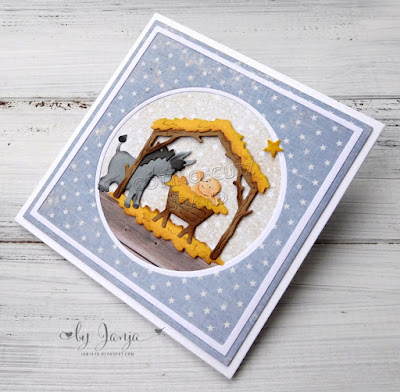
We have the new release of Christmas Part 2 in the online store and they are all in stock and available for delivery. There are 34 new designs in this release.
This release has something for everyone. So if you prefer a more religious tone to your cards- we have you covered. If you like a more whimsical design featuring Santa, reindeer, gnomes, moose or even a hot chocolate theme you will find some really cute dies.
Step 1: As I have said so many times before, having a layout in mind at the start of my card is always a big boost for me. It jump starts my creative thought process. I love working with the sketches that are out there in the online world. That way I just choose the colors and designer paper and I am good to go.
I had this sketch pinned to one of my Pinterest boards and I thought I could make it work with this moose image.
Tranquil Tide card Base: 4 1/4" x 5 1/2"
Designer Paper: 4 1/8" x 5 3/8"
Kraft Angled Rectangle: 3rd largest Cross Stitched Rectangle die
Kraft Designer Paper Square: 3rd largest Square Set die.
I cut the Moose and Pine Tree from cardstocks that matched or coordinated with the designer paper.
I decided to stamp some trees on the kraft rectangle panel, just for added interest. I used tranquil tide ink.
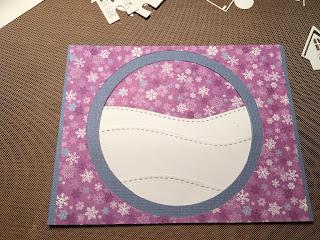
Step 2: My card elements are prepared and I am ready to start card assembly. I attached the panels with double sided tape. I used burlap ribbon for the long rectangle panel on the sketch. I thought it gave a more woodsy type look.
Next, I attached the trees to the square panel. I originally cut a small and large tree but that didn't work on the square, so I changed to 2 smaller trees. The moose is attached with dimensional adhesive.
I wanted to stamp a sentiment on the designer paper, but I wasn't sure if it would be prominent enough. Then I remembered the Noel banner from the Christmas Car & Trailer die. I used it and placed it across the pine trees. I like the touch of Christmas red that it added to my card.
To finish off my card I added 3 rhinestones and attached the image panel to the card base. And, that's it for me for this week. I hope I have given you an idea for a way to use this cute new die. See you next Saturday!
dies I used to create card:


