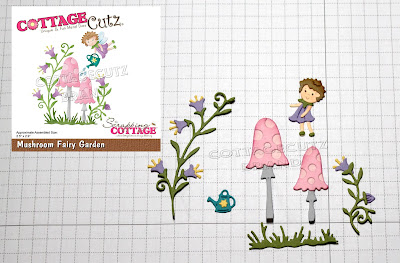
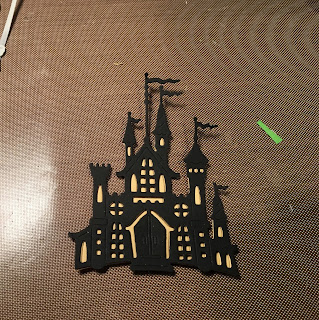
We have released the new Magical Garden dies. There are 14 new designs and they are currently on sale at 25% off.
If you love fairies, fairy gardens, gnomes and flowers, you will love these dies. We will have several group posts to jump start your creativity starting next Wednesday, June 19th through Saturday June 22nd. The DT has created some really cute cards showcasing these new dies so make sure you check back each day.
Today, I am featuring the new Mushroom Fairy Garden die. Let's get started with some details on how I created it.
Step 1: I cut the fairy and the mushroom garden first, using the colors on the packaging. I wanted those colors done first because I was going to sponge the background and I wanted colors that would complement each other.
For the background, I used tumbled glass, broken china, spun sugar and picked raspberry distress inks. When I was satisfied with the color intensity, I misted it lightly with water to get a more muted type look. Perfect for my fairy and her mushroom garden.
I wanted a frame around the scene so I used the largest of the Pierced Wide Rectangle Frame die and cut in white cardstock.
Step 2: I am ready to start card assembly. I attached the garden scene with multi-matte adhesive. I wanted the fairy to lifted slightly from the background so I attached her with dimensional adhesive.
I stamped the sentiment using a grape ink and my MISTI. I did need to ink & stamp twice this time. The MISTI is invaluable for that reason alone.
I die cut the "wish" word in a light purple cardstock. I used the coffee & cocoa warm wishes die. The word was the perfect size for this card and I simply trimmed off the "es". I cut it 3x to give it a bit more dimension.
To complete my card, I attached the image panel to the light purple (highland heather) cardstock. Scattered a few sequins and this card is finished. I hope I have given you some inspiration on a way to use this new die set. See you next Wednesday for the DT group posts.
dies I used to create card:


