Thursday, November 01, 2018

Fall Color


Good Morning Scrapping Friends!

Hello it is Pam creating on the blog with you today!

Thanksgiving is such a wonderful holiday.  It gives us time to stop and reflect on how blessed we are.  And after giving our thanks we get to enjoy a yummy meal with family and friends.

I am almost finished with my Thanksgiving cards but I could not resist making one more card with some gorgeous Fall Leaves on it.

Design Steps:
 1.  Cut all pieces out of white card stock using the Fall Leaves dies
 2.  Sponge the leaves with TH Distressed inks
 3.  After sponged take the leaves and coat them with Versa Mark ink.  After you coat them with ink dip them into clear embossing powder
 4.  Heat set the leaves with your heat gun.  The colors will really pop!
 5.  Use an A2 white card base, cut a slightly smaller piece of black card stock.  Then use a piece of DP and cut it slightly smaller then the black.  Glue the black and DP to the front of the white card base
 6. Cut a dove tail black banner 5 x 2 3/4 inch and then a slightly smaller piece of burlap to layer over the black

7.  Begin to layer the leaves onto the banner working from the bottom to the top.  Cut out the brown twigs using the Cardinal & Bird die tuck them into the leaves as shown.  Add the sentiment and button then your card is complete
CottageCutz Products


Let us all be extremely thankful for all that we have especially when we have time to create and have a little fun!

Blessings
Pam

Wednesday, October 31, 2018

Introducing A New Guest Designer

Hello Scrapping Cottage friends! Thanks for taking the time to stop and visit with us today. We have a new guest designer with us for November and December. Let me introduce to you Sukie Dhillon. Here is a brief bio that will give you some information about Sukie.

"My name is Sukie Dhillon and I was born and raised in Northern California.  The most important thing in my life is my family.  I'm a proud Mom to 2 wonderful children who are both away in college. I've been married to my biggest fan and supporter for 27 years.  When I'm not working, I take cover in my craft room.  Creativity is an escape from my busy life.  I love being crafty and am passionate about creating cards, tags and scrapbook pages.  Creating with vibrant and bright colors brings me so much happiness.  I love to embellish my creations.  It's the simple things in life that bring me joy and playing with dies and paper is one of those things"!

Today we thought we would give you a sneak peek of what's to come from our guest designer. Sukie is a talented scrapbooker. She has created a great layout today using some of the newest Autumn dies. CottageCutz dies are so perfect to use as embellishments and added accents to your layouts.  Her layout is featuring the Pumpkin Pie & Latte, Fall Phrases, Stitched Circle and Mail Tag dies.

Here are some other views of her layout.


Sukie will be posting her work each Wednesday in November and December. And, there will be details showing the steps of her work. Welcome Sukie. It's nice to have you as part of the CottageCutz team.
 
dies used to create layout:
http://www.scrappingcottage.com/cottagecutzfallphrases.aspx
 
http://www.scrappingcottage.com/cottagecutzpumpkinpieandlatte.aspx
 
 
http://www.scrappingcottage.com/cottagecutzmailtagset.aspx

http://www.scrappingcottage.com/cottagecutzstitchedcirclesetbasics.aspx


Tuesday, October 30, 2018

Husky with Christmas gifts

Hi, Janja is here!
As you probably already know, at the Scrapping Cottage blog this week is intended to present the Dakota Husky die. It's only available on their website.
Let me show you my card.


Supplies:
- CottageCutz dies: Dakota The Husky, Jolly Santa Claus (gifts), Snowy Tree
- white card base: 5,3 x 5,3" (13,5 x 13,5 cm), folded
- paterned paper: 4,5 x 4.5" (11,4 x 11,4 cm)
- white and colored card stock
- colored ink pads
- glue, double-sided adhesive tape, foam tape

First prepare a white card base, a stitched wide square frame and a hill. Cut the square from a patterned paper.


Cut out Dakota Husky, two gifts and snowy trees. 


Mark the inner part of the frame on the patterned paper with a pencil. Paste three snowy trees.
On the back side of the frame attach a hill and two snowy trees.
Fix the frame with a foam tape on the background. 


Finally, paste the Husky and gifts.


Happy Halloween! Have a lot of fun!  


Monday, October 29, 2018

Merry Christmas from Dakota

Hi, Lois here with my regular Monday post.  The Scrapping Cottage (CottageCutz) has a die in its new Christmas release that is available ONLY on their website.  It will not be available from any other outlets.  Called Dakota the Husky, some of the design team members will be featuring him on our cards this week.  He is really cute!


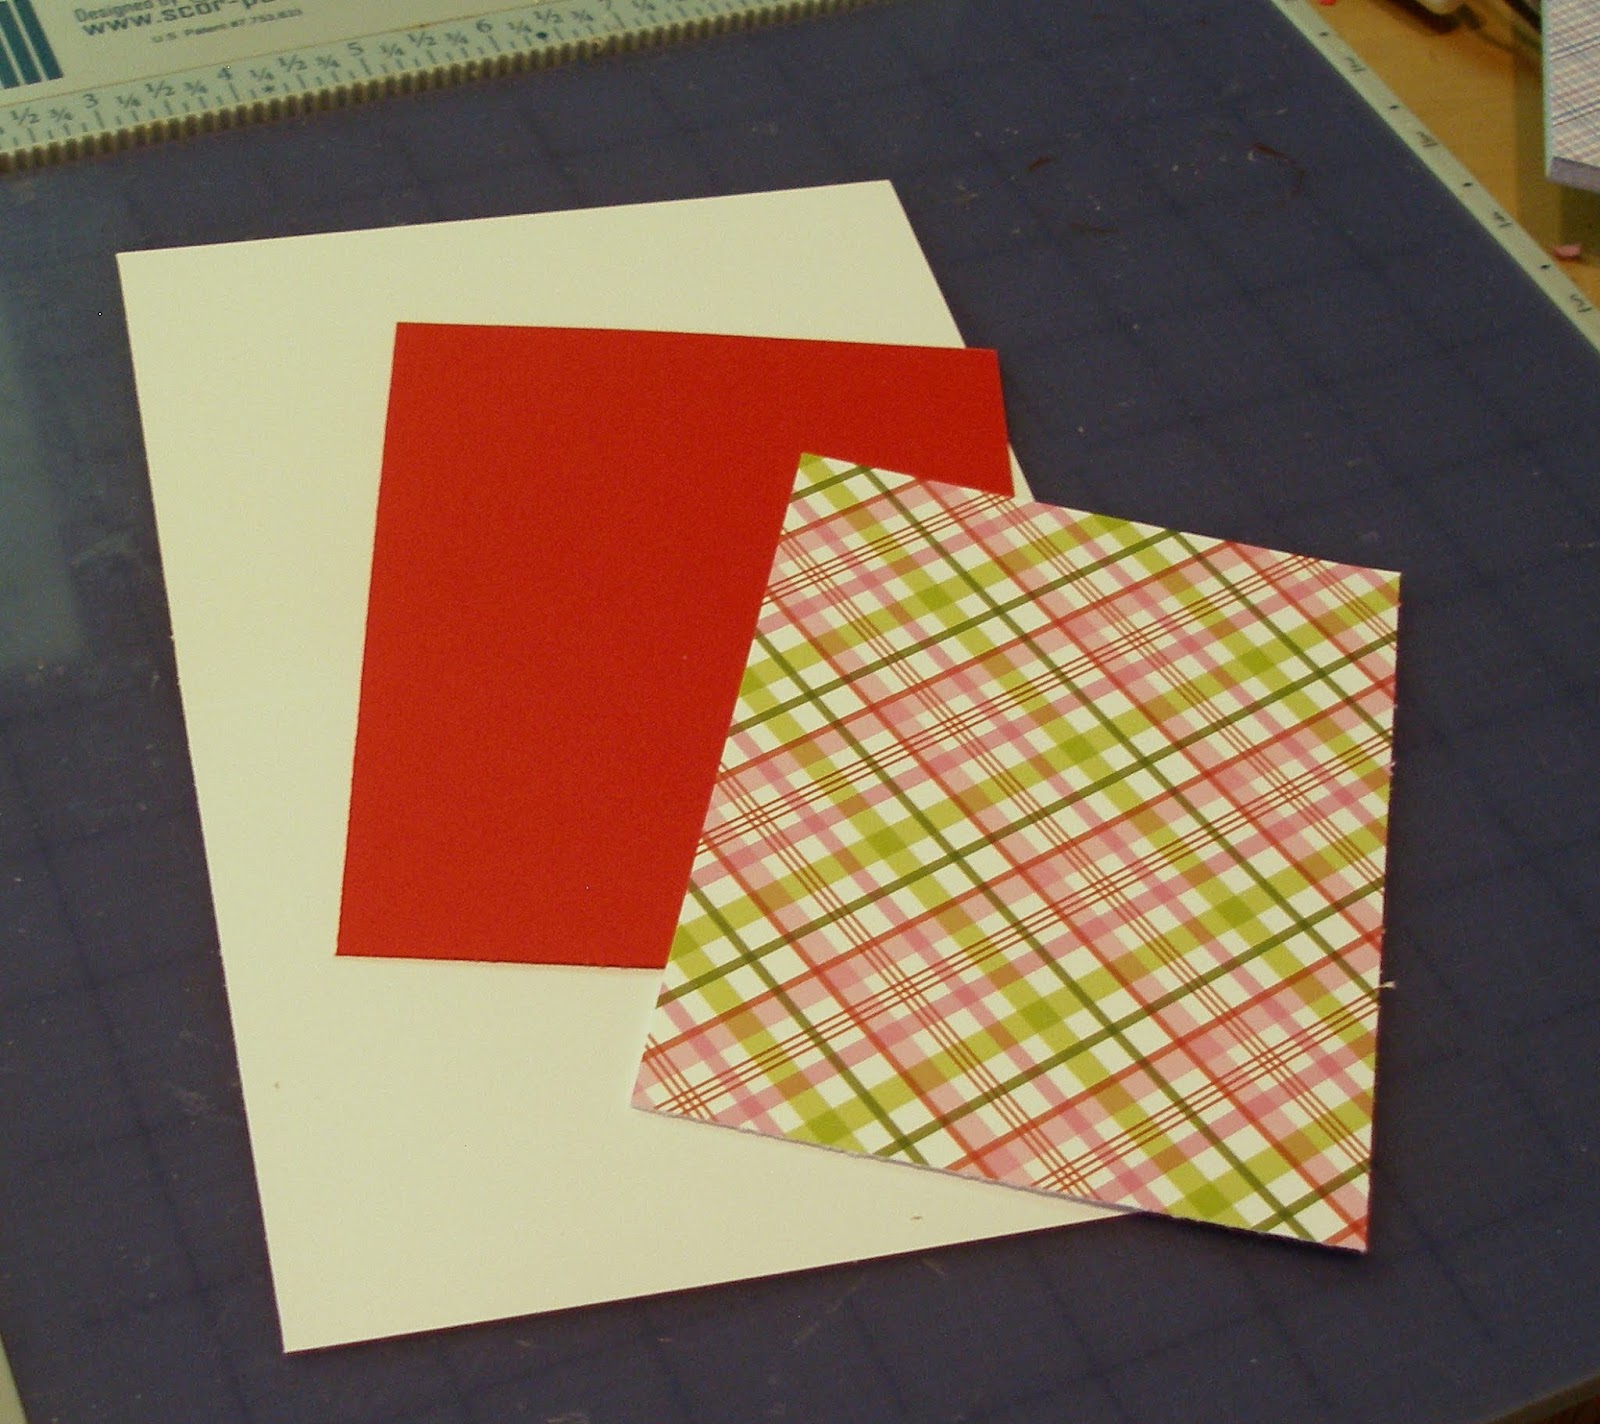
I used the version of Dakota wearing his Santa hat on my card -- along with some new Christmas plaid paper I just bought last week.


I started my card by cutting out the die pieces from white cardstock.


I then colored him with Copic markers and put him together.


My cardstock measurements are as follows:

White - 5 1/2" x 8 1/2", scored at 4 1/4"
Red - 5 1/4" x 4"
Plaid - 5 1/8" x 3 7/8"


I then cut three ovals using the Cross-Stitched Ovals set.  To save cardstock, the red oval was cut from the center of the 4" x 5 1/4" layering piece.  The plaid oval came from a scrap.


I constructed my card, layered the ovals together, and placed some adhesive foam circles on the back of the oval and Dakota . . .


. . . placing them on the front of the card.


Using a Merry Christmas phrase, I cut the sentiment from dark green cardstock.


After gluing the sentiment on the popped-up oval element, my card was complete.


CottageCutz dies used on my card are:

http://www.scrappingcottage.com/cottagecutzdakotathehuskyexclusive.aspx

http://www.scrappingcottage.com/cottagecutzcross-stitchedovalsetbasics.aspx

http://www.scrappingcottage.com/cottagecutzexpressionsmerrychristmas.aspx

Sunday, October 28, 2018

Chickens & Eggs

Hi!

This is Anja. I've made a different kind of project today. My mother has a coop full of chicken at her small farm. And sometimes she gives eggs to someone as a small gift. And that's how I got and idea for using one of the new dies. I decorated a box for eggs.


For this project I used:
- Cottage Cutz die (Chicken & Coop),
- Distress Inks (Barn Door, Fired Brick, Wild Honey, Aged Mahogany, Tea Dye, Pumice Stone, Vintage Photo, Walnut Stain, Black Soot),
- white card stock for die cuts,
- scissors,
- black pen,
- black brush pen,
- paper glue,
- corner punch.

First I cut and colored the chickens and the coop. I used black pen for the eyes.


Then I measured the paper for the box. I made two 2,5x8cm strips and one 7x8 cm rectangle. I rounded the corners with the punch. I colored the edges from lighter to darker colors.


Then I first decorated the box and then glued the chickens on top of it. I used brush marker to write the words.

And this is my finished egg box.


Have a nice Sunday and see you again next week.

Anja Z.


Cottage Cutz die I used: