Hello Scrapping Cottage friends! Thanks for taking the time to stop and visit today. It's Mary Marsh here bringing you the Wednesday edition of the Blog.
Today for your viewing pleasure, I am featuring dies from both the May "this & that" release & the June "home sweet home" release. I have also created a screen divider card and I will give you all the details on how you can create one as well. You can use your CottageCutz dies in a fun and creative way with this style card.
Card Base: 5 1/2" x 11"
Decorated Panels: 2 5/8" x 4 1/4"
Step 1: Score 5 1/2" x 11" cardstock at 2 3/4", 5 1/2", and 8-1/4" in the horizontal position.
Step 2: To create the Screen Divider fold, fold in half at 5 1/2" score then fold each side back in the opposite direction on the scored lines.
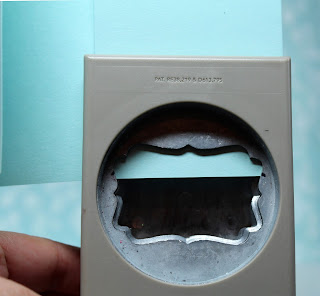
Step 4: To create "legs" at the bottom of the screen you can either use a punch or a die. For my card I used a punch. I worked with half of the card at a time. Keeping the two left panels folded, slide the bottom of those two panels into the punch (only 2 layers at a time will work). Position the cardstock about one-third of the way into the punch and center side to side, then punch.
Step 5: The screen divider is ready for decorating.
I started my 1st panel by sponging in some clouds with a light blue ink using a cloud template.
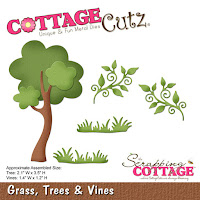
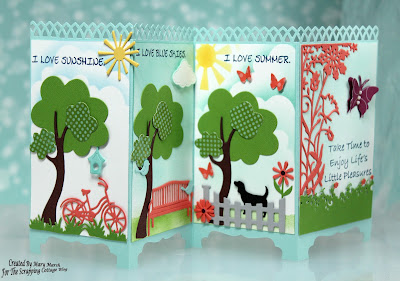
Die-cut the pieces for this panel using the grass, trees & vines, build-a-house accessories, spring stamps and fancy pocket plus dies. Bike is cut in a coral cardstock, tree in gumball green and matching patterned paper, birdhouse in pool party.
The next panel I used the same light blue ink to sponge the panel and a medium green for the grassy area. The dies are from the same sets listed above.
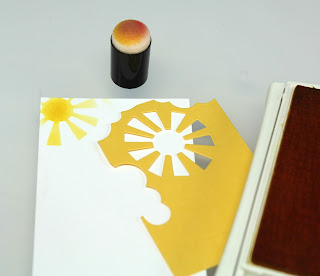
The 3rd panel is using the same dies listed above plus the garden accessories & hello spring dies. I cut a stencil from the clouds & sun die and sponged in the sun in the upper corner. I also added clouds and a grassy area. I wanted some small butterflies so I used a punch for those.
On the last panel I used the spring bloom corner and the bicycle in grass and the fancy pocket plus dies. I sponged the background in the light blue ink. My corner is cut in coral cardstock and the butterflies in a rich razzleberry cardstock.
I adhered the panels to the screen divider and to hold in place I used some light blue ribbon that matches the card base.
Here are some other close-up shots of the card panels.
And, that my friends is my card for this week. Thanks for sticking with me till the end of this post. I know it was a long one. Don't forget about our current challenge. This one is Greenery. Get more info here. So until next time......inky hugs.


