Saturday, November 18, 2023

Autumn friends Celebrate Thanksgiving

Hello CottageCutz friends! Thanks for taking the time to stop and visit with us today. It's Mary Marsh here bringing you the Saturday edition of the Blog.

It's new release time!!! We have our Christmas 2023 release in the online store that has 40 designs. It's an old-fashioned Christmas theme. You can pick up the individual dies at 30% off for a limited time.

We also have a new Fall 2023 release in the online store with 15 designs. You can also pick up these individual dies at 30% off for a limited time.

Today for your viewing pleasure, I am featuring the new Autumn Friends and the Fall Tree dies. I created a slimline Thanksgiving card for a family that has 2 young boys. I thought the whimsical style would be a perfect card for them. So, let's get started with some details of how I created my card. 

Design Steps:

I started my card this week with the colors. I used the colors from the Splitcoaststampers color challenge #974. We were to use poppy parade, crushed curry, pecan pie and crumb cake for the color combination. Optional was anything goes. I chose the addition of blue for this part. 
poppy parade, crushed curry, pecan pie, crumb cake 
I cut the Autumn Friends images in the challenge colors plus a few allowed neutrals. 

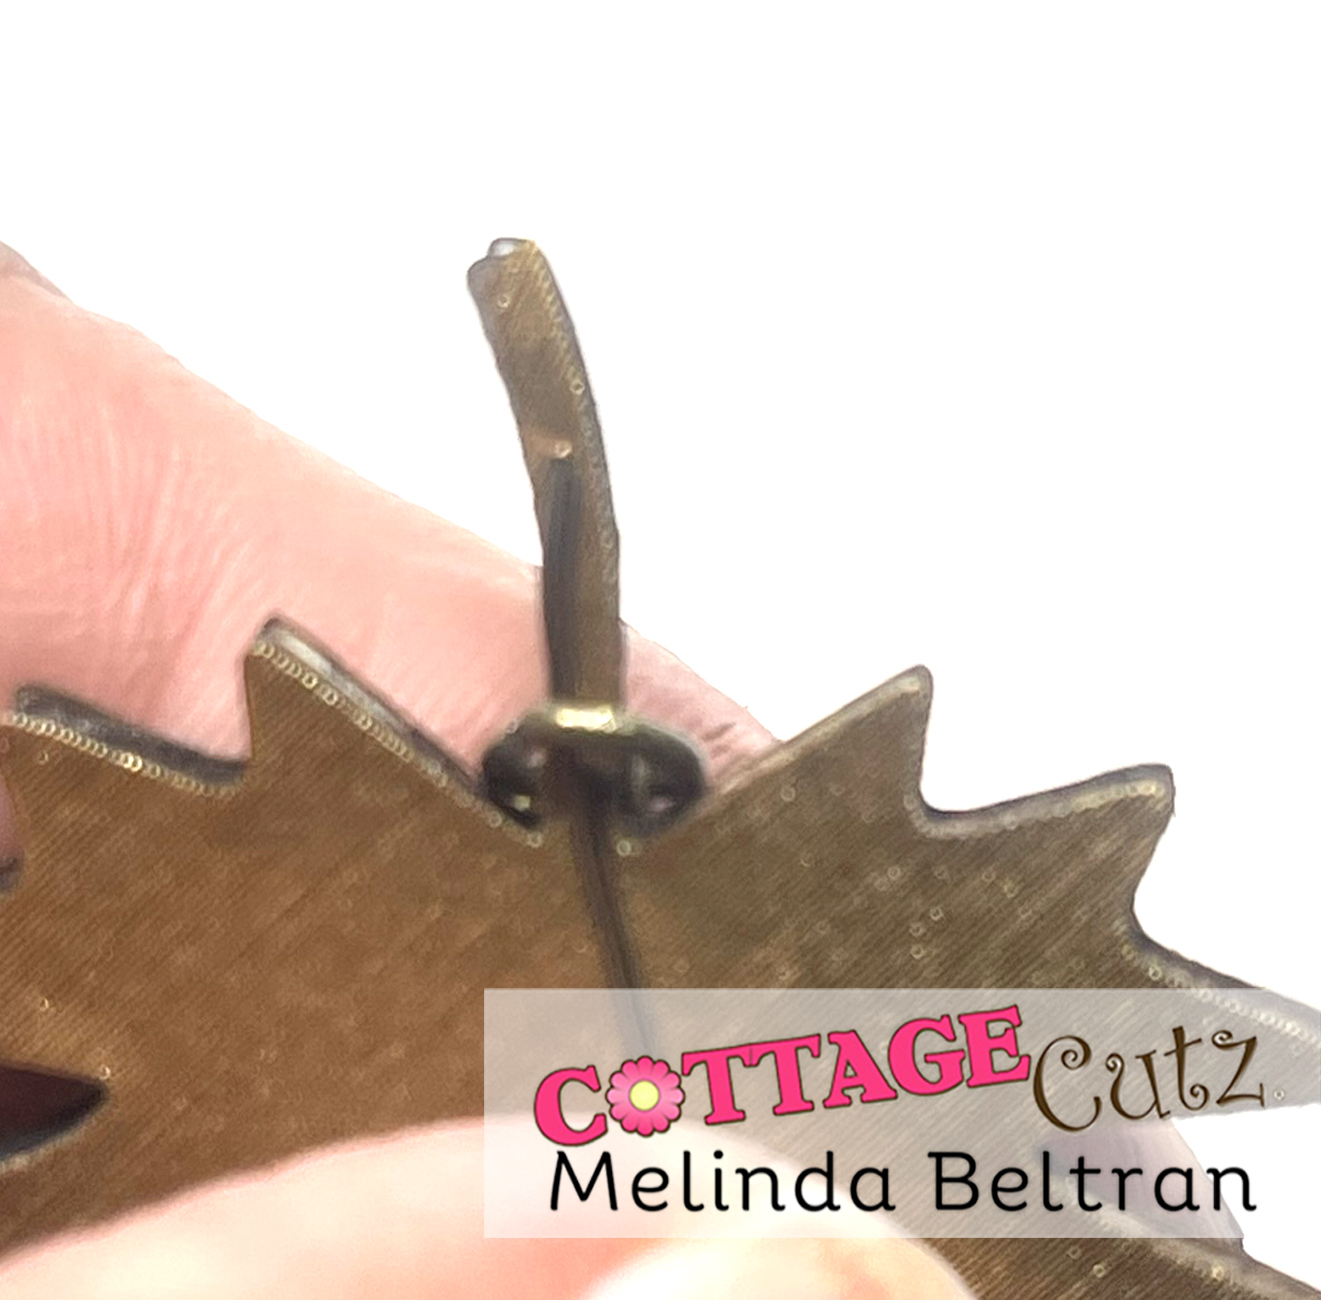
For the Fall Tree, I wanted the look of the trees we see in PA in the Fall season.  So, I cut in white cardstock and blended barn door and fossilized amber distress inks to get a beautiful Fall color. I colored the 3 leaves with the same inks. These inks are a match for the Stampin'Up colors. 
Next, I chose this pattern of designer paper for the card background. I liked the blue sky and the sun rays. It's from a pack called "heavenly skies" (Divinity Designs) and they are sized for a slimline card at 6" x 9".  
I cut a white card base 4" x 9" and the designer paper is also 4" x 9" to cover the white card front. 
 I attached the designer paper to the card base. And cut a slope in the crumb cake shade using the Hills Slimline die. They are both attached with double sided tape. 
I attached my images with clear drying glue except for the Bear & Owl. I used dimensional adhesive to have lifted slightly off the card base. 
To complete the card, I cut a couple of clouds using the Stitched Sun, Clouds & Umbrella die. I cut them from the leftover designer paper.  Stamped my Happy Thanksgiving sentiment and attached to the card base. 
That's it for me for this week. See you next Saturday. Happy Thanksgiving to all our American friends. 

Reminder: Marla has a new video and a giveaway on the CottageCutz YouTube channel. Click here.


Friday, November 17, 2023

Space Rocket Santa Slider

Happy Friday friends! 

Kris here, share with you a slimline slider card featuring the Santa Space Rocket die.  And just a li'l reminder that all of the individual dies in our Christmas 2023 Release are 30% off for a limited time!  


Pull the slider to reveal an embossed message from Santa


DESIGN STEPS:

• Start with a light teal top folding card base cut at 9" x 8" and scored in half at 4".  

• Cut a darker teal mat at 8-3/4" x 3-3/4" and adhere to card front. 

• Using the largest of the Pinking Sheer Edge Slimline dies, cut (1) from dark teal and another from a snowflake design paper.  

  --Die cut trees from the Mountains & Trees Slimline die towards the bottom of the teal layer.  (Save the top portion for another project).  Add Snow Writer (puffy snow) to the trees and set aside to dry. 

  -- From the Snowflake layer,  figure out where you want your slider channel to be and die cut the smallest of the Nested Rectangle Slimline set. (You could also use the smallest from the Rounded Rectangle Slimline set if you have that!)   Die cut the end of the die from the short edge in line with your long cut out section as shown below. 

• Cut from thick white cardstock a slider tab that is 3/4" x 8".  Cut the same from Snowflake pattern paper and adhere on top.  

  --I used a tab punch to cut the end of the tab *optional

• Cut a stabilizer piece from white c.s. at 2-3/4" x 1/2" and loosely wrap around the tab as shown.  

• Lay your snowflake patterned paper onto card front and stamp your sentiment in VersaMark in the window and heat emboss with white e.p. 


• On the back of your snowflake layer, place tab towards edge where the opening is and glue the stabilizer down between the open edge and the slimline opening.  Add 1/8" foam strips very close around the pull tab.  

 --I also angled the other end of my tab to follow the tail of my rocket so that part of the slider wasn't showing.  *optional.


• Remove tape backing and adhere to card front.


• Die cut Santa Space Rocket from white c.s., color and assemble. 


• Place rocket towards right edge of card and glue a dimensional or slider disc to the pull tab right under the middle of the rocket.


• Die cut Merry Christmas w/ Friends ... add color or shading... adhere to card front.  


DONE!


~Kristine

Thursday, November 16, 2023

Christmas Carolers


 Hello Friends 

Our new Christmas Release is available at a wonderful 30% off.  This collection has over 40 different dies.   It has everything you will need for your holiday paper crafting. Make sure to stop by the online store and check out all the fantastic new designs!

Today, I am using 3 of the new dies: CarolersVintage Gate and Vintage Lamp Post.   I am using a slimline card design to show off all these wonderful dies.


Design Steps:

1.  Using the Carolers die cut out the pieces in the following card stock colors: red, green, tan, brown, blue, black, flesh, and yellow gold.  For the Vintage Lamp Post die cut out the following colors of card stock: gray, yellow, green, red, white and yellow gold.  I used a copic marker on the faces to add a little more color and some blush.  Assemble the pieces with a fine tip glue.  Color in the eyes with a fine black marker and then a white dot with a Sakura Gelly Roll pen
2.  The base is a white 3 1/2 x 8 1/2 slimline.  Cut a piece of snowy DP 3 1/4 x 8 1/4, use the Hills Slimline die to cut the snow in white and finally cut the Vintage Gate in black

3.  Glue the DP blue snowy background to the white card base next add the gate and then the snow

4.  Glue the Vintage Lamps to either side of the gate as shown above
5.  Add the caroler and your sentiment and your card is complete


We have more inspiration on our YouTube Channel check it out HERE

Thanks so much for stopping by!  And I will see you next Thursday.

Blessings and Take Care


Tuesday, November 14, 2023

Fall Leaves Jewelry DIY

Happy Tuesday crafty friends,
Melinda here with you on this terrific Tuesday. Today I am sharing a fun project I created with one of the cute die cutz from the new fall Cottage Cutz release. Here is what I created.
I made this pretty jewelry set with the beautiful fall leaves die. It includes the gorgeous "skeleton" shapes (outlines) of the leaves. ere is how I made my set.


I started by cutting out my leaves several times on various colors. I wasn't sure which color was going to be my base colors. I ultimately landed on the black cardstock.

I went to work gluing all the layers together. I ultimately decided to use black as the base colors. 


I made one of the maples leaves and two of the, I will call them Oak leaves.

Here are the two Oak leaves layered and set aside to dry.


Once I finished gluing them all together, I needed to color the sides in.  I colored it all in black so that it would be cohesive. Here is a pic of one colored and one still not.

After combining all of the paper layers together, I set them aside to dry. I then took some of the Cricut Premium Vinyl in a Brushed texture. I chose the "copper" looking color. See photo above.

I then cut out some of the leaves with the brushed vinyl. They cut out very well. They did not cut through the backer paper which makes getting tghem seperated was pretty smooth.


Here is where I decided to use the outline with the veins image.

I then used the solid pieces and laid them onto the back pieces. You can see that the mirror image is not an exact match, but pretty close. If you really wanted to be spot on, you would just need to flip the vinyl with the top vinyl layer face down. You may have to use a shim to make sure you can cut all the way through including the backing paper.


Here is a view of the maple back. The flip side is pretty symetrical with the exception of the stem. It is going in the opposite direction. To remedy that, I simplty cut it and released it from the full leaf shape, you can just put it on the stem and position it to go the opposite way. The material is overall pliable.

After I finished layering and covering all three leaves, I set about to make the gem pieces. Here is a shot of the smaller dangles for the earrings.

Here are the gems for the maple. I made them and used a jump ring to wrap around the stemp.

Here is a shot of the back of the jump wring. It is simply wrapped around the stem.


Here is what it looks like with just the gem dangles around the jump ring.
Here is what the maple leaf looks like. To get the jump ring to stay and not fall off, I wrapped some wire around the stem and then made a simple loop at the top. This gave me a way to connect this to a necklace. By wrapping the stem, it also strengthens it.


Here are the finished earrings. I wrapped the wire and made a small loop. I then used some earring hooks to add the leaves to.


Here is one last look at my completed set. I think it turned out very pretty. I made a matching bracelet and think it all turned out super cute!

Dies Used
Fall Leaves


I hope you enjoyed this project. Please make sure and head over to CottageCutz.com and pick up some of these wonderful dies. They will not disappoint.

Well that about covers it for today. Be sure to come back by again.
Until the next time, have a wonderfully crafty day.
-Melinda