Happy Tuesday Cottage Cutz Friends!
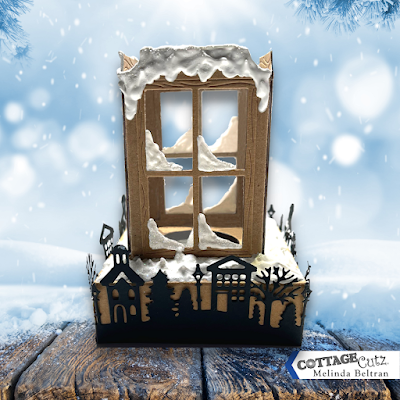
Melinda here with you, and today I am sharing a wintery luminaire I created with the Rustic Winter Window and Wintery Village dies from this years Christmas release. Here's a look at my finished project.
To create my luminaire, I used the window from the rustic winter window die.
I started by cutting out the window frame in Kraft cardstock 8 times. I sandwiched a piece of acetate between two of the frames. To attach the frames, I cut out four pieces of the same Kraft cardstock in .5 x 2.75 inches. I scored down the length at a .25" and folded them. I used these to attach the four panes together.
In this photo you can see I added glue just to the outer edge so that I can attach the next frame set. To make the four of them stand on the box base I created, I had to effectively use the frames "upside down" from the way they are presented on the finished die. However, I think it works that way just fine. ;-)
Next, I went to work figuring out my base. I settled on the following:
Cut a piece of Kraft cardstock 8.5" x 6"
Along the 8.5" length you will score at .5, 1.5, 4.5, and 5.5
Along the 6" length you will score at .5, 1.5, 4.5 and 5.5
You will cut off the areas "x" out in the photo above.
Then you will trim the rest according to the below photo.
Next you will want to find the center point on the right 3x3 square. I used a 1.5" circle punch to cut out a circle with the center point as close to the middle as I could "eye ball it".
Here's what it will look like with the hole. You will put glue on the tabs with the white lines as indicated in the photo below. You will then go ahead and assemble the box.
You will also want to put adhesive on the last two flaps to close it up. When it is completely assembled, it will look like the box below. I stuck a solar powered tea light candle in the center base.
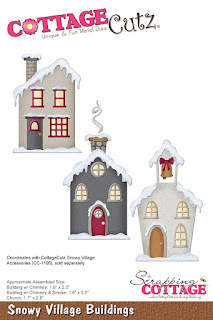
I then cut out the cute wintery village die cut in black cardstock 3 times. I wrapped it around the bottom edge and glued it to the base. Lastly, I added some puffy paint on the tops of the window frames as well as along the window sills. I also added some paint along the top of the base of the box. Here is a look at what it looks like in daylight without the tea light on.
Here is one last look at the completed project. This shot shows it on a slight angle so you can see how it sits. I think it turned our really good and you could make a bunch of these for a great wintery themed home décor piece. I will be adding it to my tiered tray with a wintery theme.
Dies I Used
Rustic Winter Window
Wintery Village
Here's a look at the entire release. Be sure to head over and grab them while they last!
Well that about covers it for today! Until the next time, have a wonderfully craft-die day!
Melinda Beltran






.jpg)


