It is Pam on the blog creating with you today.
Our New Release Magical Garden is just perfect for fun projects in the summer months. There are lots of wonderful whimsical dies and all of them just let your imagination go wild! They are 25% off in the store right now so please stop at the online store and take a peek. The card I am showing you today is made with the popular Bridge Fold. Hope you enjoy!
Designer Steps:
1. Cut all of the pieces using the Stone Fairy Door. I used white, green, gray and dark brown card stock plus DP for the door.2. Shade and color your pieces with your favorite inks and markers
3. Assemble the door and set aside
4. I colored all the little accessory pieces and then assemble them
5. Glue the mushrooms to the top of the door and the door is complete
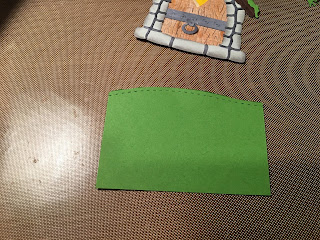
7. Cut (4) 1 x 4 strips and (1) 2 3/4 x 4 piece of DP then layer them on blue card stock just slightly bigger then the DP. Cut a green strip of green card stock 1 1/4 x 5 1/2. Cut the top of it to resemble a rolling hill.
8. Glue the strips to the scored white card base
9. Then fold the front flap on the left in and glue the grass to it. The right side fold is open and you glue the grass it it. The glue is only on the front left flap and last right flap
10. You should be able to stand the card up at this point
11. Cut another piece of green card stock 2 3/4 x 2 1/2 and cut the top to look like a rolling hill. Glue this piece to the bottom of the middle in the center of the card
12. Place dimension tape on the little door and pop it to the middle of the card as shown below
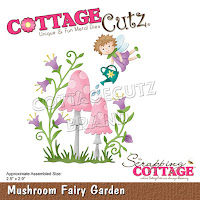
13. Using the Mushroom Fairy Garden die cut out 2 mushrooms in white and color with you markers
14. Add the extra large mushrooms and the mailbox to the small front flaps and then add your sentiment. Your card is finished
CottageCutz Products
Have a wonderful summer day and thanks for stopping by!
Blessings
Pam


