Friday, April 11, 2014

CottageCutz Spring Bunny w/Daffodil


Hello everyone and Happy Friday to all! Today I am sharing a super sweet CottageCutz die called Spring Bunny w/Daffodil, and the new CottageCutz Expressions Dies. LOVE these new words as they make crafting super simple!

For my Spring Bunny I cut him in white card stock and dusted him with distress inks. Next I colored the flower and greenery with copics. The Happy Easter was colored with blue copics, I think I should have added some glitter to it, but I had already glued them on :( 
The dp I used was some super old Easter paper I had and then the pink was American Crafts/Pebbles(Garden Party) Ribbon is Really Reasonable Ribbons blue Gingham. Super simple card to make as it took me under 30 minutes for this one.
Measures 6" x 6"


All CottageCutz photo's above are linked to the CottageCutz Store here.
Hope you all have a super wonderful weekend!
Hugs,
Cheryl

Wednesday, April 09, 2014

CottageCutz Spring Mini Album Page 5 & 6

Hello everyone, it's Carol with a project share.   Today is the final installment of the Cottage Cutz Spring Mini Album I created.  These are the last two pages.  This mini was created with the We R Memory Keepers Envelope punch board using this tutorial.  I actually love this style mini even though it is really different for me.  I didn't use any chunky layers.  I tried to keep it pretty flat.
This page features the cute Sweetheart Lovebirds, Fancy Floral Butterfly Border, and the Fancy Floral Corner #2.  The banner was created with a Martha Stewart Border punch.
 This opens up to reveal the inside which feature the sweet Spring Duckling die.  Isn't he darling?  Again the Martha Stewart Punch around the page was used for the frames.
For the last page the Fancy Floral Corner #1 was cut twice and overlapped to create the pocket to hold the tag.  The Garden Butterfly Vine was used to decorate the tag insert.  This completes the Spring Album.  If you would like to review the entire album, I have included the video I created.  Thanks so much for visiting me today.  I really appreciate it.  Happy Crafting....see you soon.
 Here are the dies used:

Tuesday, April 08, 2014

Basket full of Apples

Hi, all! Vladka here!
  Today I have basket full of apples for you. Such basket can be perfect gift for birthday or the way to say "Thank you" to someone.
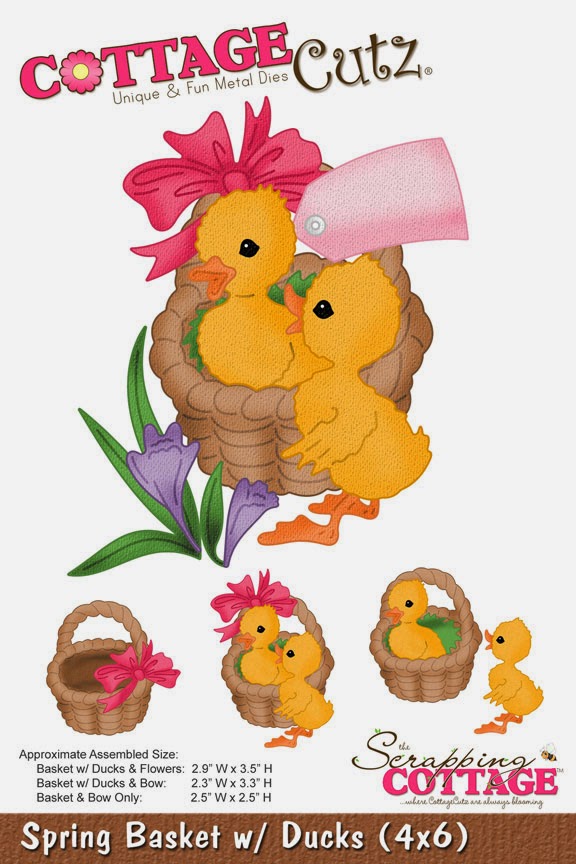
I combined different dies together. Basket was cut out from Spring Basket and Ducks die and filled with apples, created with Apples Mini die. I thought that some flowers will be cute additional touch, so I cut them out with Springtime Strawberries die. And a little romantic look is reached with "lace", created with Teacup Trio. And then I needed sentiment and this part was easy with new Expressions release.
  I also wanted to add something inside of the card. So I cut out Spring Tulip Vine and colored with red Distress Ink also the parts which normally will be thrown away. Also all other die cuts are colored with different Distress Inks.  
  I wish you all great day.
 

Sunday, April 06, 2014

Spring Bunny Love


Hello everyone and beautiful Sunday to you all!

Simona with you today again and here is a new post 
To make this card I used:

Take a look...


I cut the Sweetheart Border 4x out of white card stock and
used it all around on my card. I picked pastel green 
card stock for the base of the card. 


I cut the Spring Bunny Love die and the Grass Border
also out of white card stock and used the 
distress inks and distress markers to color the pieces.


I added the sentiment Some bunny loves you...
I thought it goes well with the Spring Bunny Love die.
and added the Garden Delight Butterfly.


Thank you for stopping by!

Hugs,

The dies used:


Thursday, April 03, 2014

Wedding Day card


Today I am sharing with you my Wedding Day card I created with beautiful CottageCutz Collections of dies.
 
  For my project I used new Expressions Wedding Day die and Fancy Floral Lace Border.
First, I cut sentiment using green card stock and glued on white panel. Then, I cut two borders out and glued on white sentiment panel. Next, I glued sentiment panel on base card and decorate with rhinestones.

For this project I used:

Have A Wonderful Week! Olena

Wednesday, April 02, 2014

Floral Thank You

Happy Wednesday!

Kathy here with you and today I have a decorated gift bag with a matching mini notecard and envelope to show you using lots of beautiful CottageCutz Dies!  Here's the complete set!


I found these little White Paper Sacks (1 lb. - 3.5"x 2" x 6.75") at Michaels that I thought would be cute decorated for a gift!  All I did was add the Springtime Floral Die cut in white and colored with chalk inks, a piece of Fancy Floral Lace Border cut in white and a bow with a pearl.  Here's a close up of the die cut on the bag.


I made a little notecard with white card stock that measures 2 3/8" square so it would fit in the Elegant Envelope.  I decorated the notecard with the Spring Label Die cut with white card stock and colored the same way as the bag.  I then added the Thank You Die cut with white card stock to the label.  Here's a close up of the notecard.


For the envelope, I cut the Elegant Envelope Die with white card stock and decorated it with the Flower w/Cutouts (flower) and Plumeria & Leaves (leaves) all colored with chalk inks.  I added some pearls and a little Diamond Stickles around the pearl in the flower center.  On the back flap of the envelope, I add a small piece cut from the Springtime Floral Die that I colored to match the other pieces.  Here's a little close up for you!


I LOVE this little envelope!  It's perfect for little notecards to go with gifts!

These are the dies I used on my project.