Showing posts with label double stitched rectangle set. Show all posts

Friday, December 01, 2017

Hope for Healing

Hi Cottage Cutz fans.  It's Jeanne posting today with a card of encouragement for those courageous women we know who are battling breast cancer.
I started this card by watercoloring a piece of 6 x 5 inch mixed media paper in three different shades of pink - Blushing Bride, Pink Pirouette and Primrose Petals.
I then cut it down to fit the front of an A2 size card base.
I used the second largest rectangle from the Double Stitched rectangle set to cut a white panel for the front and I used two shades of pink for the sentiment.
I found the two shades of pink made the ribbon stand out a bit more.

This card was also entered into this week's CAS Colours Sketches challenge blog sketch challenge.
Dies used:
http://www.scrappingcottage.com/cottagecutzhope.aspx
http://www.scrappingcottage.com/cottagecutzdouble-stitchedrectanglesetbasics.aspx

Thanks for visiting today. I hope you have a great weekend and find some time to be creative!


Tuesday, January 31, 2017

Flip Calendar - Part 1

Hi, Lois here today.  I was really excited when I saw that CottageCutz was making dies with coordinating stamps.  I've created a project that will cover my next three blog posts.  As you may or may not know, I love making 3-D projects as well as cards.  When I saw two of the dies from the CottageCutz Valentines 2017 release (Calendar Months and Calendar Icons), I immediately knew that I wanted to make a calendar of some sort.  My idea solidified itself after I saw the new stamp/die sets being released.  Here is a photo of my finished project.  My follow-up posts will explain how I made it.


Supplies for today’s post:
Cardstock – white, various colors based on choice of patterned paper
Patterned Paper – DCWV All Seasons 12” x 12” pack
Small monthly calendars or Excel spreadsheet software
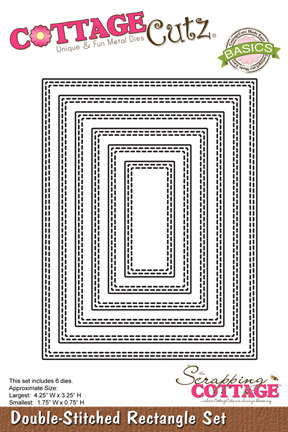
CottageCutz dies – Calendar Months, Calendar Icons, Double StitchedRectangles


To start my calendar, I die-cut the months of the year and the icons.  I cut the icons from white cardstock and colored them appropriately with markers.  In addition, I cut a white panel using the largest Double Stitched Rectangles die.


I created a calendar for each month using Excel, cut it out as well as the background cardstock and appropriate patterned paper for each month.  The color scheme of the patterned paper determined the color of the base cardstock.  The photo here is for the month of January.  Each page of the calendar was created in a similar manner.


After adhering the panels onto the blue background panel, I adhered it to a 5 ½” x 7 ¼” white panel.  Each calendar page is two-sided so that the final calendar has six panels (January/December, February/November, March/October, April/September, May/August, June/July).


In my next post, I'll show how I made the scenes on the individual months.

Dies used on today's post are:


Thursday, December 29, 2016

ENJOY YOUR GOOD LIFE


Hello dear friends !!!

It's Anita here!!!!

An end to a year !!! And what a year it has been for me !! Full of good memories , some moments to be cherished forever!!!
I wish you all a very Happy New Year and loads of fun and fabulous crafting in the coming year.
To share my happiness with you, here is my last card for 2016.


Instructions 
The finished card measures 4" x 7" . 
I have used the double stitched rectangle dies and the Wide Rectangle Frame dies to create windows that will allow me to add flowers and my sentiments.
The flowers are moulded and shaped after I have coloured with Archival inks.
I have added frosted sugar powder to the flower petals.
Cottage Cutz Dies Used
Happy New Year Ornament
3D Flower # 7
Double Stitched Rectangle die
Stitched Wide Rectangle Frame Set

There is a Huge Sale going on at the Scrapping Cottage Store.
Do stop by and pick the most amazing dies at the lowest cost.

Once again, have a Super Awesome year ahead!!!