Showing posts with label Vintage Holiday Lantern. Show all posts

Thursday, December 14, 2023

Christmas Bells

Hello Crafty Friends

 Our new Christmas Release is available at a wonderful 30% off.  This collection has over 40 different dies.   It has everything you will need for your holiday paper crafting. Make sure to stop by the online store and check out all the fantastic new designs!

Today, I am featuring the Old Fashion Ornaments 4.  The bell ornament is a rather large die so it is a perfect size for an A2 card or larger such as a slimline.  

Design Steps:

1.  Using the Old Fashion Ornaments 4 cut out gold, hunter green and deep red card stock.  For the foliage I used the Holiday Candle Centerpiece and the Vintage Holiday Lantern.  Cut out the following colors of card stock hunter green, gold, brown and deep red.  Assemble the bells with a fine tip glue
2.  For the card base use a cream A2 card stock, 4 1/8 x 5 3/8 deep red, 4 x 5 1/4 holly DP, 2 3/4 x 4 3/4 piece of gold and 2 2 1/2 x 4 1/2 piece of cream.  Glue the red to the DP and then glue to the card front.  Glue the cream to the gold and then center it to the card front on top of the holly DP
3.  First I popped up the bells using dimension square making sure to leave room to tuck in the foliage.  Arrange the foliage as you wish and glue down

4.  Add a cream colored bow and your sentiment layered onto gold and your card is complete


We have more inspiration on our YouTube Channel check it out HERE

Thanks so much for stopping by!  And I will see you next Thursday.

Blessings and Take Care


Friday, December 08, 2023

Holiday Lantern Tea Light Décor


Happy Friday Crafties!

Kris here today sharing a home décor item for the holidays!  This can also be a cute li'l gift box by adding some printed tissue paper to hide the gift or gift card etc.  I was inspired by the new 
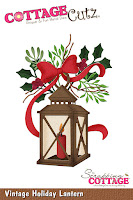
Vintage Holiday Lantern die (from the 2023 Christmas Release) to turn this 
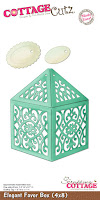
Elegant Favor Box into a lantern using a battery operated tea light candle.  


How I made it:

I die cut (4) of the Elegant Favor Box die from one 12" x 12" piece of textured black cardstock.


As you can see, it also adds score lines where you need to fold ~ so I folded all of them inward.  


I glued 3 of the vertical side flaps together.  Then at the top, I glued only the tiny tabs to the larger tab of the next piece as shown below. 

*Do not glue the larger flaps together as you won't be able to get your hand in to pull out the contents. 😏 


Then I glued the final connecting side flap.  (You could do this before you glue the top tiny flaps.)


For the bottom, I folded the flaps in so that the 90 degree angled corners are hidden by overlapping the next one and so forth, and the last one tucks under the first flap.  Add glue to secure if you wish.


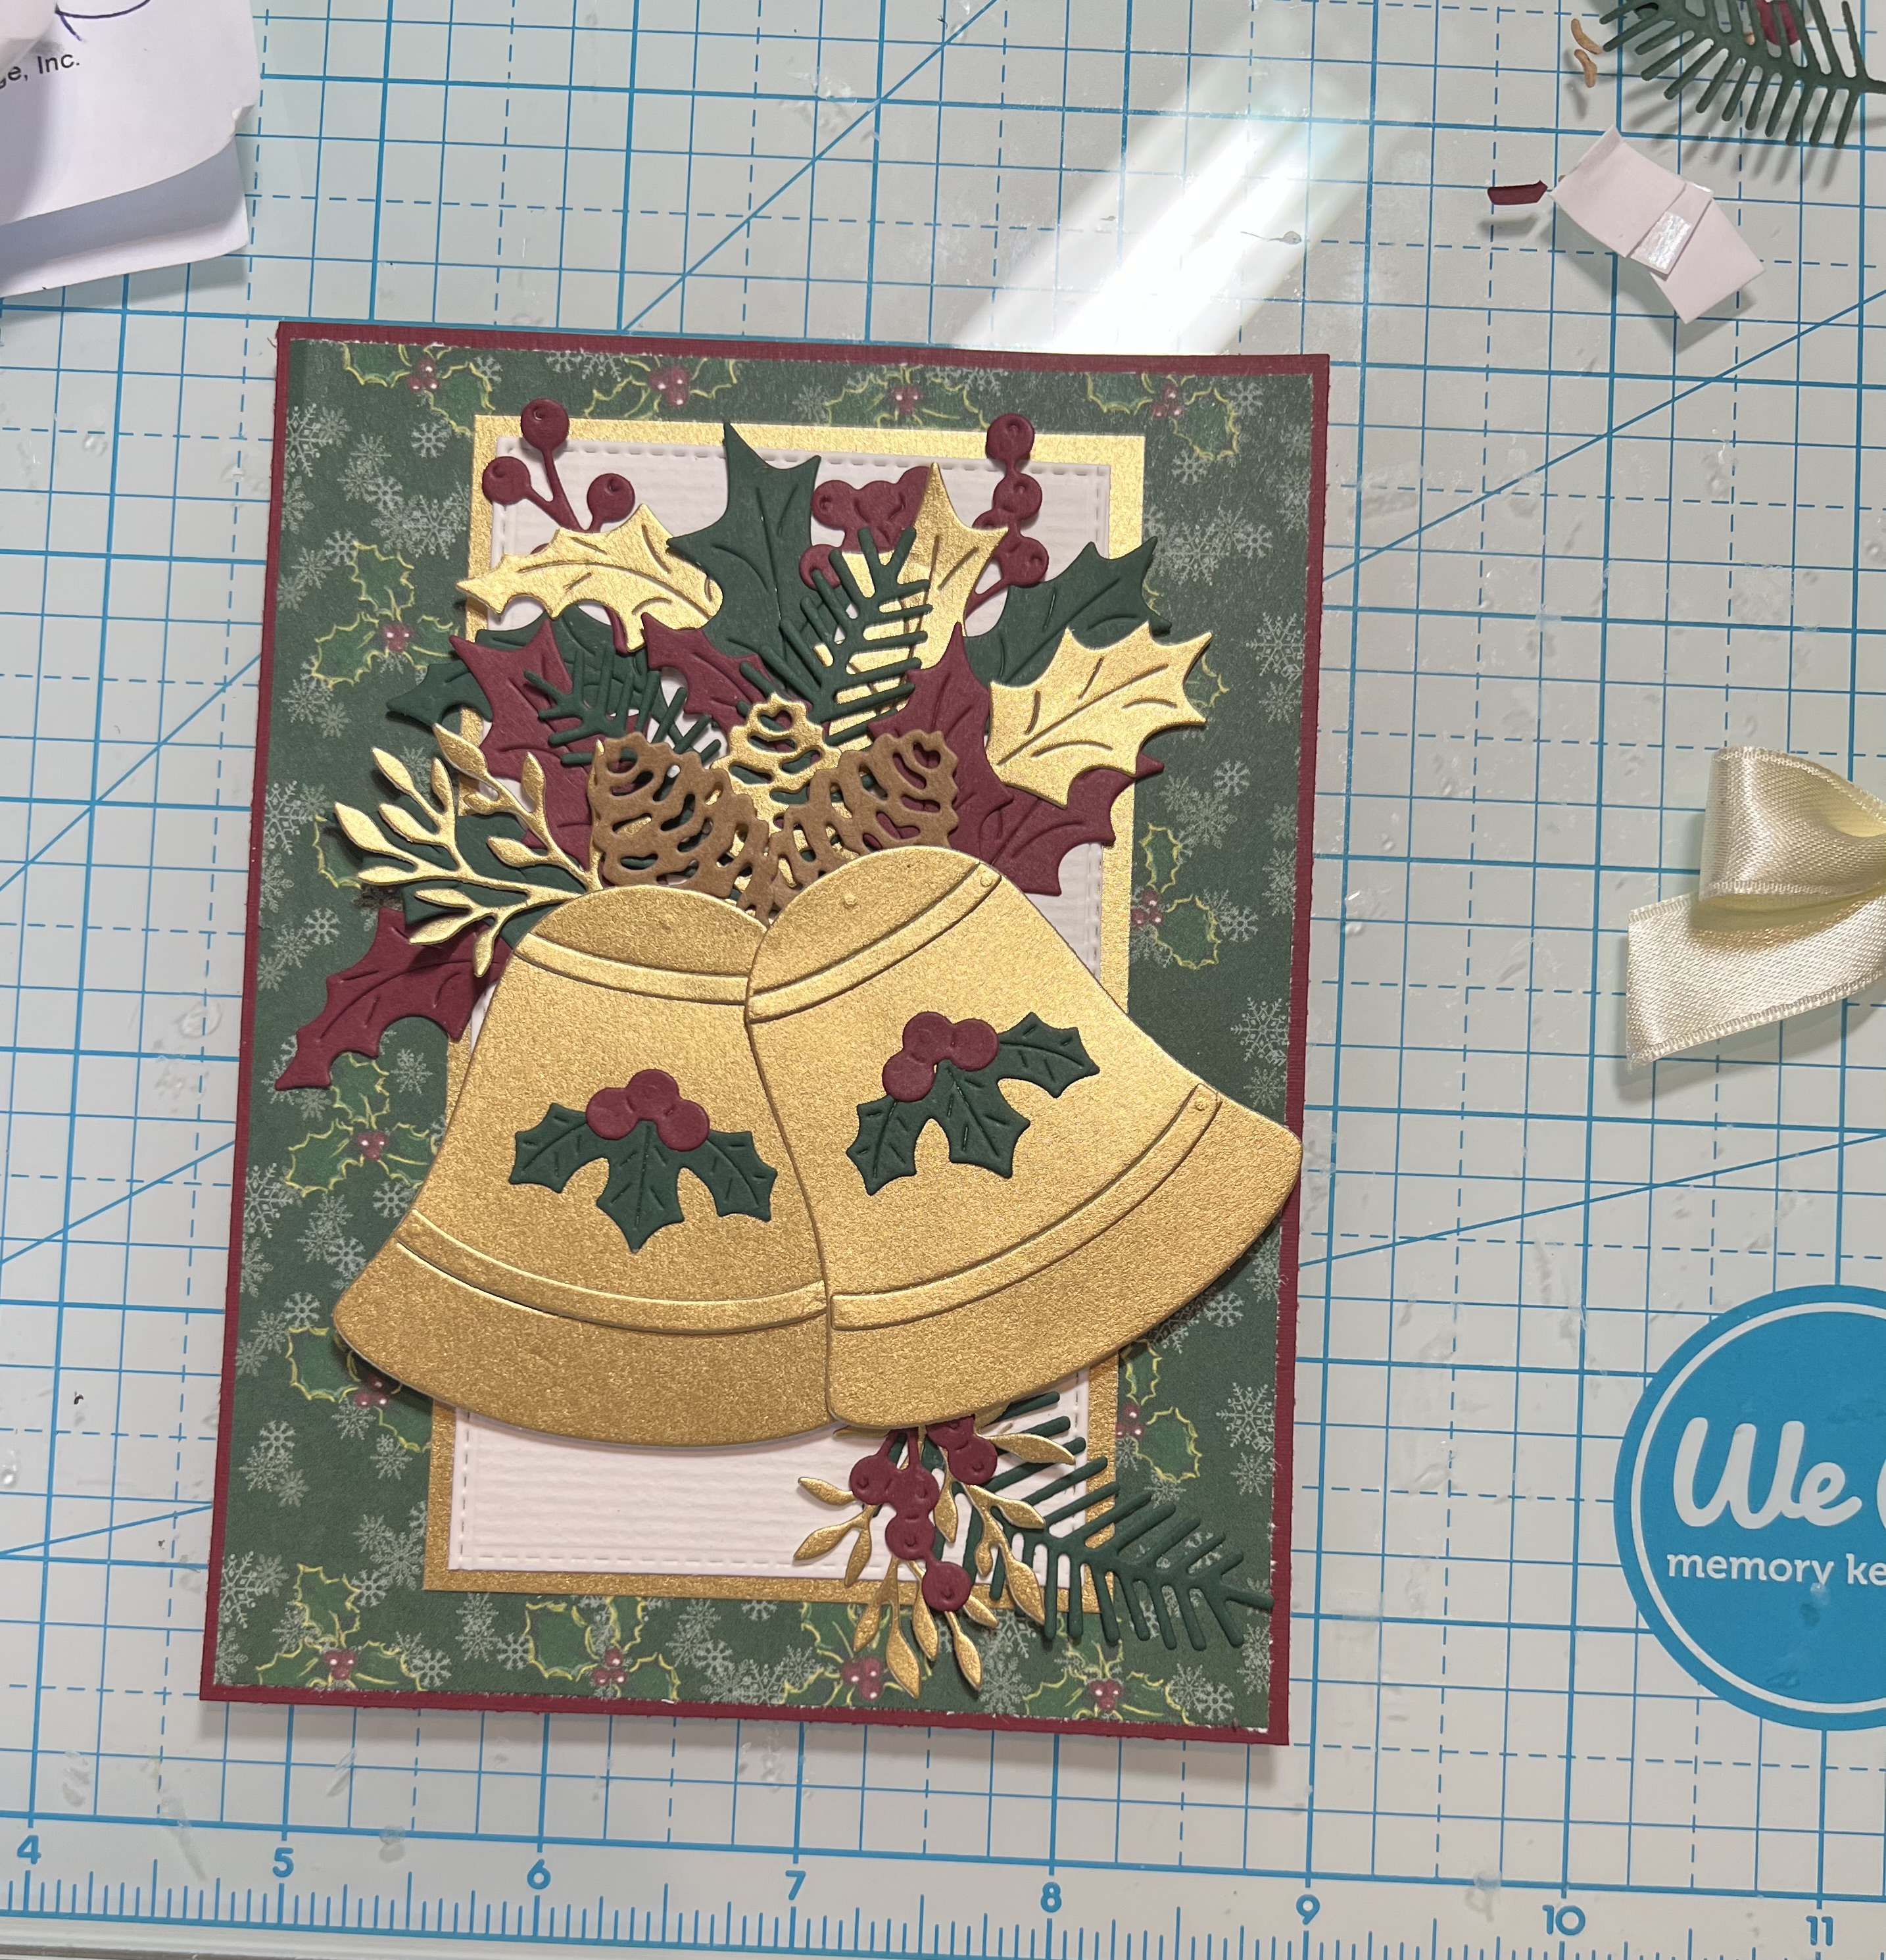
Next, I die cut my decorative elements -- the foliage from the Vintage Holiday Lantern die --from green, gold and red.  I also foiled a sentiment for my tag.


I placed a small battery operated tea light in the bottom of my lantern and added some fake greenery around it.

Next, I took some black/white gingham ribbon and cut the end at a deep angle so I can run it through the holes at the top to close it.  


This step took me a couple of times, but what worked best for me was to start from the outside and go into the first hole, come back out of the 2nd one, into the next and out of the last.  This way you end up with both strands coming out so you can tie a nice bow.


I glued my greenery to the back of my tag/sentiment piece, steering clear of the hole in the tag.

Then I tied my bow, adding my tag just before I made the loops of my bow.  ((yes, the tea light is on the outside of my lantern just because I wanted to show y'all what I used))


And ta-da!!  Super easy... yet elegant and festive décor for the holidays!  

*oops, just realized after seeing my photos that I forgot to add the gold jellyroll accents to my berries!  Let's just pretend there's gold accents there 😁


I hope I've inspired you in some way to get crafty with your favorite CottageCutz dies this week!  

Ink Something Crafty!
♡  ♡  ♡
~Kristine


Friday, October 20, 2023

Vintage Holiday Lantern

Welcome friends!

Thanks for dropping in today ☺  Kris here to share some Friday inspiration with you!


Today's card features the new Vintage Holiday Lantern from the CHRISTMAS 2023 RELEASE!

DESIGN STEPS:

I die cut the Vintage Holiday Lantern from white and gold foil cardstock, then I colored up the white ones with Copic markers and distress inks.


I used patterned papers from the Cozy Winter pad (P13).  I cut and die cut my layers and stacked them from bottom up as follows:

White card base = 6" square top folding
Green patterned paper = 6" square
Gold foil cardstock = 5-13/16" square
White pinecone paper = 5-11/16" square
Green patterned paper = die cut largest Nested Wacky Stitched Rectangle 
Gold Foil cardstock = 3-1/16" x 4-1/16" 
White star patterned paper = die cut 2nd largest Nested Wacky Stitched Rectangle


I attached the layers as shown below, then I popped the lantern on foam dots.


I then stuck the greenery around the top of lantern and glued in place.  

As a last finishing touch, I decided to die cut the pinecones from the Holiday Deer die, colored them with markers and added to the left corner.  Then I popped on a gold hot foiled sentiment.


I hope you've come away with something that inspired you today to get crafty with your favorite CottageCutz dies! 

Ink Something Crafty 
~Kristine