Showing posts with label Sloth. Show all posts

Thursday, April 29, 2021

Foxy and Friend Thank You

Hello Scrapping Cottage Friends

It is Pam creating with you on the blog today!

We have a new release that are complete must haves for your basic die collection.  It is a Slimline group with 9 different designs.  They are 25% off right now so don't miss out on this great addition to your essential must have dies.

My card today is a thank you for a special friend!  She loves being outdoors so I thought this card was perfect for her!

Design Steps:

1.  Use a Kraft slimline card base cut the front flap of the card in half and set aside.  Cut another piece of Kraft card stock 3 1/2 by 8 1/2.  Cut a tree designer piece of paper 6 x 3 1/2 and a green checked piece 3 1/2 x 2 1/2.
Glue the tree paper to the top of the piece of kraft card stock and the green checked to the bottom of the kraft card stock.  Use your Hills Slimline die (the one with one hill) cut the kraft card stock with the designer paper glued to it
2.  Get out your card base and glue the cut design paper to the front of the cards small flap
3.  Using the largest Stitched Rectangle Slimline die cut a piece of light blue card stock and glue it to the inside of the card
4.  Cut 2 Kraft circles using the Scalloped Stitched Circle die 3rd from the largest.  (one for the inside of the card and one for the front). Using the Spring Tea Party die cut out the fox using rust, black and cream card stock for the raccoon use black, grey and white card stock

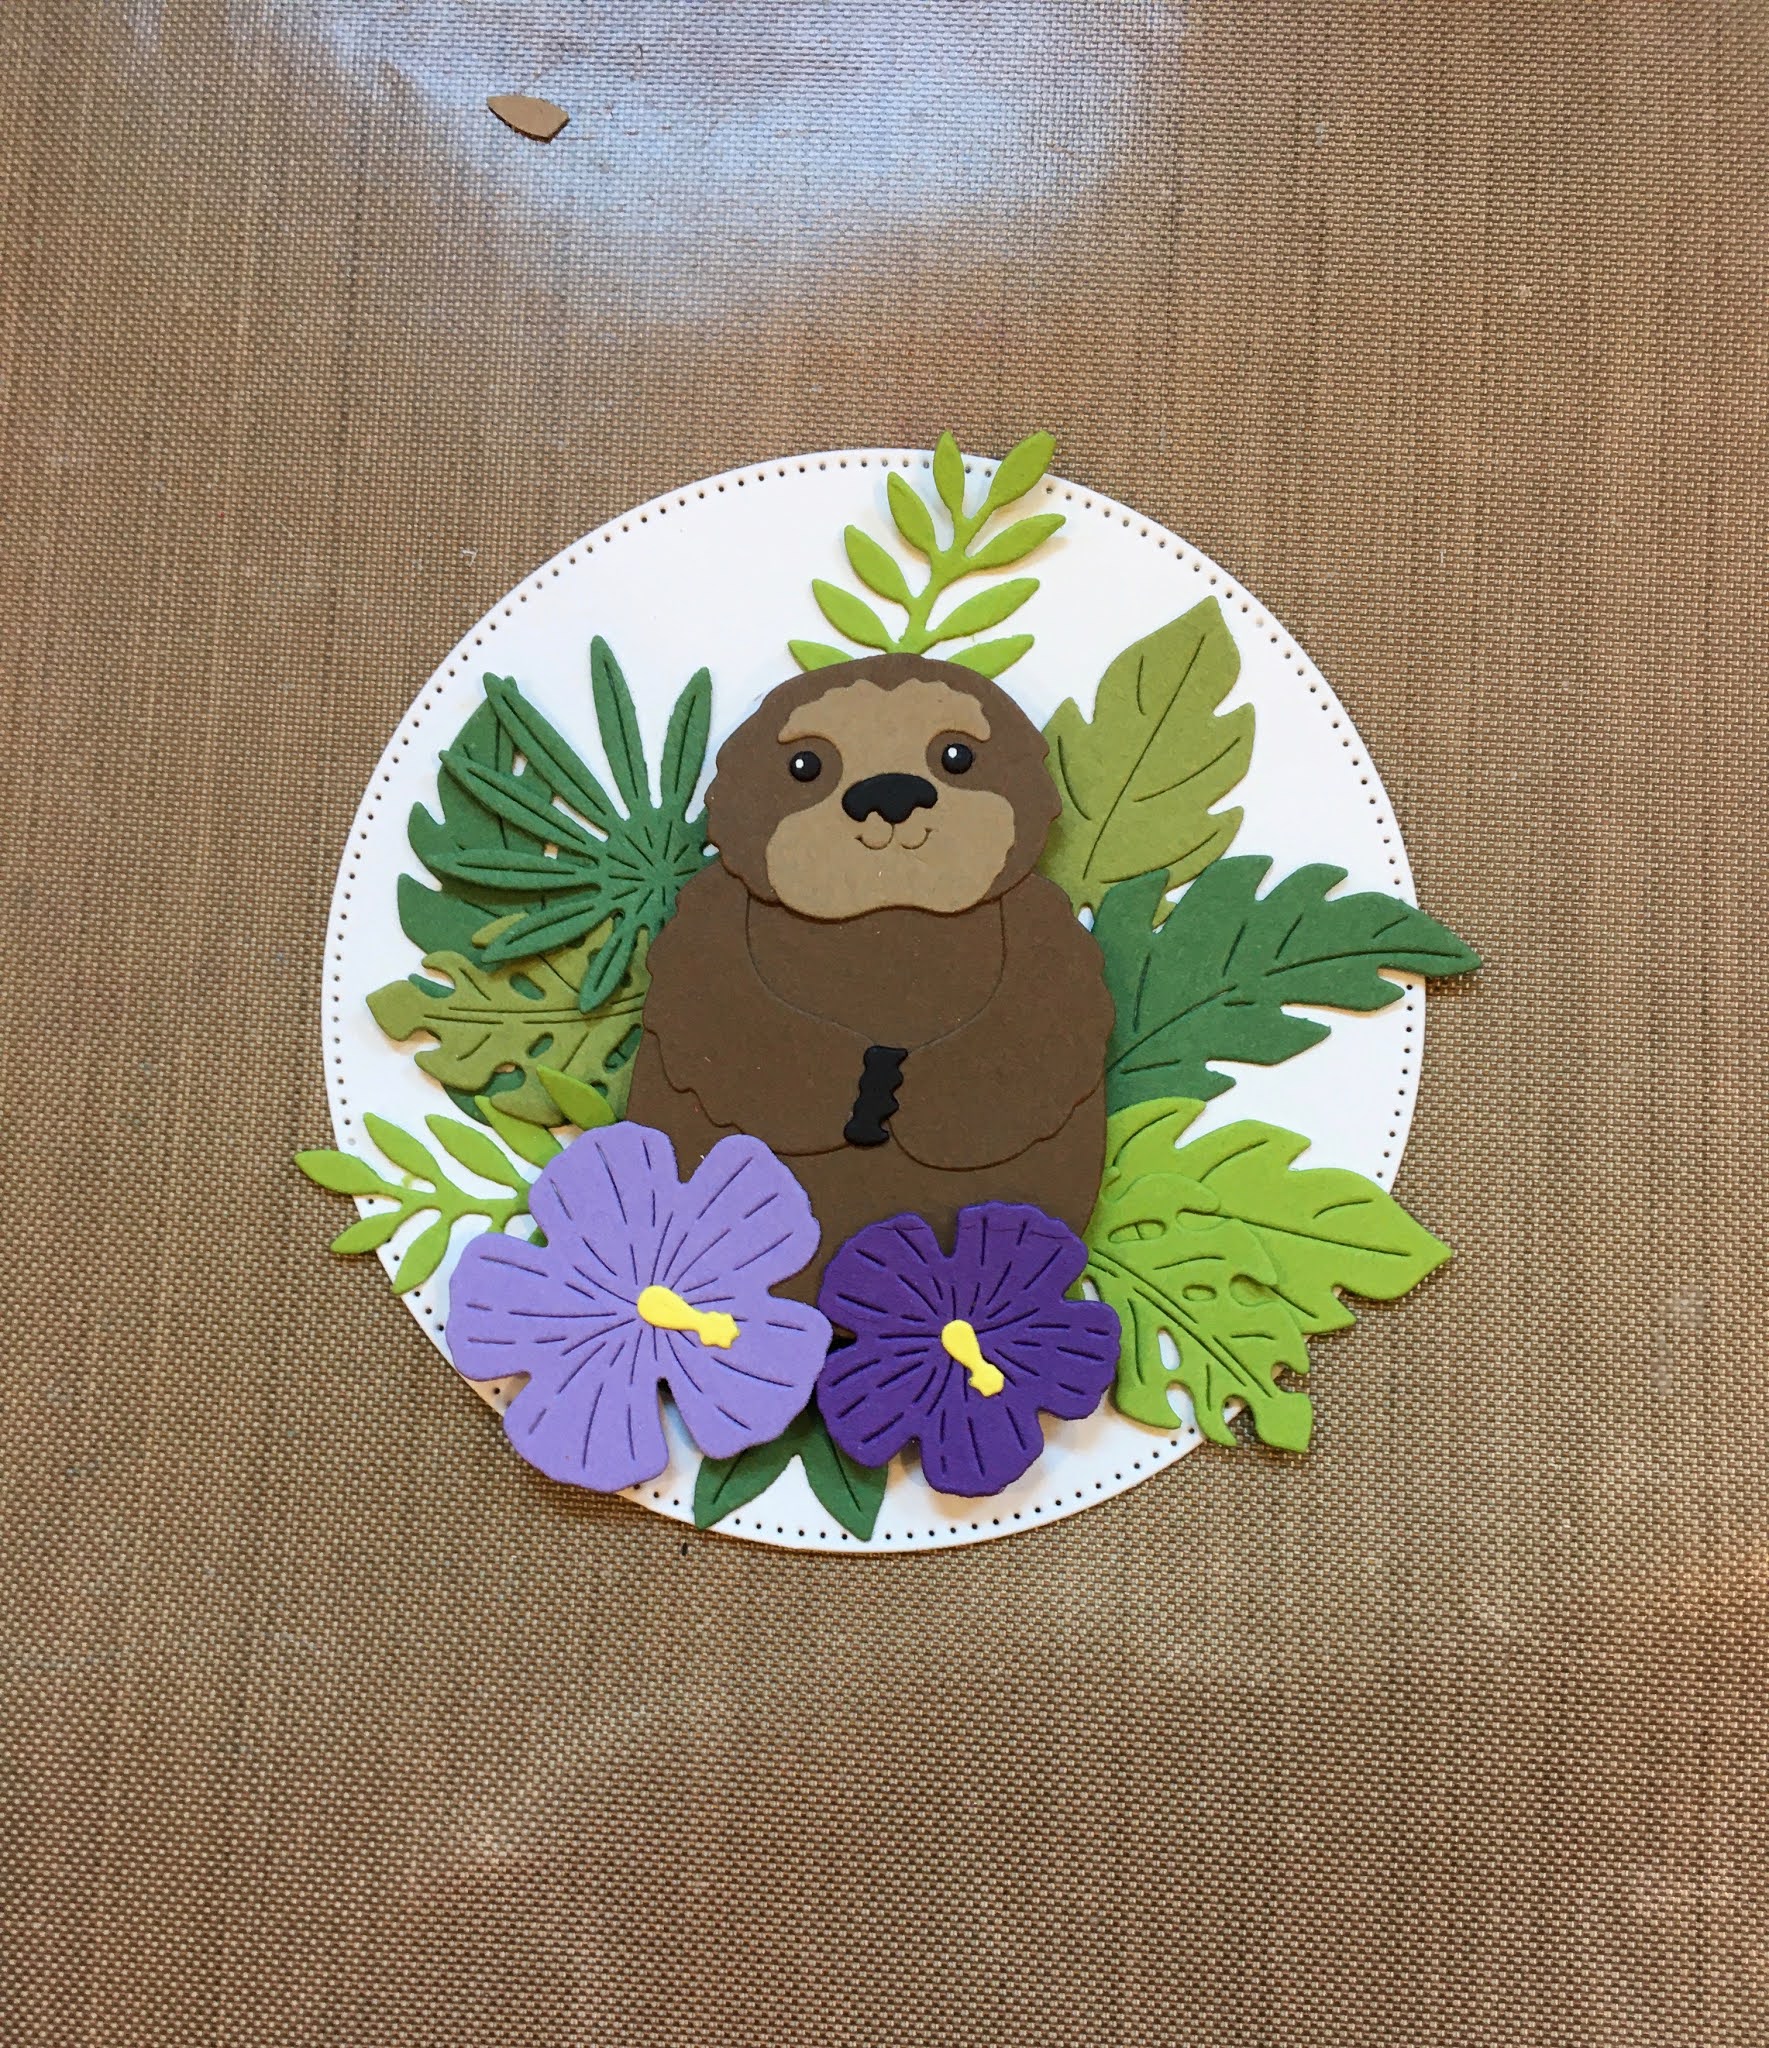
5.  Using the Sloth die cut out the leaves using two shades of green.  Cut out the little sign using brown and the Bunny Gnome 3 die.  Before assembling the fox and raccoon shade with a variety of inks and then glue together
6.  For the front of the card glue down the circle leaving the edges without glue so you can tuck in the leaves.  Stamp the Thanks So Much onto the sign and edge with ink.  Pop up the fox and his sign with dimensional 
7.  For the inside glue a 1 x 6 inch strip of tree paper and right under it glue a 1 x 2 1/4 in strip of green checked.  Glue down your scalloped circle making sure it lines up with the front circle so it won't show when closed.  Stamp your sentiment and glue down the leaves and little raccoon
CottageCutz Products


Thanks so much for stopping by today!  I hope you find time to get crafty.  It is always so much fun to send a friend something made from the heart!
Blessings
Pam


Thursday, August 20, 2020

Slothy Thinking of You

 Hello Scrapping Cottage Friends

It is my turn to post today so happy Thursday morning to you from Pam!

We have an amazing Summer Sale going on right now but the bad news is today is the last day.  Many dies are on sale for 50% off.  DON'T MISS OUT!

The design team is continuing to showcase our brand new release called Beach & Tropical Dies!  It includes 14 new designs and it is currently on sale for a limited time at 25% off!  Each of these dies can be used in so many different ways.  Today,  I am using the little sloth surrounded by tropical leaves and flowers.  I just love how he is peeking out ready to say Thinking of You!!

Background Photo by Bart Zimny on Unsplash

Design Steps
1.  Using the Sloth die cut out the pieces using 2 different shades greens, 2 different shades of purple, yellow, black and 2 different shades of brown
2.  Using the largest Pierced Circle die cut out a white circle.  Assemble the sloth and flowers using a fine tip glue.  
3.  Place some pop dots on the back of the sloth and then pop him up on the white circle
4.  Arrange the greenery around the sloth and then pop up the purple flowers.  Add small white dots to the sloth's eyes using a white gel pen
5.  For the base of the card use an A2 white piece of card stock.  Cut a piece of purple just slightly smaller then the white base.  Then cut a piece of purple flowered DP slightly smaller then the purple card stock.  Glue the purple card stock to the white card base and then glue the DP the purple card stock.  Using the largest Stitched Scallop Circle die cut out a purple circle. Also cut out of the purple card stock 2 Thinking of You with the Expressions die
6.  Glue the purple scalloped circle to the upper have of the card as shown.  Next add the white circle with the sloth on it.  Last glue the 2 Thinking of You together and then glue to the card as shown and your card is complete
CottageCutz Products


So happy you were able to stop by today!  I aways appreciate your visit!

Blessings
Pam

Friday, August 14, 2020

Beautiful Friendship

Happy Friday! It's Jeanne today with a beautiful floral card celebrating friendship.  The card features three dies from the new Tropical collection.  I LOVE this collection - hibiscus flowers are one of my favorites followed by plumeria.  Both are in this collection!

 
I wanted the flowers to be very organic and fluid so I decided to watercolor my cardstock that I would use to cut the flowers.

This was very easy to do.
I took a piece of Mixed Media paper 6 x 11 and just started watercoloring with three analogous colors - a yellow orange, an orange and a bright pink.  This gave me the color palette I was looking for.
Using the Hibiscus Flowers, the Tropical Bouquet and the Sloth dies, I cut my flowers from the watercolored cardstock and my leaves from various colors of green.  I took my greens from the designer paper I decided to use for my accent strip.

Next I cut a panel 4 1/4 x 5 1/2 inches (A2 card size), a strip 1 x 5 1/2 inches and three circle using the largest of the Stitched Circles dies.  Two in green and one in white.
I stamped my sentiment in the lower left and glued the strip to the right side of the card.  I stacked all three circles together and glued them to the upper right overhanging the circle.  I then used scissors to trim the circle.
To glue the flowers to the card, I started with the two main flowers and adhered just their centers.  In this way, I could tuck the leaves behind the flowers.  When everything was on the card, I added glue with my fine-tipped glue.
The small flower is popped up using foam dots.  Some of the leaves were overhanging the edges of the card and I trimmed those using scissors.
Finally, this card seemed to need a bit of sparkle.  I added a few sequins and used a shimmer pen on the small hibiscus flower in the front.

Dies used:

 
Be sure to stop by the online store to check out all the new dies.  They're on sale for a limited time!

Thanks for visiting today.  I hope you have a fun and creative weekend!

Wednesday, August 12, 2020

Pink Isn't Just a Color, It's an Attitude!

Hello!  This is Sukie and today I have a new post to share for my design team day!  There's a fun new Beach & Tropical die release in the store which is showcased on my card.  All of these dies are also on sale!
I used the adorable Flamingo w/Hibiscus, the greenery is from the Sloth die set and the surfboards from the Surfer Van die set.
I created a simple background by blending a couple of different colors of Oxide Inks and bit of water. The bottom portion of my card was also splattered with some paint to replicate a sandy beach.
The adorable flamingo was placed on my card striking a contrast against the pop of color on the background.  
The bold and fabulous surfboards were tucked into the sand and accented with the tropical palm die cuts.
The sweet sentiment was stamped on some inked up card stock and was the perfect addition to this card.  I embellished the sentiment tag with a few more tropical palms and a tiny flower. 
Here is my final card, a fun tropical scene!  This card definitely showcases my love of flamingos!
Here are the die sets used on my card, available in the store